Design Focus Friday – Form

Three dimensional shape and space is the basis of architecture and most designed objects. There are added design considerations in that the object will be experienced from more than one side. In sculpture the space defined by the shape of the sculpture may be an important aspect of the total design. Other designed objects such as furniture, tools, and appliances must be conceived in relation to function and, often, the contours of the human body that will use the object. In needle felting this pin cushion, I used the familiar shape of a pumpkin but needed to make sure that it would sit flat on the table and was stable enough not to tip over every time I pull a pin out or stick one in.

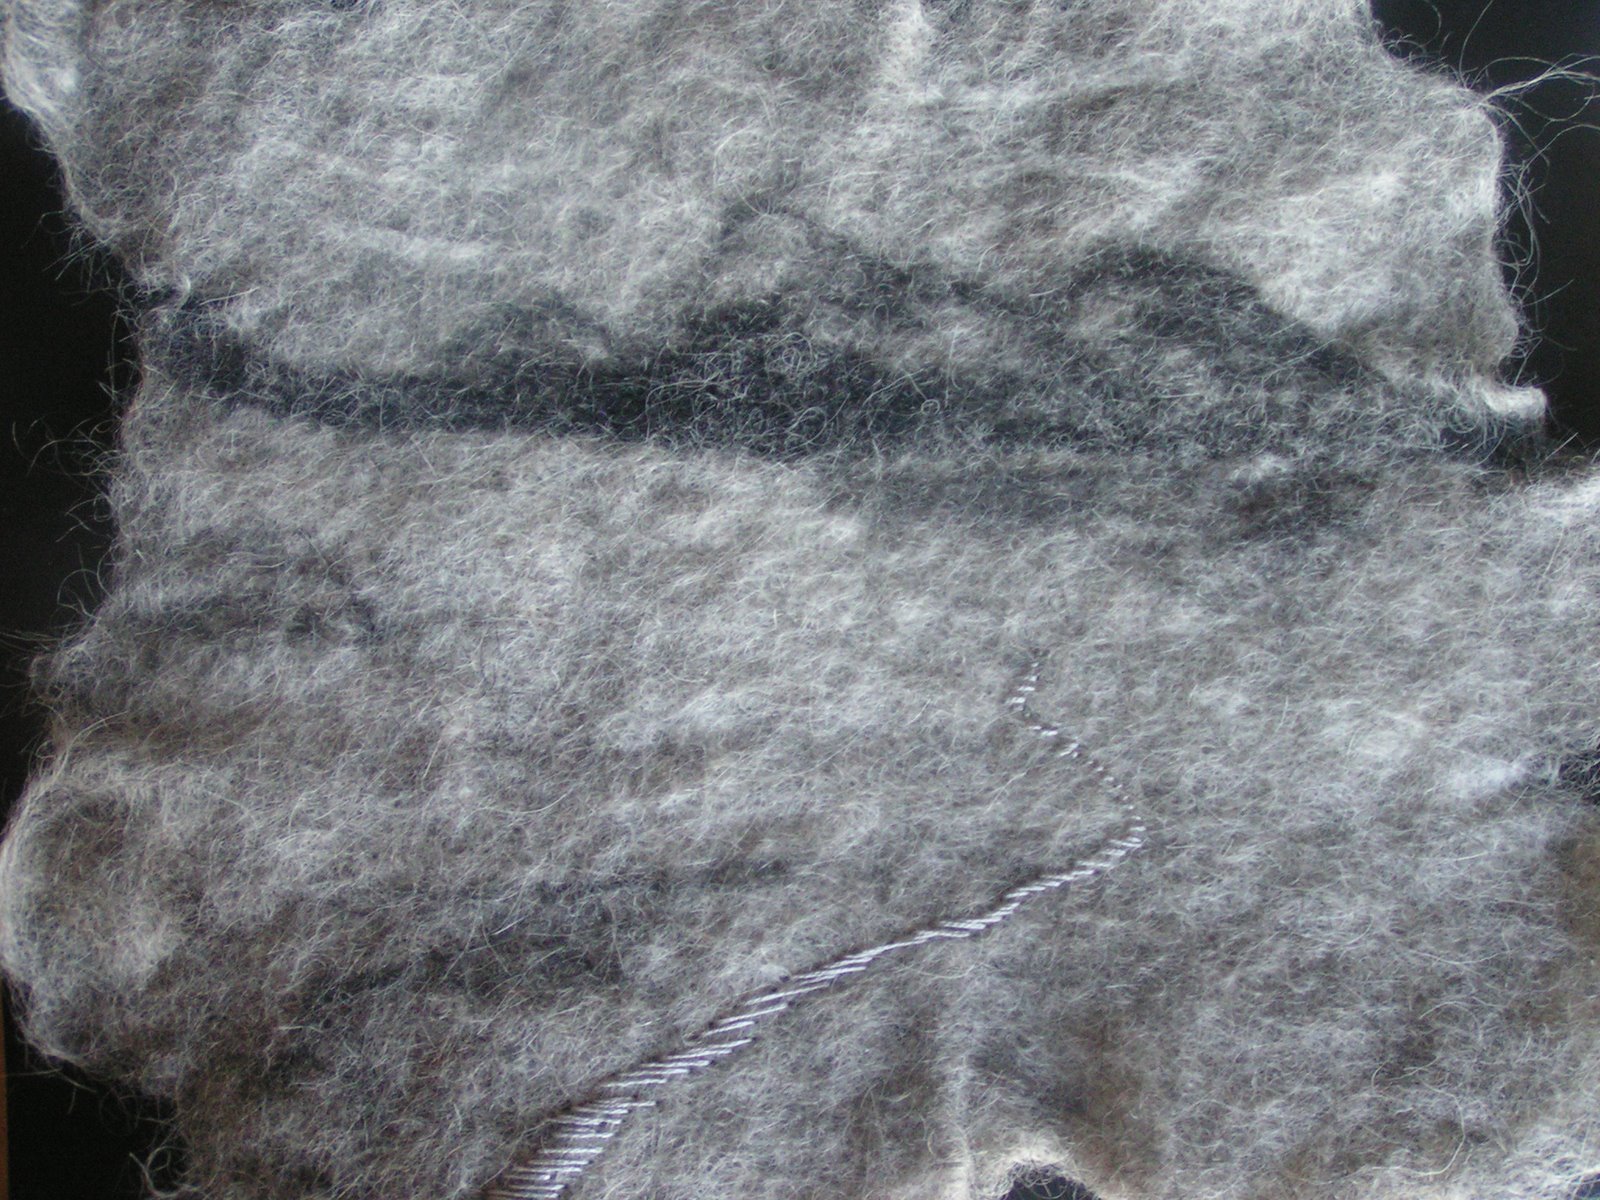
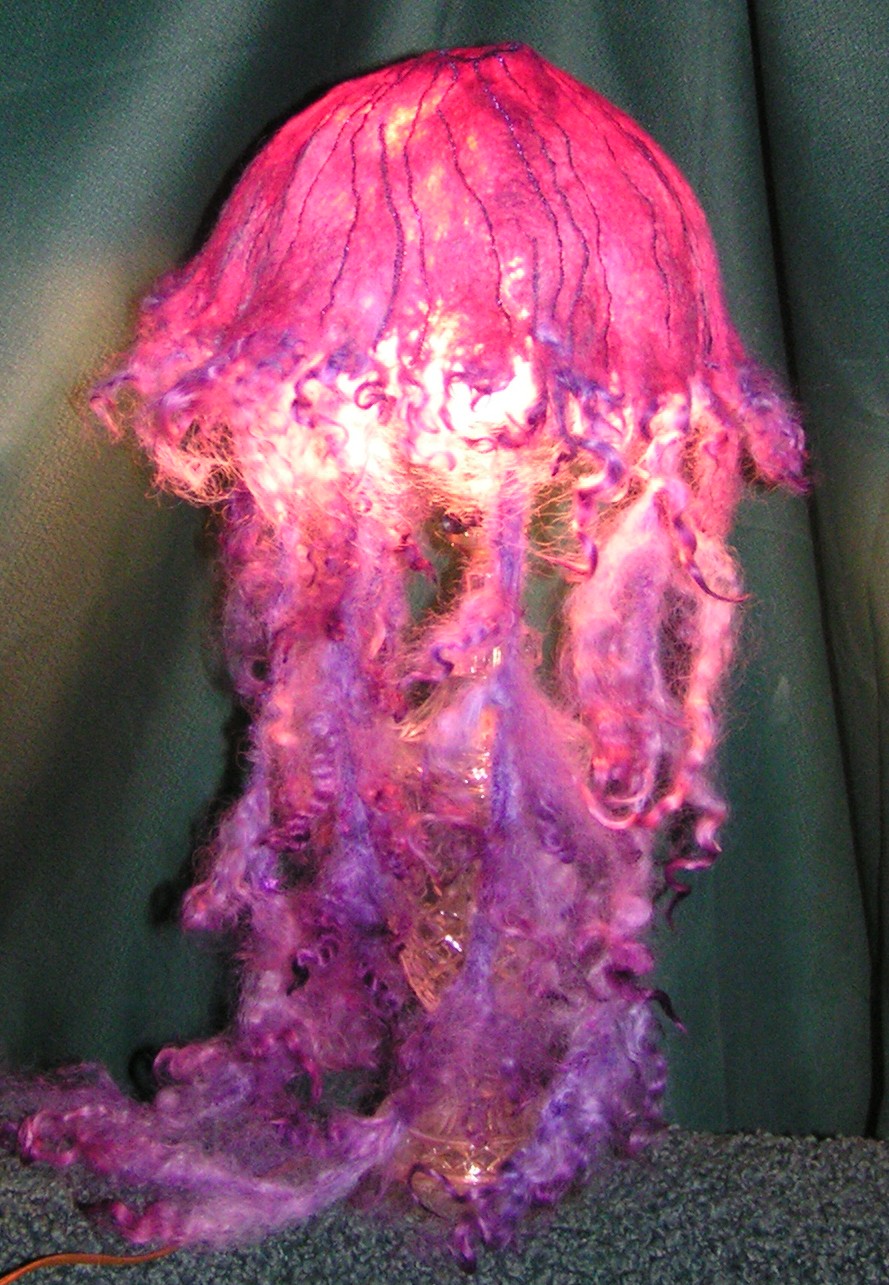
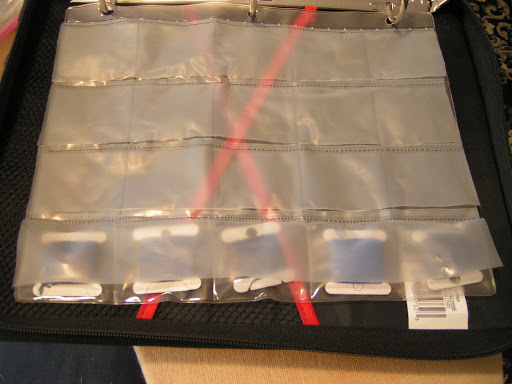
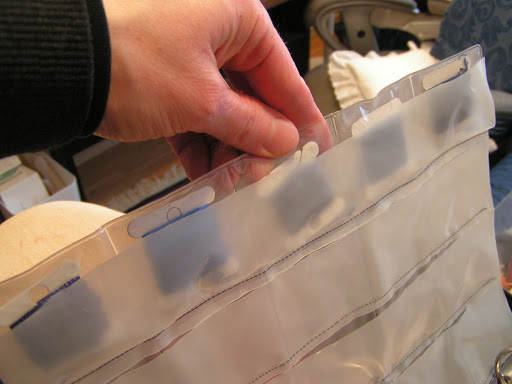
Fashion designers face special problems of engineering and spatial thinking, in that the problem is to translate a two dimensional material (cloth) into a three dimensional form (body-shaped garment), a unique and complex problem in topographical engineering. This is one of the things I want to explore in form, making a seamless felted jacket. Hopefully, I will get this started this month since we are talking about form.

Form or space in a two-dimensional drawing or painting refers to the arrangement of objects on the picture plane.  The picture plane is the surface of your drawing paper or canvas.  You can have a picture plane that is a crowded space with lots of objects or an empty space with very few objects in the picture plane.  A two-dimensional piece of art has heights and width but no depth.  The illusion of depth can be achieved by using perspective.  This is the technique used to have your picture look like it is moving to the distance like a landscape or cityscape. 
Types of Perspective


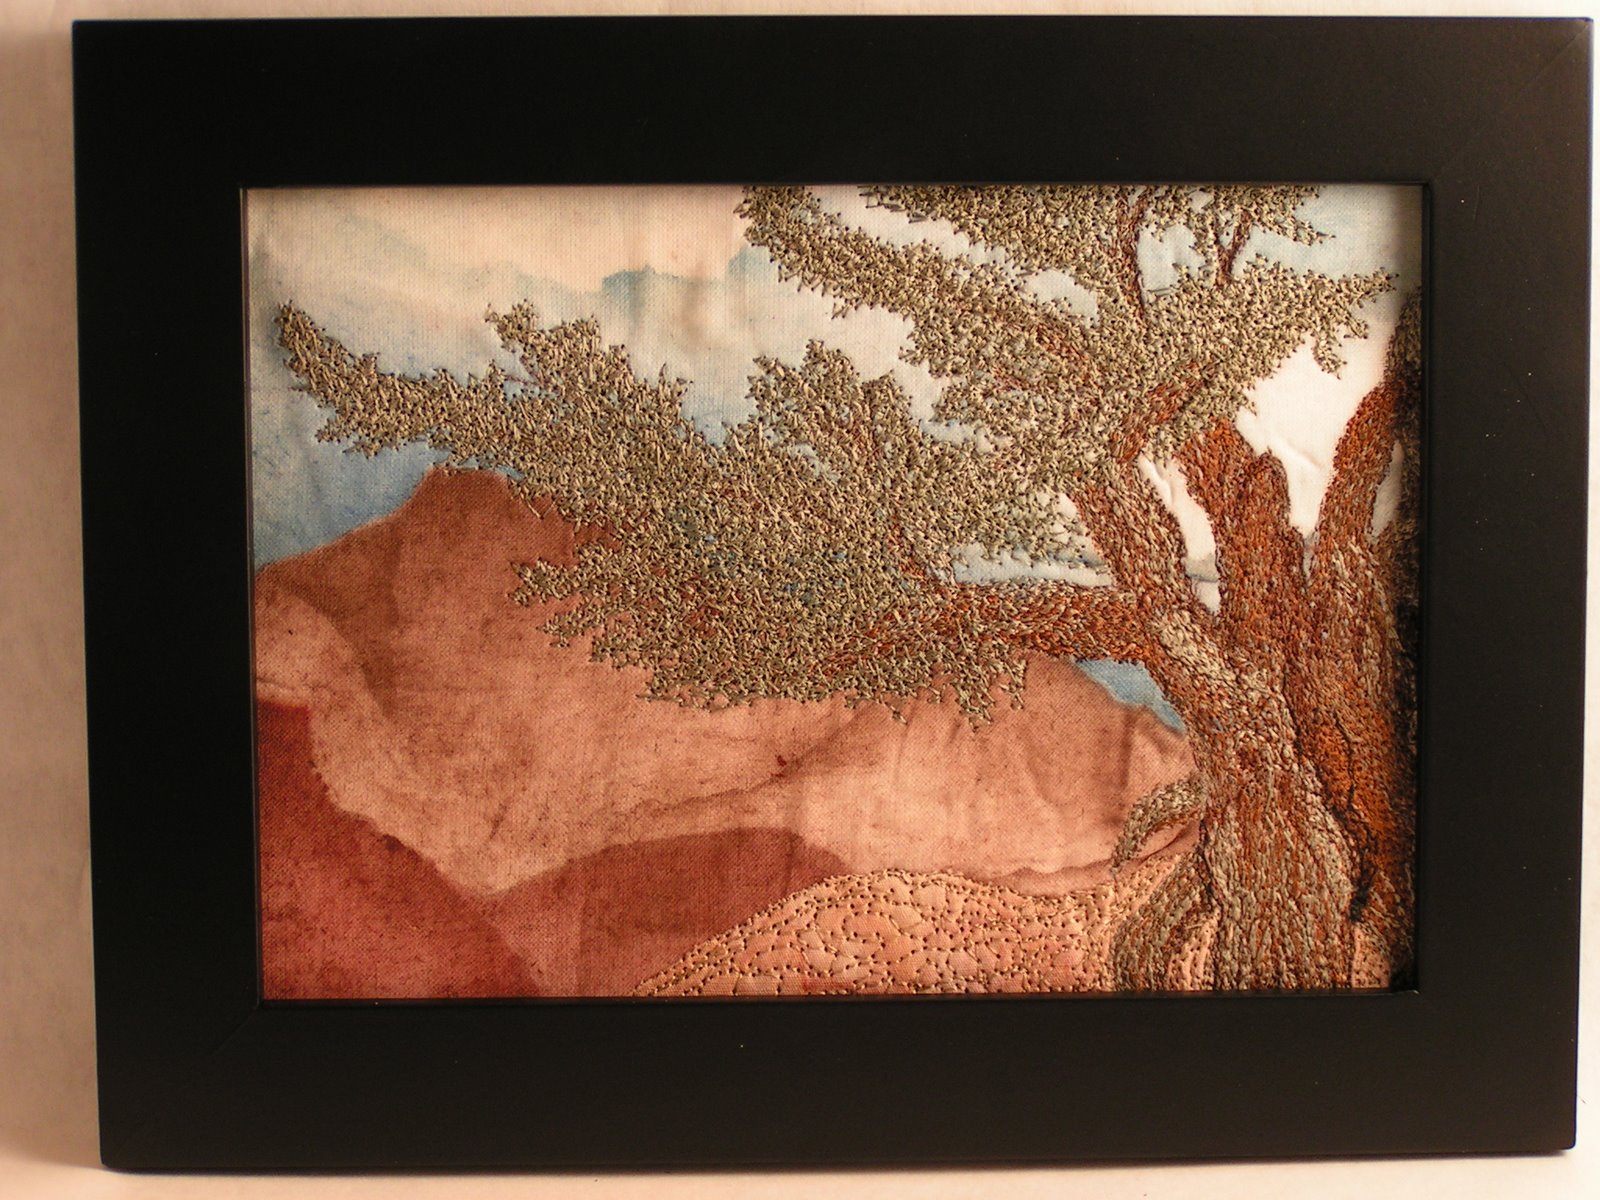
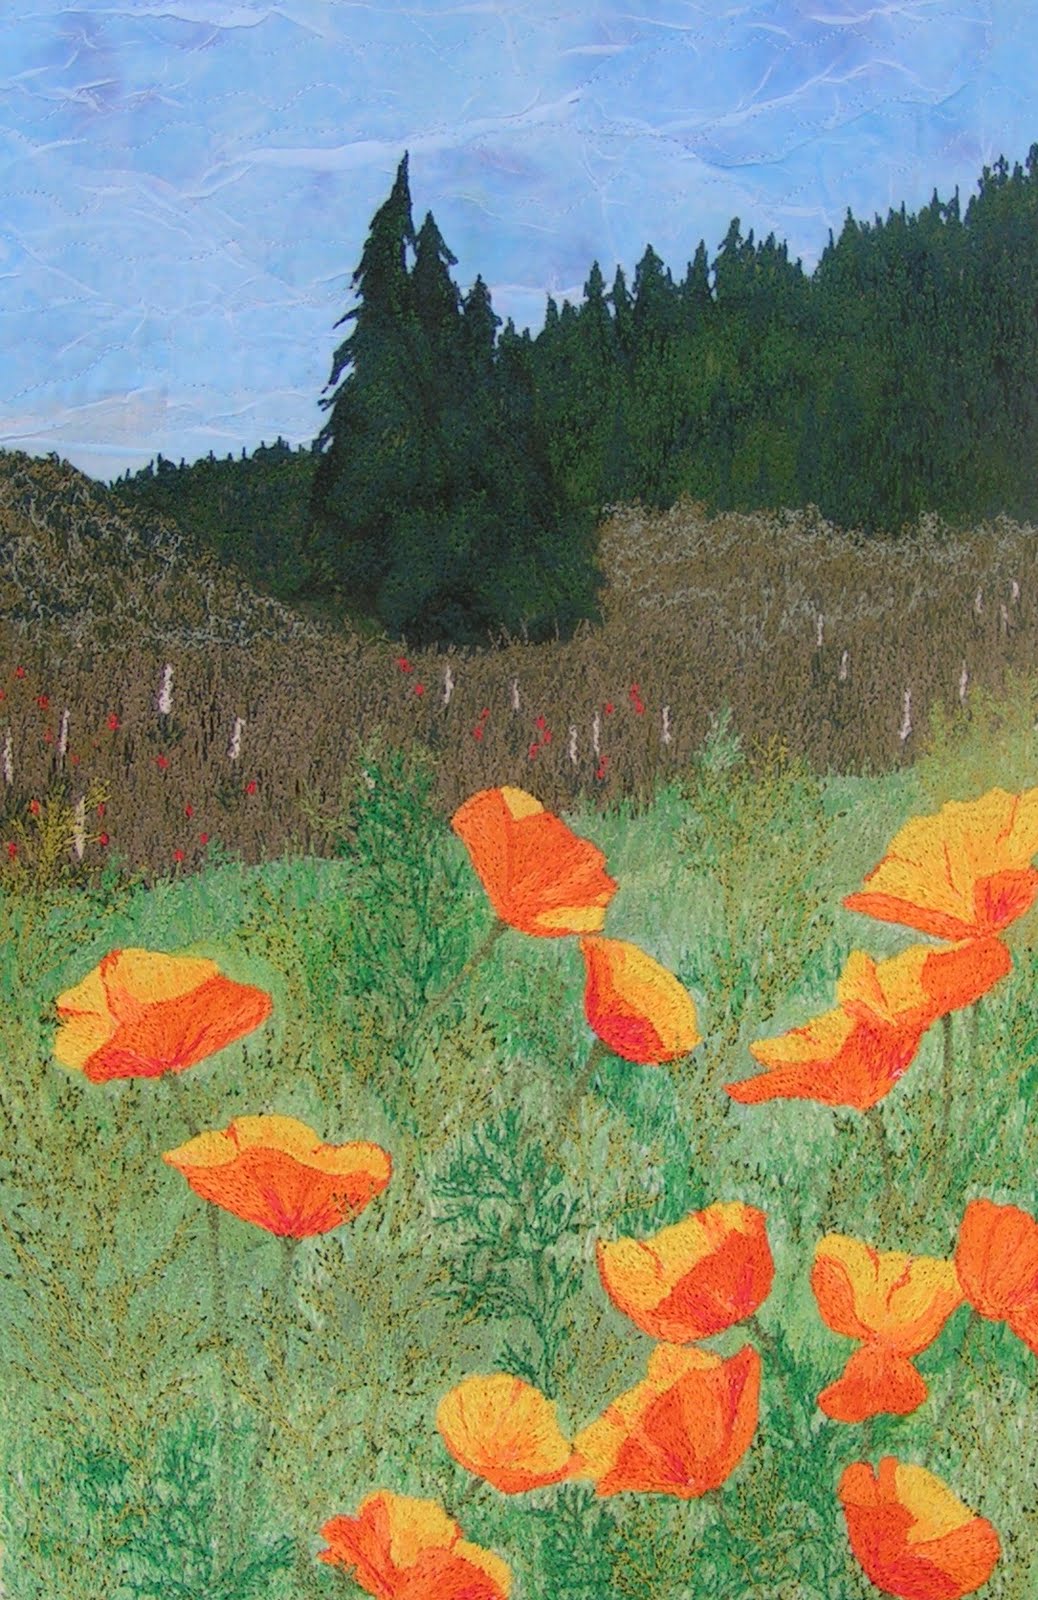
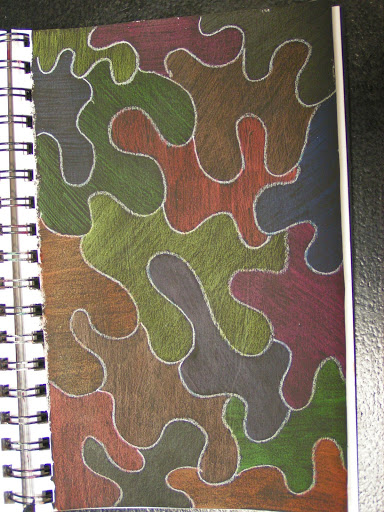
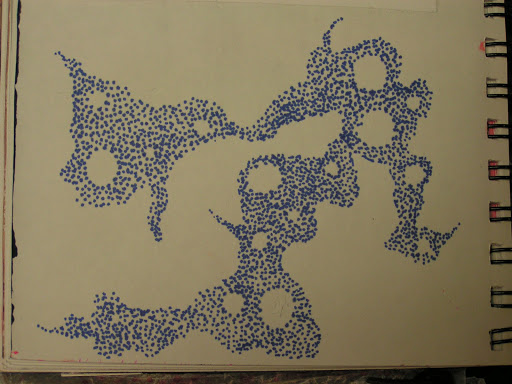
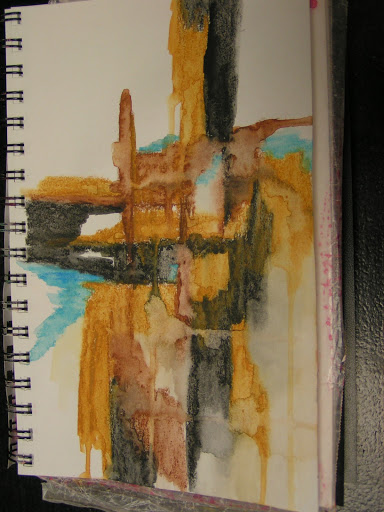
• Nonlinear Perspective is the method of showing depth that incorporates the following techniques. This is the type of perspective I usually use. I couldn’t find any photos using linear perspective.


o Position-Placing an object higher on the page makes it appear farther back then objects placed lower on the page.


o Overlapping-When an object overlaps another object it appears closer to the viewer, and the object behind the object appears farther away.


o Size Variation-Smaller objects look farther away in the distance. Larger objects look closer.


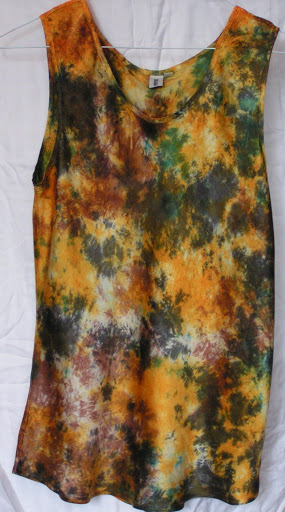
o Color-Bright colors look like they are closer to you and neutral colors look like they are farther away. 


 • Linear Perspective is the method of using lines to show the illusion of depth in a picture. The following are types of linear perspective.


o One-point perspective-When lines created by the sides of tables or building look like that are pointing to the distance and they all meet at one point on the horizon this is one-point perspective. To see an example stand in the middle of the hallway and look at the horizontal lines in the brick or the corner where the ceiling meets the wall. See how they move to one point on the horizon.


o Two-point perspective-Here the lines look like they are meeting at two points on the horizon line.

Categories of Space/Form


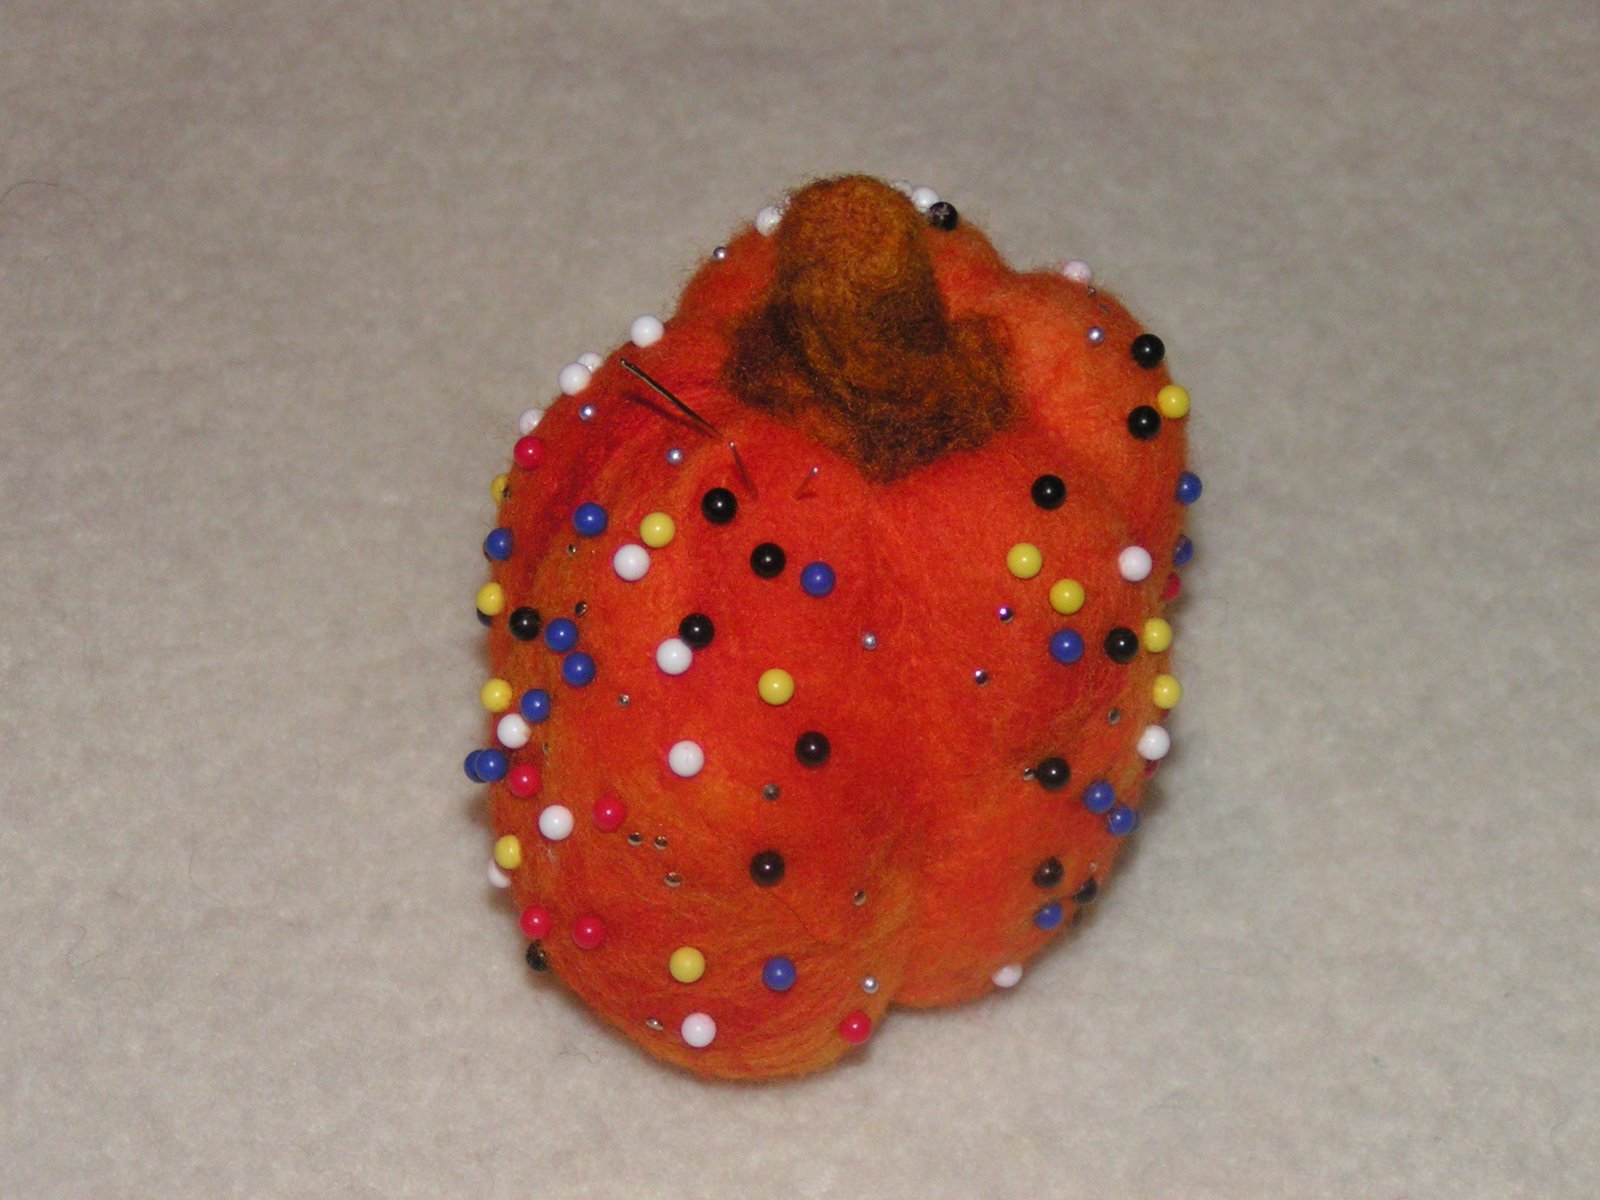
• Positive space-Like in a positive shape, it is the actual sculpture or building.


• Negative space-Also like negative shape, it is the space around the sculpture or building.


• Picture Plane is the flat surface of your drawing paper or canvas.


• Composition is the organization and placement of the elements on your picture plane.


• Focal Point is the object or area you want the viewer to look at first.


Questions to get you started:

• How can you make your 2 dimensional designs look more 3D? What are the effects of shading and shadowing on an object or shape?

• How can you use value changes to imply form?

• What steps do you need to take to make a 3D object using fabric/fiber? What can you use to make your form sturdy enough to support itself? What will your pattern look like?

• What would the effects be if you chose to do the opposite of nonlinear perspective guidelines above? Would your piece be more realistic or less?

So have fun with form! Let me know if you are using any of these concepts in your work. I’d love to see what you are doing.

Winter Inspiration

 It’s been a pretty cold and snowy winter here. So you have to look for inspiration in what you have, right?

 These are photos of our garage windows. I especially like the swirling patterns in this shot.

So it has warmed up to a high of 35 degrees today but we’re getting another wave of arctic air this weekend. Jack Frost will be back soon!

Embroidery Floss Storage

 I bought this soft sided organizer and these embroidery floss holder sheets a long time ago. And I put in all the little cards with the different colors of floss. I thought it would be great because you can see all the colors and you can just turn the pages and pick out what floss I needed. But no…

 Every time you turn the page, the little floss bobbins start sliding out or just completely fall out of the page. And when you have 6 pages that hold 20 bobbins each, it gets quite frustrating when they all start falling out. So I came up with a way to prevent that. I needed something easy to do that didn’t take a lot of time and so you could still see the colors of floss.

 Here was my idea. I cut 6 pieces of painters plastic the size of the sheet. I used blue painters tape to hold it in place. Line up the top so it is above the first set of slots to put your floss bobbins.

 I then sewed it down on the sewing machine with a straight stitch. You’ll want to make your stitch length fairly long so you won’t completely perforate the plastic when you sew your seam.

 Then you sew above each row of pockets.

 Then cut along the bottom of the painters plastic above each seam you just sewed.

 Also cut off any extra plastic at the bottom of the page.

 You can then flip up your painters plastic to slide in your floss bobbins. (That distracting piece of duct tape is covering a hole in my ironing board cover.)

 Here’s row I’ve filled with floss.

 Then when each row is filled, you just flip your plastic down over the row.

 Now you can hold the page completely upside down and shake it and nothing falls out! Woohoo!

Here’s a few tips about sewing plastic that I learned. Put a piece of painters tape along the top as well as along the sides to prevent slippage. Go slowly when sewing. The plastic tends to slip on the feed dogs and the faster you go, the worse it gets. So go on the slowest speed and hold onto the plastic and help it along as you go so that you sew smoothly. It might work just as well to put the feed dogs down and do it free motion but I was afraid I’d be all over the place and sew closed my little floss pockets.

Now I have filled all 6 pages up with floss bobbins and they stay right where they belong. You can still see the colors through the front or you can just look on the backside. Perhaps if your painters plastic was clear instead of on the opaque side it would work better but I just used what I had already at home. Now I’m ready to take my embroidery floss organizer to my upcoming class without worrying about my threads falling out all over the place.

How do you store your threads? Let me know if you have any good tips, I’d love to hear them.

Design Focus Friday – The Last Shape

 Actually, I’m sure this isn’t the last shape you’ll see on Design Focus Friday but it is the last time we’re going to focus on shape. I’ve been playing with my new art supplies from Santa and thinking about shape. These are just doodled shapes that I colored in with Inktense pencils. I started this page with a coat of black gesso. I can’t decide if I should now add water to the ink or leave it as is. What do you think?

 Then I was thinking about how to draw a shape without using line. So I used dots. I was concentrating on the shape the blue dots were making but now all I can see are the white negative shapes.

 This page started out about line but then when I added the color, it turned into shapes.

This is the start of a page where I am following ideas from the book Watercolor and Collage Workshop by Gerald Brommer. This is the first step of adding watercolor (I used my new water soluble crayons). Next I am supposed to collage different kinds of rice paper over the watercolor and then add more watercolor and line as needed. I liked the shapes that I got with this method.

Next up is form, we’ll be exploring three dimensional objects as well as how to give two dimensional work the illusion of depth. Hope to hear from you soon about how you’ve been using the different design elements in your work.