Dyed Scarf Photos

 I promised better photos of the scarves that I dyed.

 Here they are all after ironing and

 straightening out the tassels. I always find that to be a pain.

But I do like the colors. I think the deepest red one in the second photo is my favorite. What’s your favorite? I’m putting these up for sale in my store for $45 each. Send me an e-mail if you would like to purchase one.

Nuno Felting and Dyeing

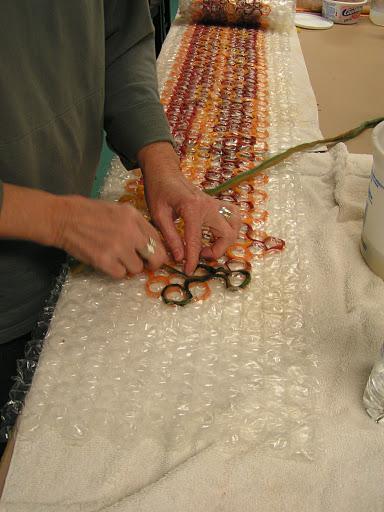
 I met with my local group on Friday and we started a nuno felted bag. We didn’t manage to get them completed as we ran out of time.

 Here’s Louise straightening out some fiber. The piece with the scraps of silk in the foreground is my bag. Because I went to the Grizzly football game yesterday, my bag is still in the bathtub waiting to be finished.

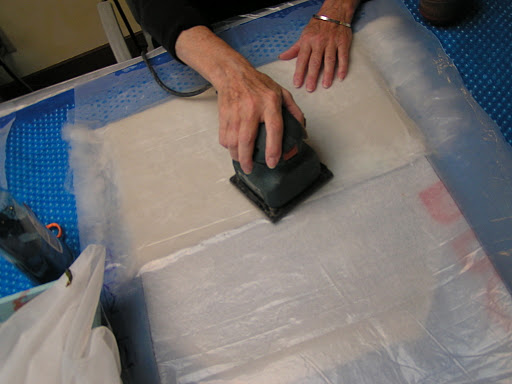
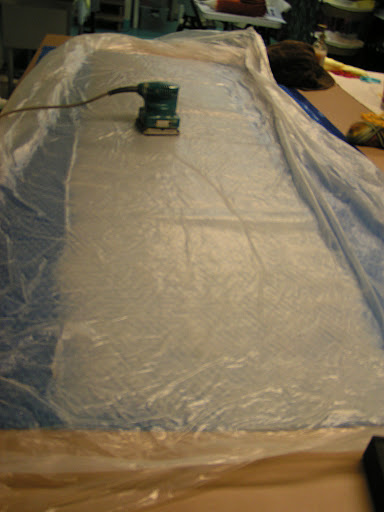
 Here’s Carole using the sander. She’s trying to hide her face with her camera, what a bad girl you are Carole 🙂

 This is Bunny’s bag. she used silk gauze over the surface of the bag. We all used white merino and we’re perhaps going to overdye these after they’re completed. I will have to show you the completed bags at a later date. Next month, we are going to try encaustic techniques. I’m looking forward to that.

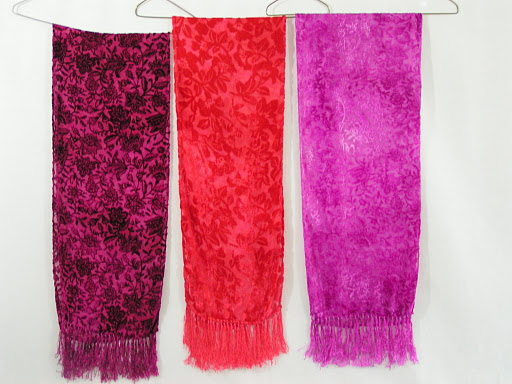
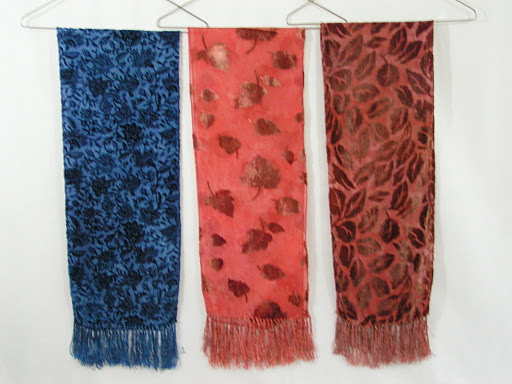
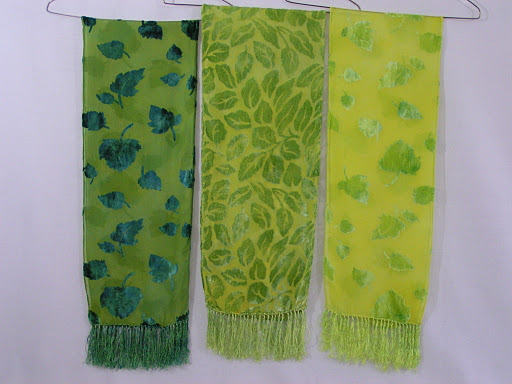
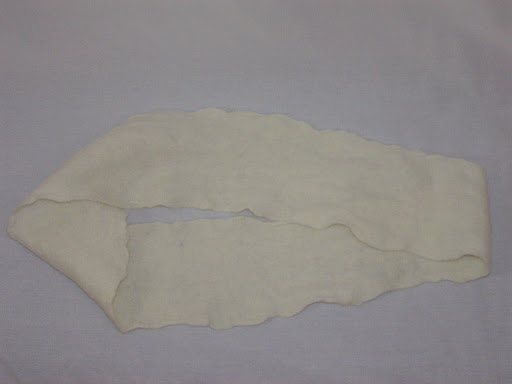
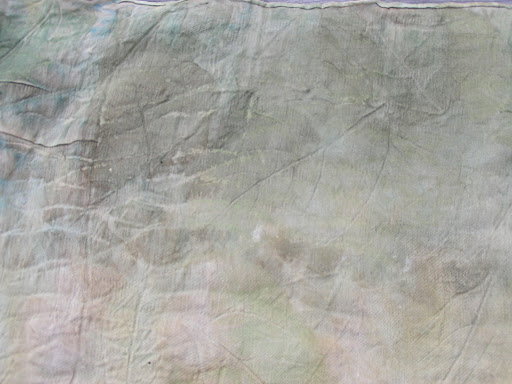
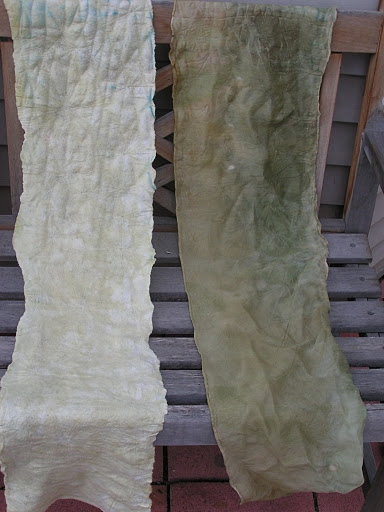
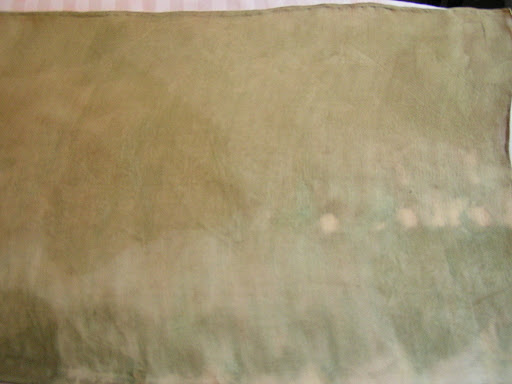
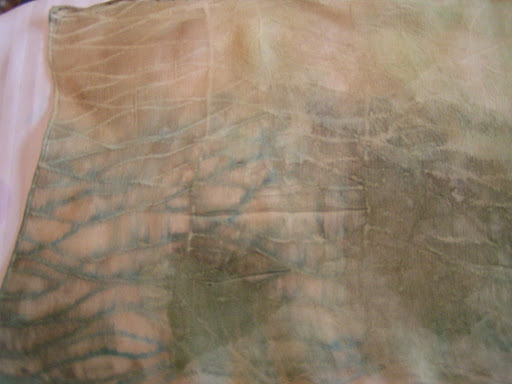
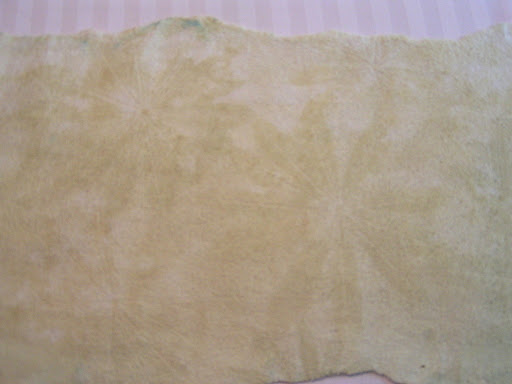
 I also dyed some scarves to sell at the store. This is just a few of them and sorry for the lousy photos. I took these photos this morning and the light wasn’t the best. I still haven’t ironed these so I’ll try and take some better photos after they are ironed.

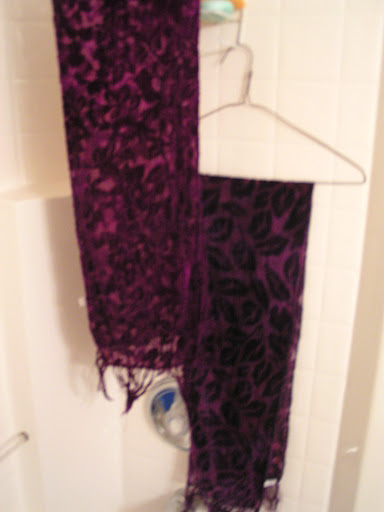
Here’s two that just would not rinse out. Red/magenta dye just kept coming out. So I let them soak overnight and then rinsed them again this morning. They are drying in the bathroom. I used these pre-mixed dyes I bought at Wally world and the process was really simple. I usually use acid dyes for these but since they have so much rayon in them, the colors always turn out pretty pale and anemic. These dyes provided a much richer color. I like them much better.

The publishers have finished taking all the beauty photos for my book. The manuscript is at the editor and I should be getting proofs to look at sometime in December. It’s really exciting.

I signed up to take Level II Hand and Machine Stitch with Gail Harker and the first session starts December 7th. I finally got word that the class is a go and I’m really excited about going over to LaConner, WA and seeing Gail’s new studio. I’ll let you know how it goes.

Thanks for stopping by and I hope you had a great weekend!

Mobius Scarf

So how many of you remember what a Mobius strip is? The definition on Wikipedia says that it is a surface with only one side and only one boundary component. Essentially is is a circle of something flat with a twist in it. I had seen Mobius knitted scarves but when Zed challenged us to make something with a twist, curls or swirls, I thought I should try a felted Mobius scarf. Sorry that it isn’t the best of photos. I took it last night and photos of white felt objects are really hard for me. I started this scarf at our felting party and finished it at home. I wasn’t sure it was going to work out but I actually like it and I may even wear it. I hardly ever wear anything that I make so that would be a change. It is made from the local merino I bought and is really fairly light and airy. I can’t decide whether I should dye it or leave it white. What do you think?

Leaf Prints Revealed

 I opened the leaf print bundles yesterday afternoon. This is the sunflower prints on a silk/wool blend scarf.

 You can see that I did get a bit of color from the leaf but it wasn’t as strong as I had hoped. I think I should have kept the bundles wet. They sat outside but had dried out.

 Here’s another area of the scarf. It just looks dirty in some places.

 Here’s the lupines on the felted scarf. You can see I got good transfer from the string that had dye in it. The strings are all white now.

 Here are the leaf prints. Very light and hard to see.

 Here are the two scarfs from a distance. Not too impressive.

 Here’s the sunflower scarf after ironing. I’m not sure where those white dots came from. Something blocked the dye there.

 Here’s the end with the blue from the strings. It is the most interesting part of the scarf.

Here’s the lupine one after ironing. I think I need to add another layer on these as I’m not really happy with how they turned out. I’ll leave them for a bit and then decide what to do. Any suggestions?

Friday’s Felting Party

 Paula, Shelley and I got together yesterday and had a felting party. First we had a little lunch and chit chat and then we got down to some serious felting. We were working in the new felting studio in the basement of Camas Creek Yarns. Paula teaches felting classes here. They have two great big tables, a double sink and the shop is now selling roving, batts and even prefelt. This first photo shows a scarf that Paula is making with instructions from Chad Hagen’s new scarf book. The process is to use pencil roving and wrap it around the bubbles in the bubble wrap, wetting down as you go. Paula had already worked for 3-4 hours to get this far.

 Here’s Paula still working four hours later. She had the first layer down and was adding the second layer in another color. Talk about tedious layout! I’m not sure I want to try one of those.

 Here’s what Shelley was working on. She made some little felted birds which were originally going to be brooches/pins but she decided they she was going to incorporate them into a small bag that she is planning on making.

Here’s my project. It is a scarf made from merino with only one thin layer of batting in the layout. There is a surprise to this scarf that you can’t see at this point. I didn’t get it finished so you’ll have to wait for the result.

I’ll be unveiling the leaf prints later today. It won’t be until the afternoon because I have to go and count inventory for the store tomorrow. Have a great weekend and thanks for stopping by.