I almost wrote “Back to Normal” for the title but decided I wasn’t sure what “normal” was anymore. It’s been a bit stressful here since the last time I posted but I think I’m back on track again. The local surface design group started up again after our summer break. We worked out our schedule through June 2015 and I’m looking forward to a year of further experimentation. Today we used discharge techniques to remove dye from already dyed fabric. I’ve got lots of photos so this will be a long post.

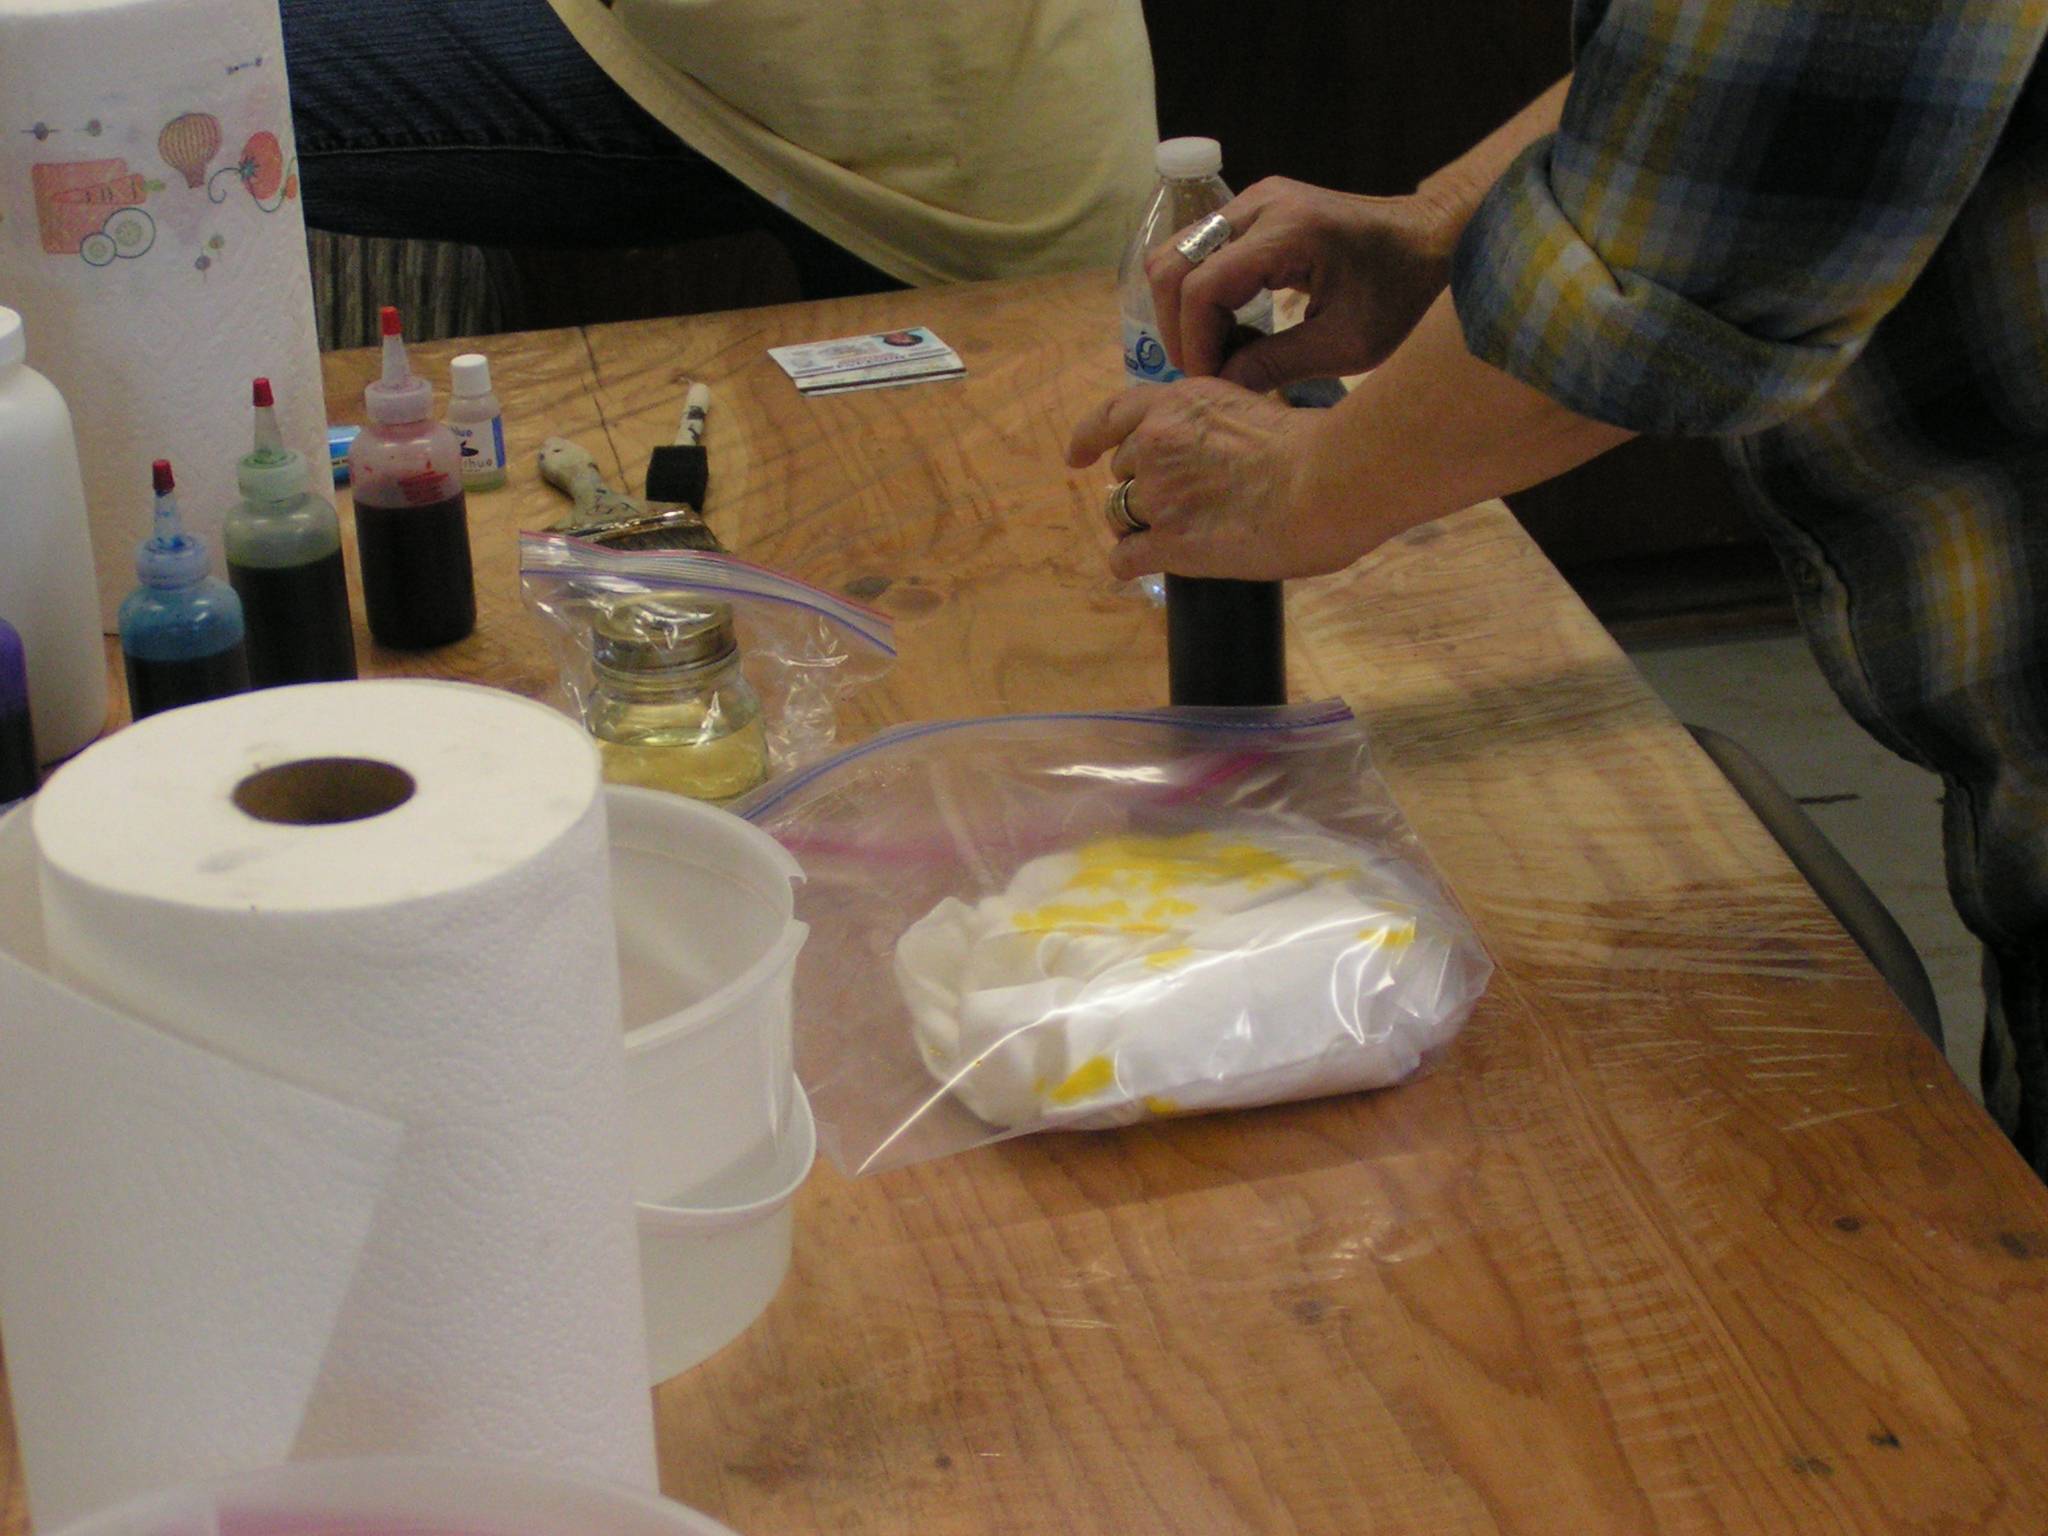
Bunny brought lots of white silk scarves for people to dye and Carole provided the dye.

The dyeing was done in bags and the dyes were squirted on. These dyes didn’t need any mordant and just need to be heat set. The dye strikes very quickly. I can’t remember the name of the dye though.

And it didn’t really look like the heat setting was even necessary. I already had plenty of dyed fabric and scarves so I didn’t do one.

Then we used a variety of stencils, stamps and silk screens to apply discharge paste to silk scarves, cotton fabric or linen fabric.

This is cotton fabric and then Carole drew on it with a Clorox bleach pen. I had a couple of these but they were old and didn’t actually work anymore.

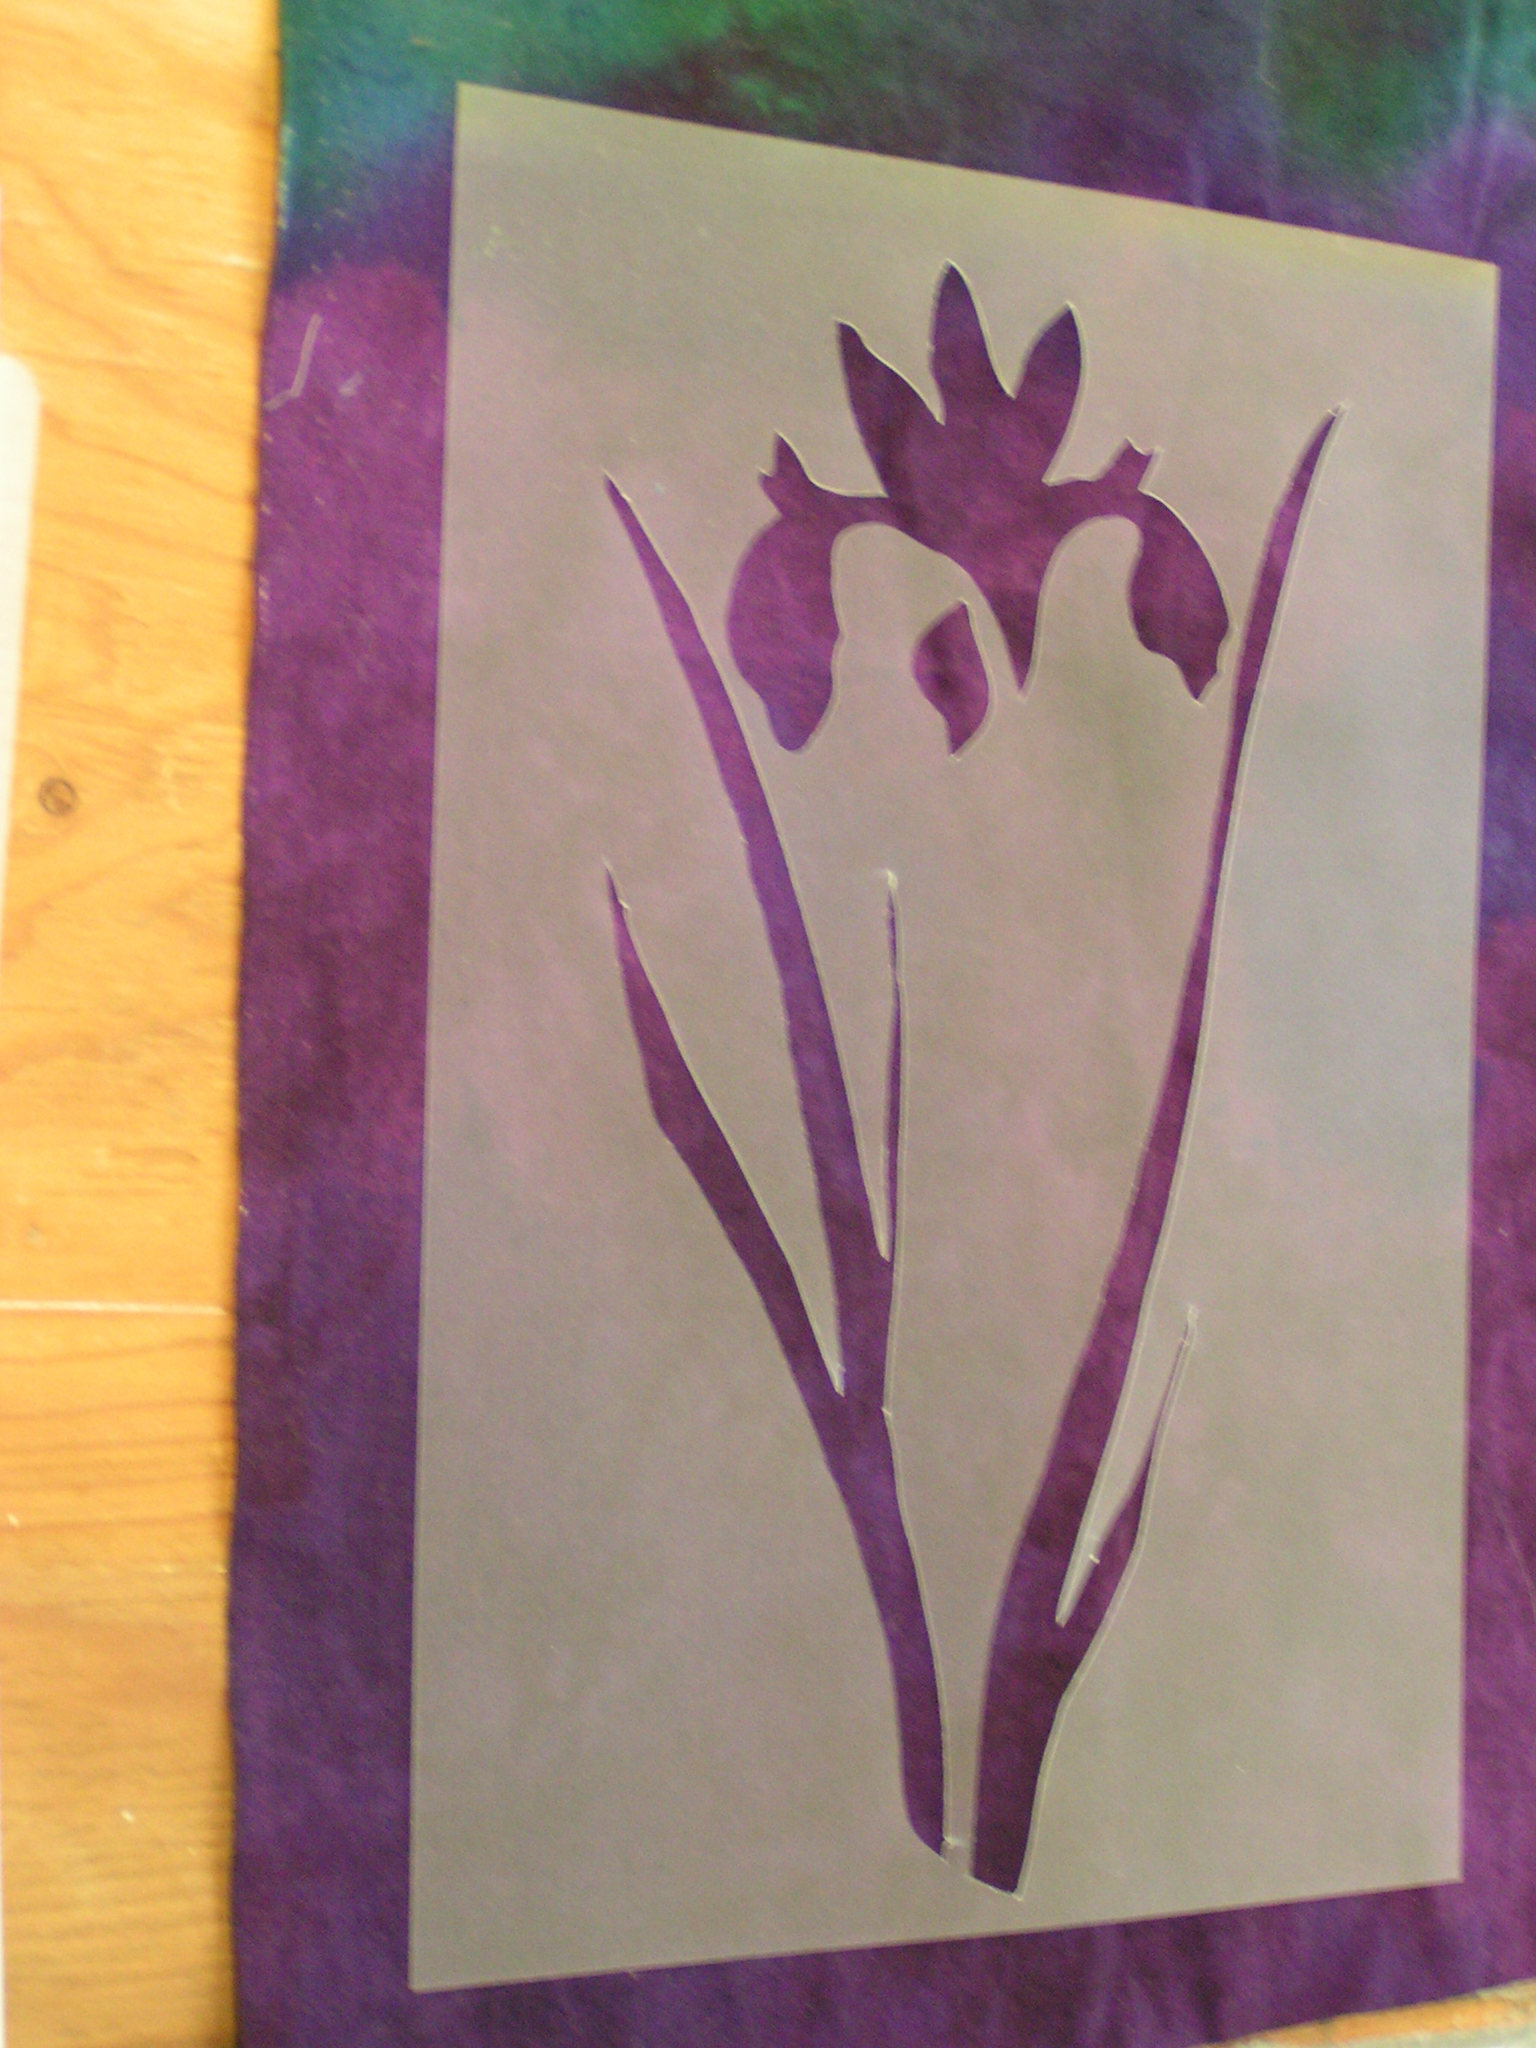
Here’s a stencil that Sally used.

Once the paste is applied, you are supposed to let it dry completely and then iron it. But we couldn’t wait for all that drying so we used heat guns. You have to be careful to avoid burning the fabric but it is so fun seeing your design appear as if by magic.

Here is a silk scarf with the paste still wet on the scarf. This was a silk screen of Louise’s that was made with the paper fabric lamination process.

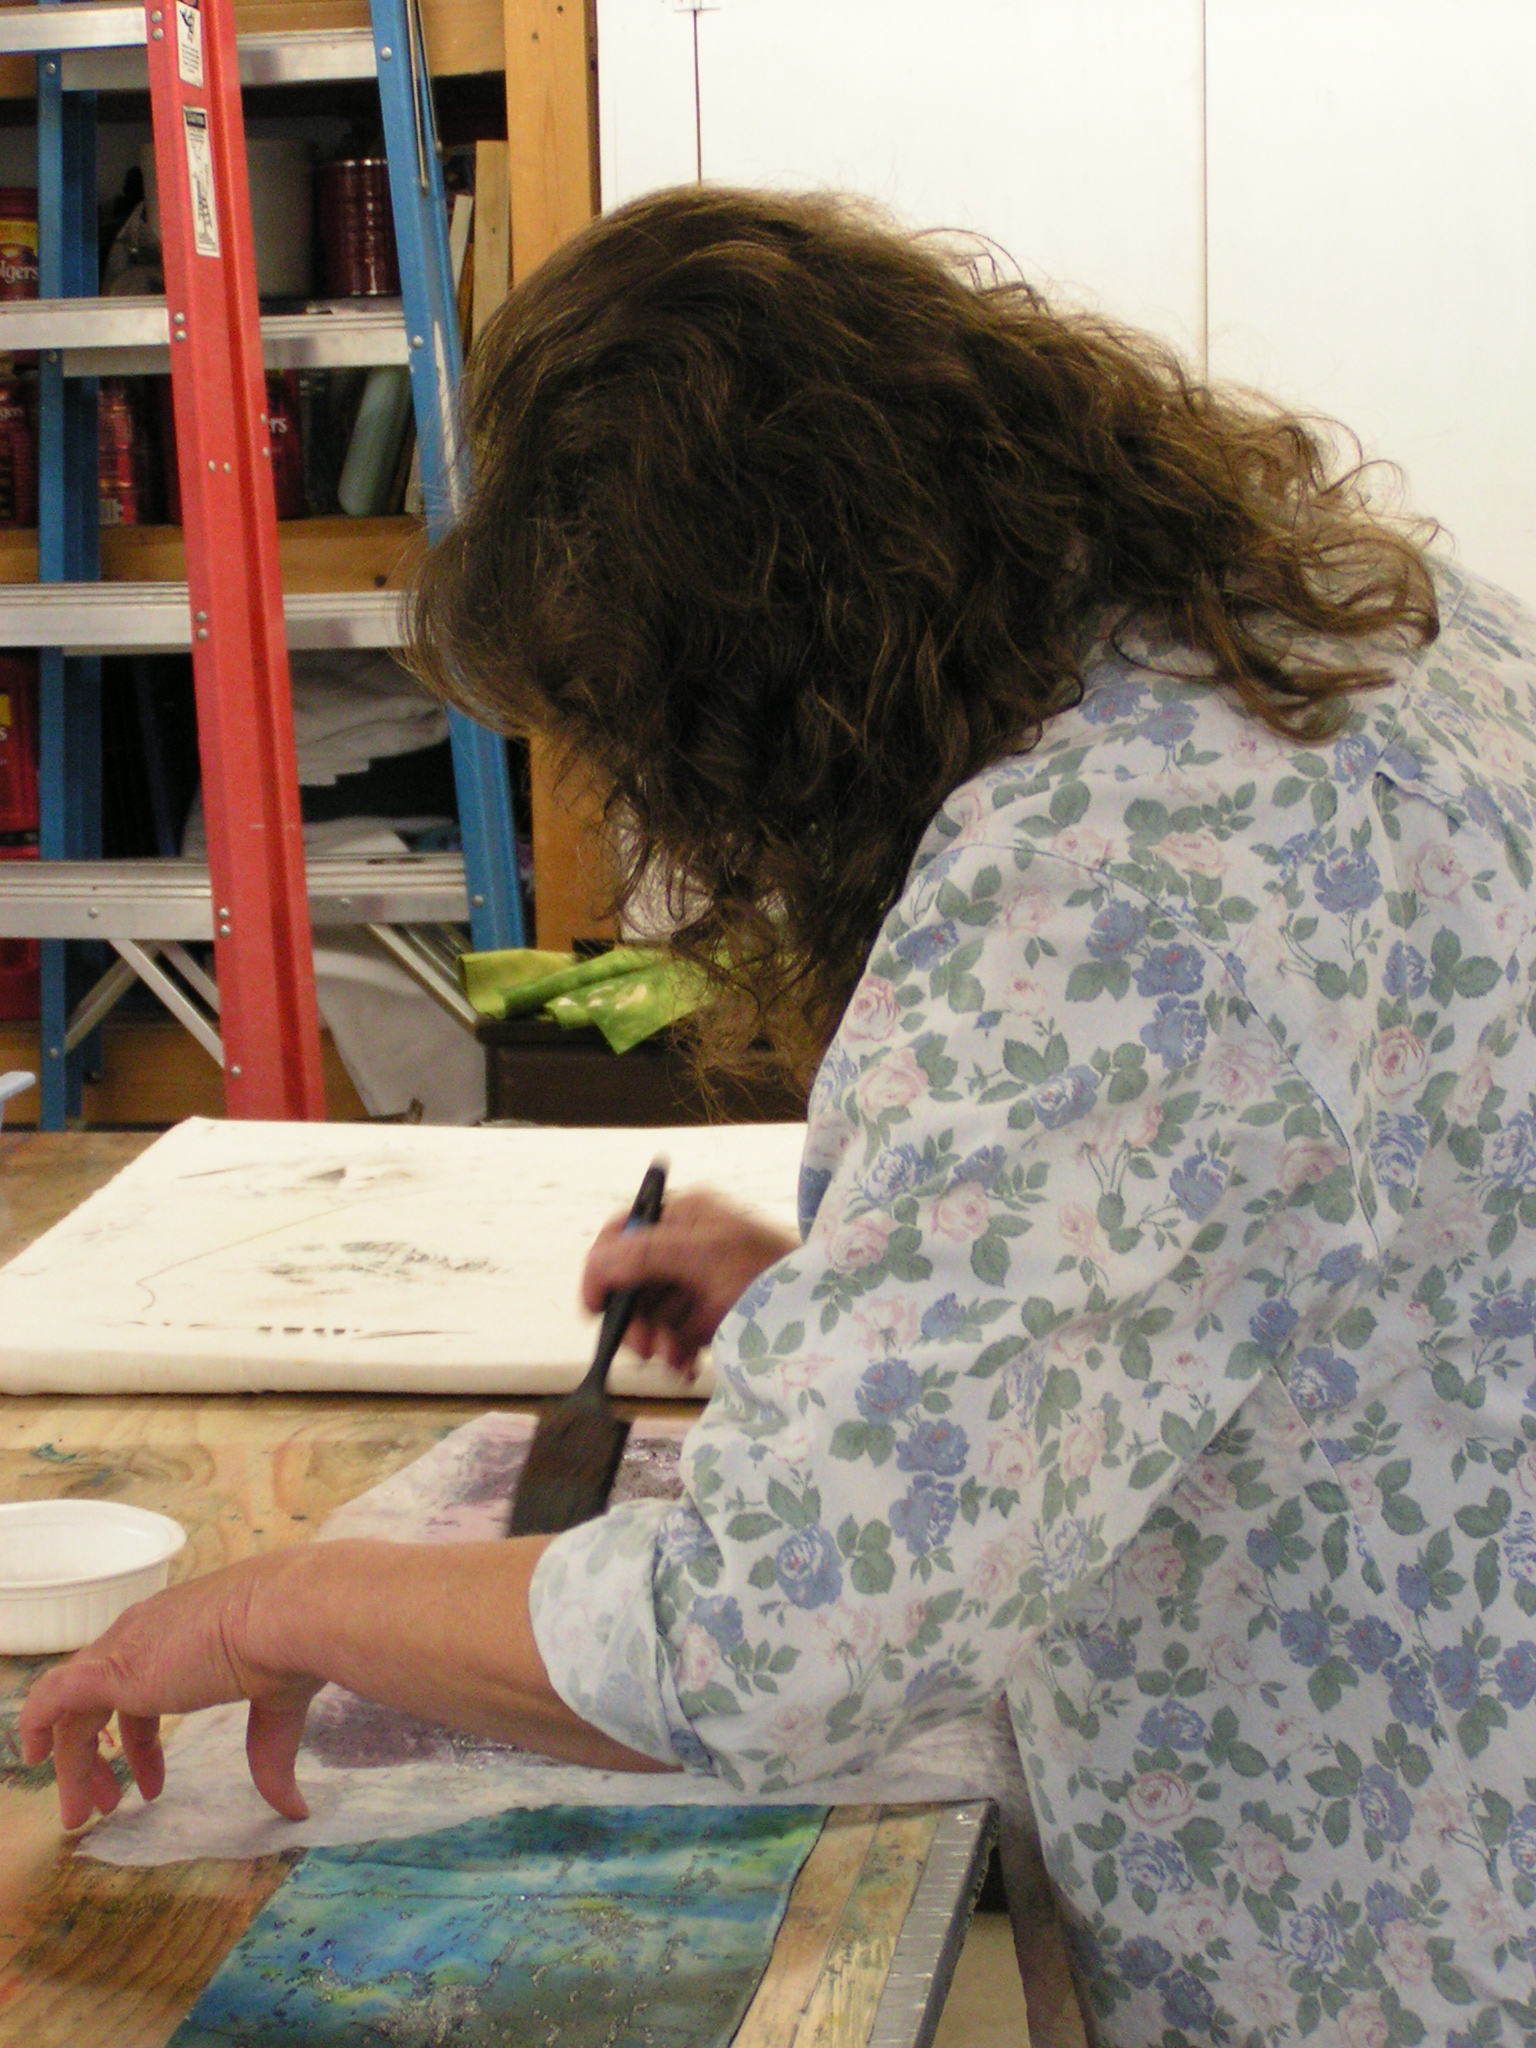
Here’s Louise applying the discharge paste through the silk screen with a brush.

This is Paula applying discharge paste to a commercial fish stamp.

Can you see the fish imprint on her scarf?

She also used a plastic grid to apply discharge paste to the scarf.

And here she is using the heat gun and magically the fish tail appears!
Here is discharge paste applied with a plastic piece with texture. It didn’t work as expected but still gave a nice end result.

Here’s one of Carole’s pieces after applying discharge paste with stencils and sequin waste.

Here’s Bunny’s purple scarf with discharge paste applied through Louise’s paper fabric lamination silk screen. Everyone really liked this silk screen and I think we all used it on one of our pieces.

Sally and Bunny applying discharge paste.
 A little closer look at Sally using leaf stencil.

Here’s Carole drying her piece.

Here’s one of Bunny’s scarves. I love that color!

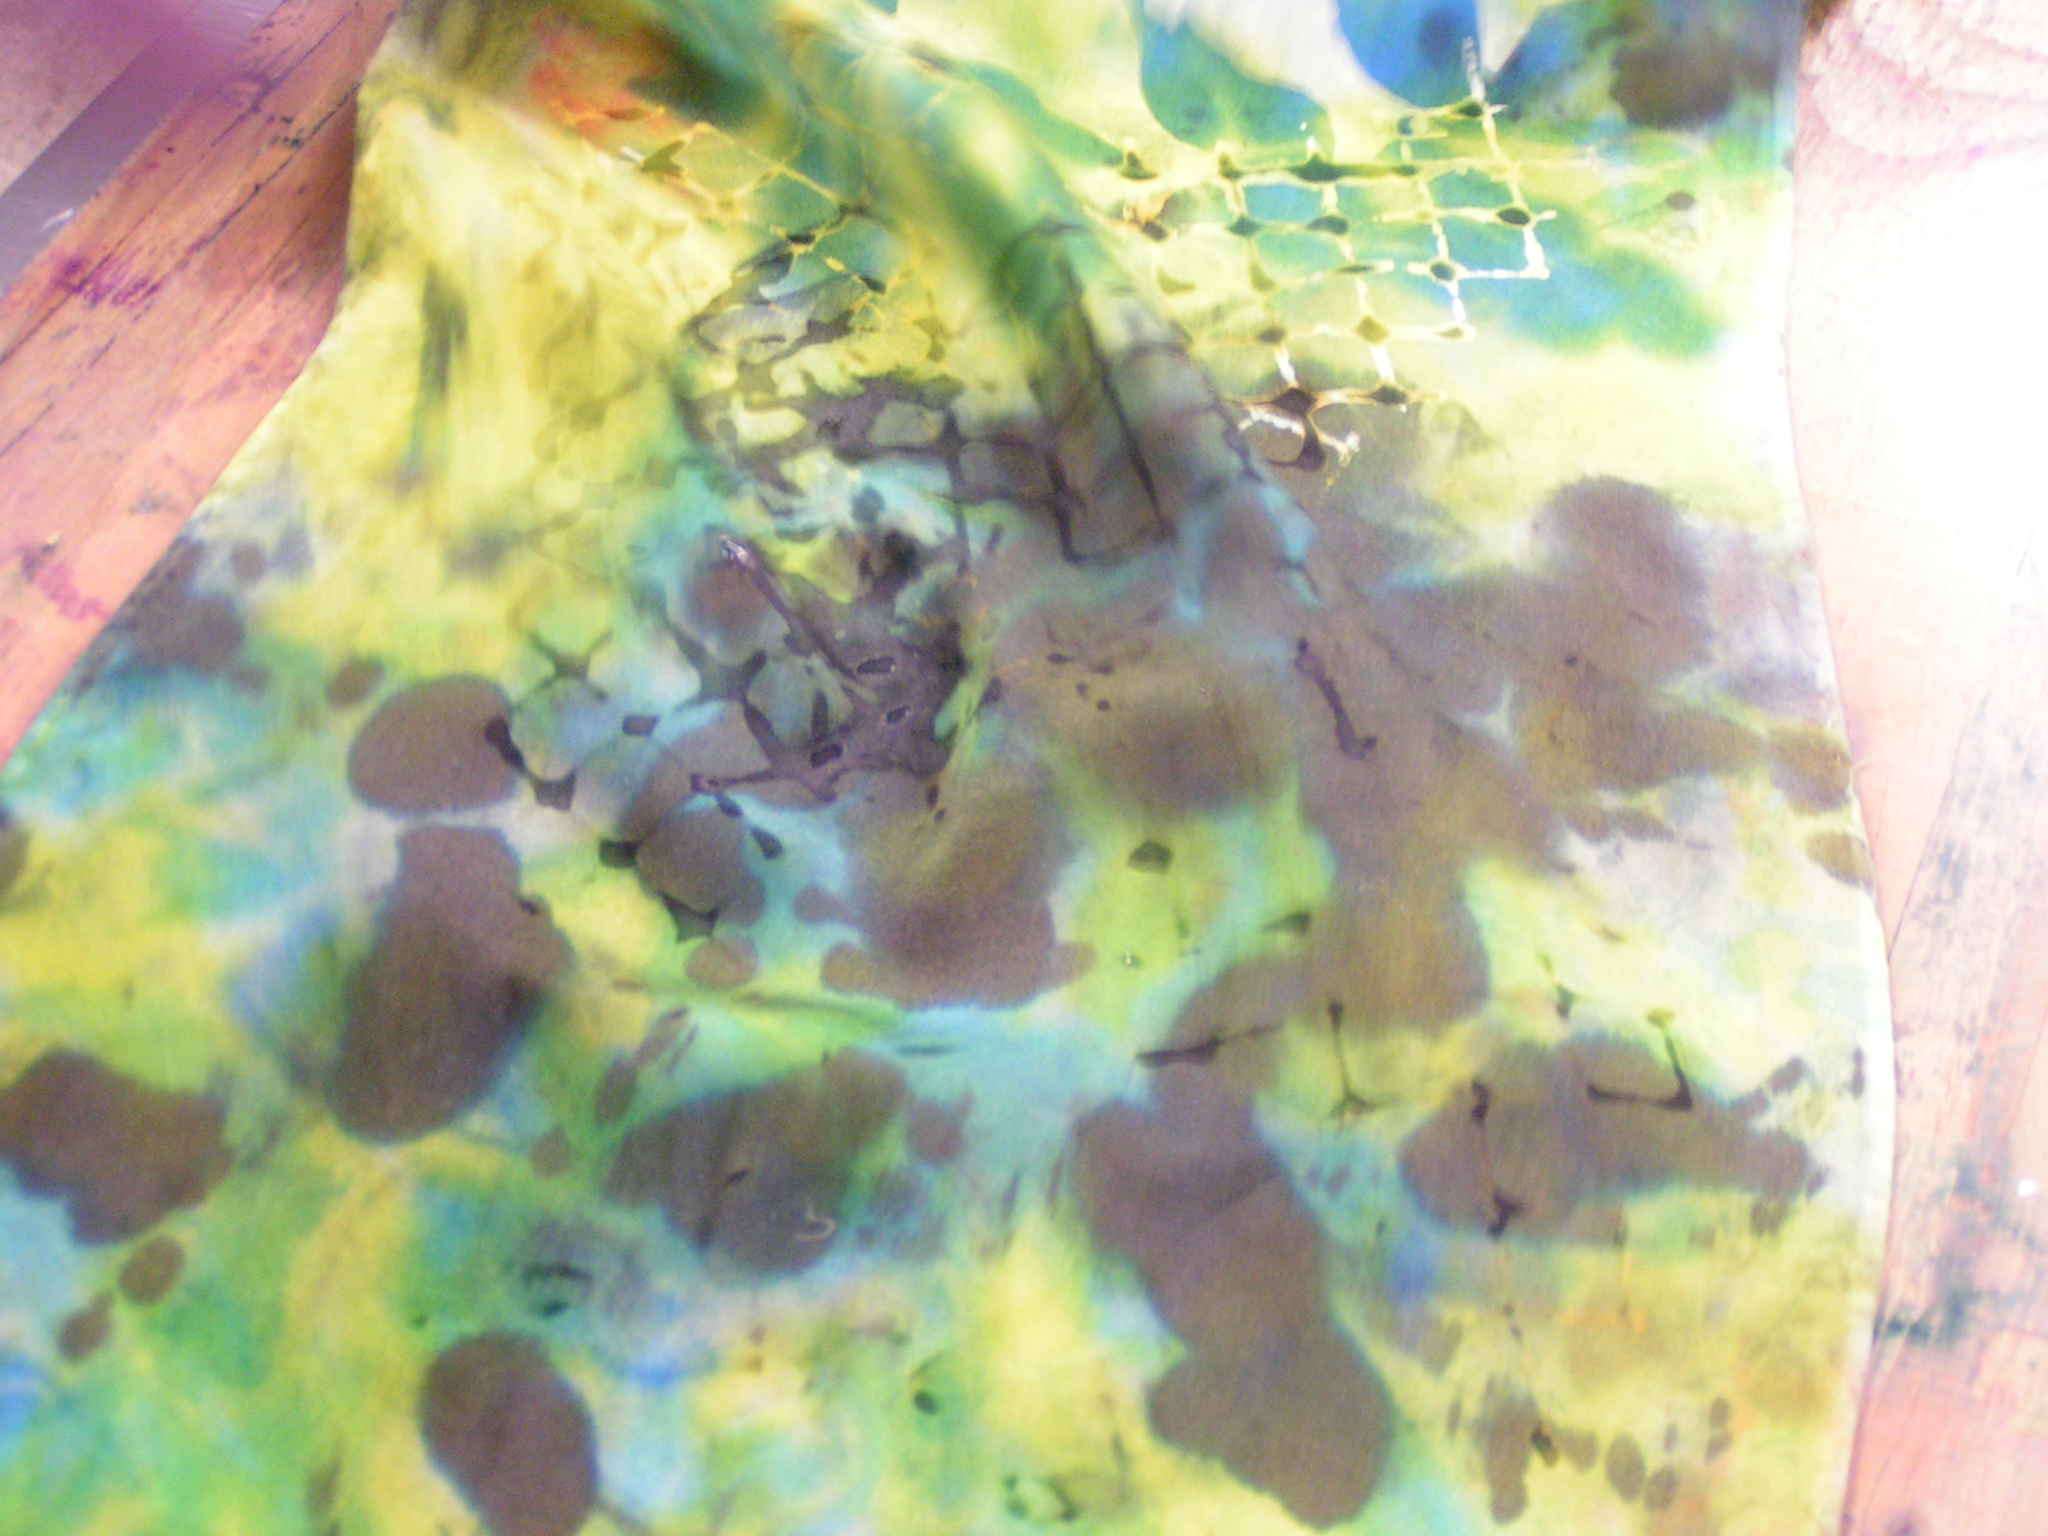
This is Carole’s scarf after heating it. The orange color is so cool on there but sadly it rinsed out during the rinsing step. If you don’t rinse it, the discharge paste will destroy the fabric. The scarf still looks really cool but I really liked the orange. I’m going to put this photo in Photoshop and see if I can get a good crop of just the scarf. Then maybe we’ll be able to use the design by printing on fabric from the computer.

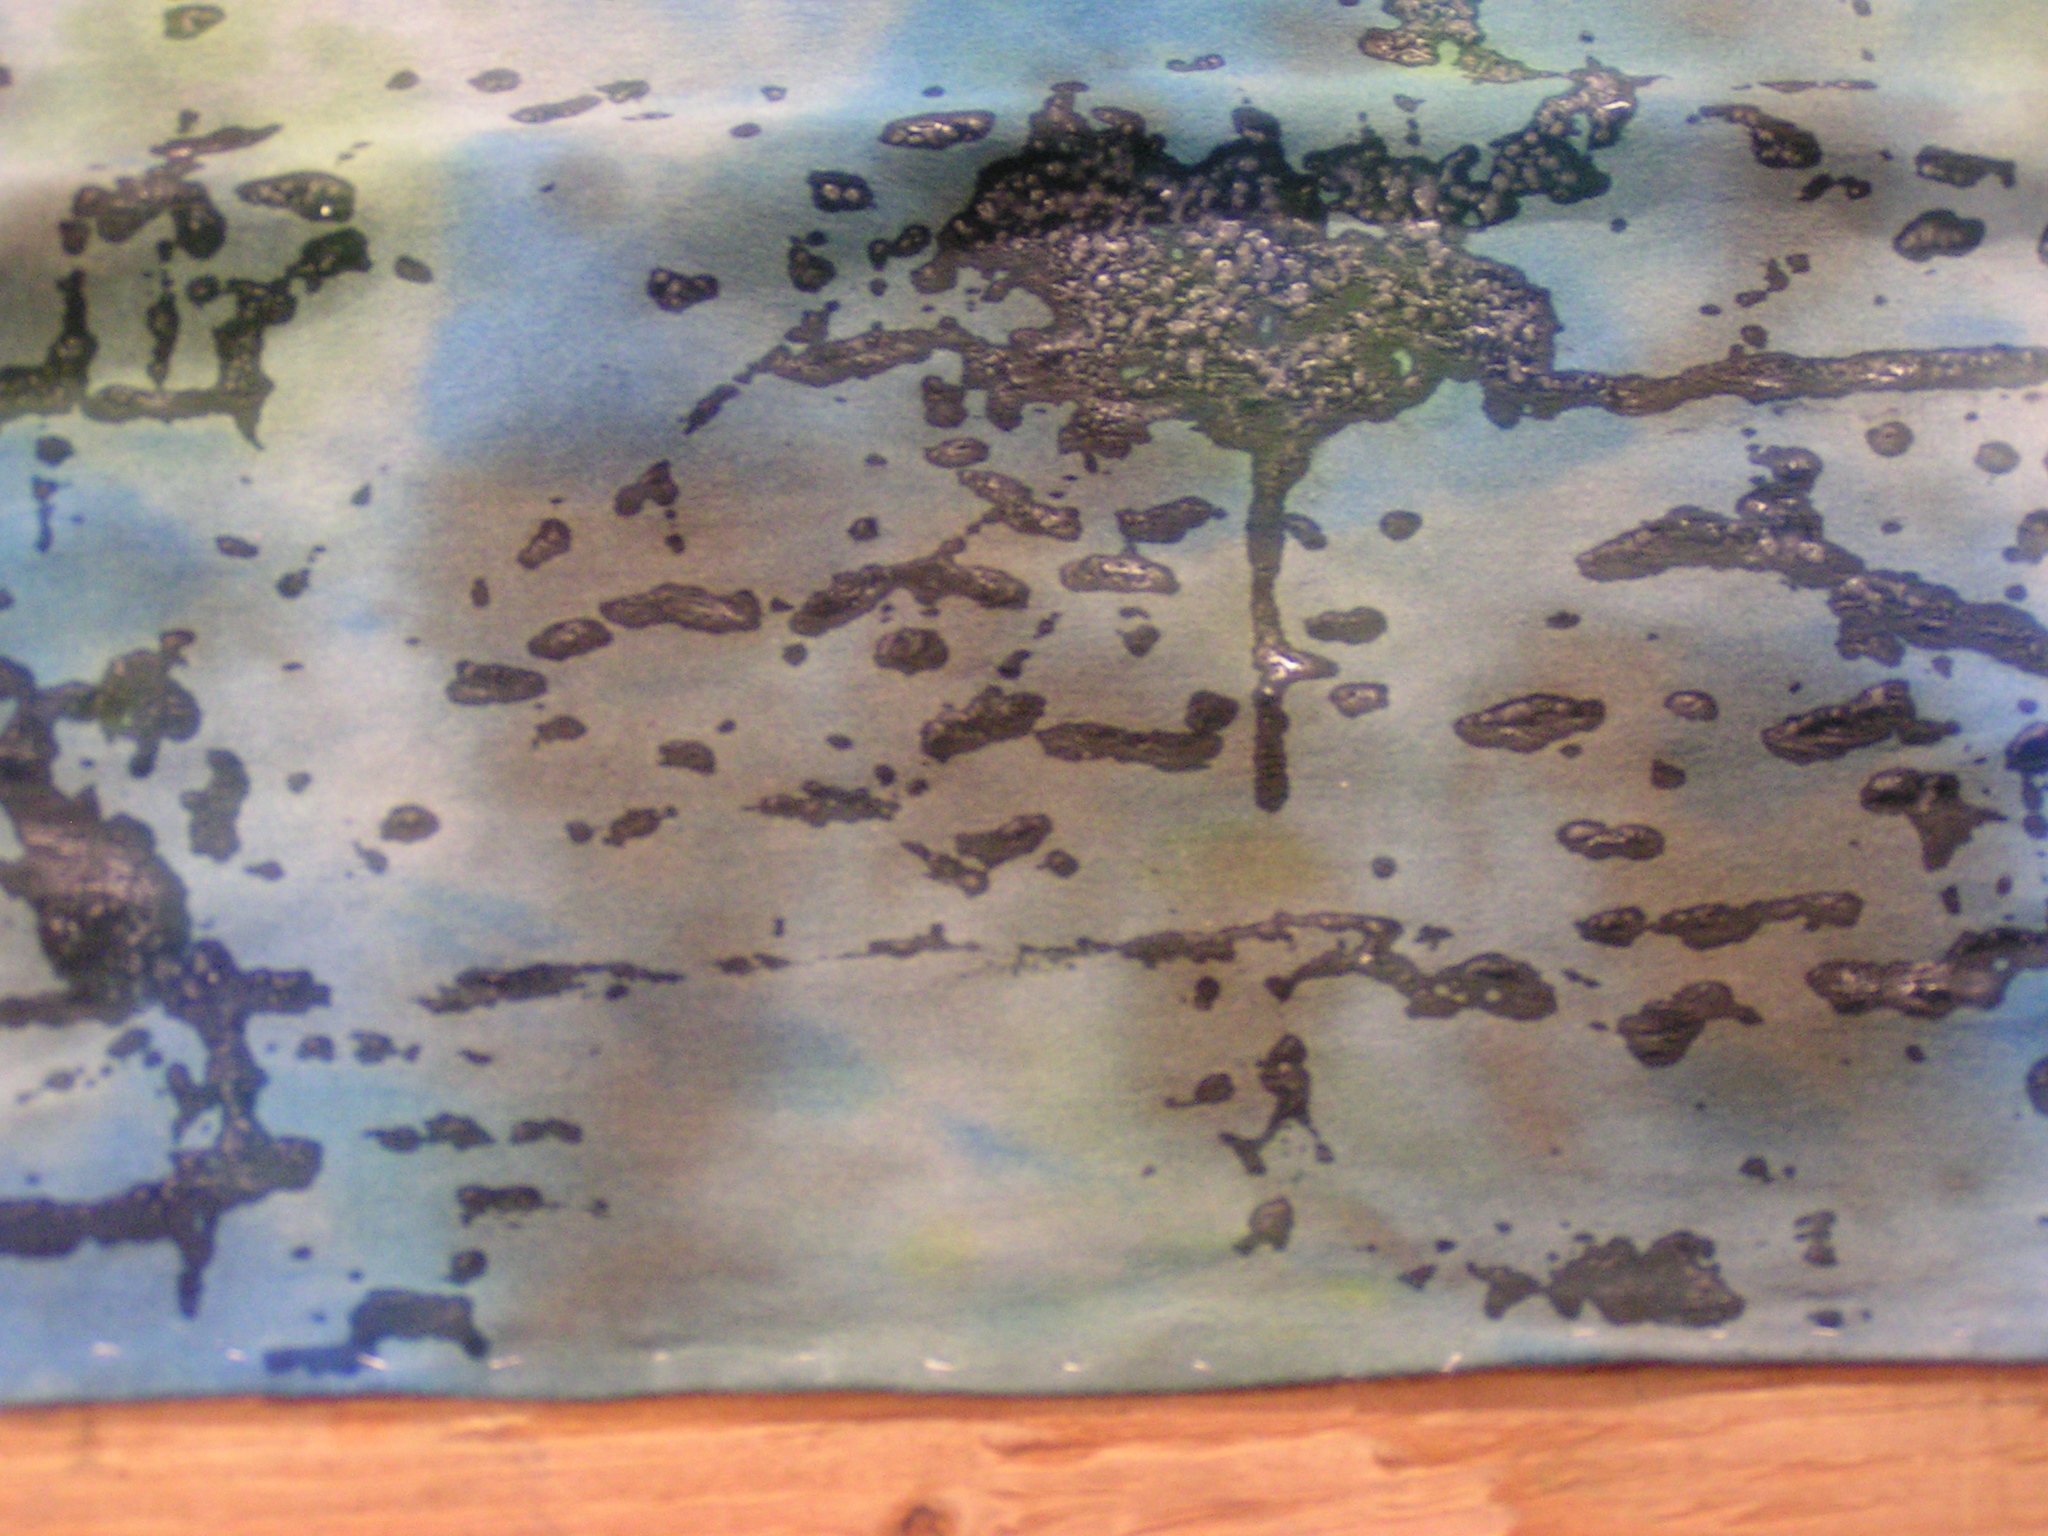
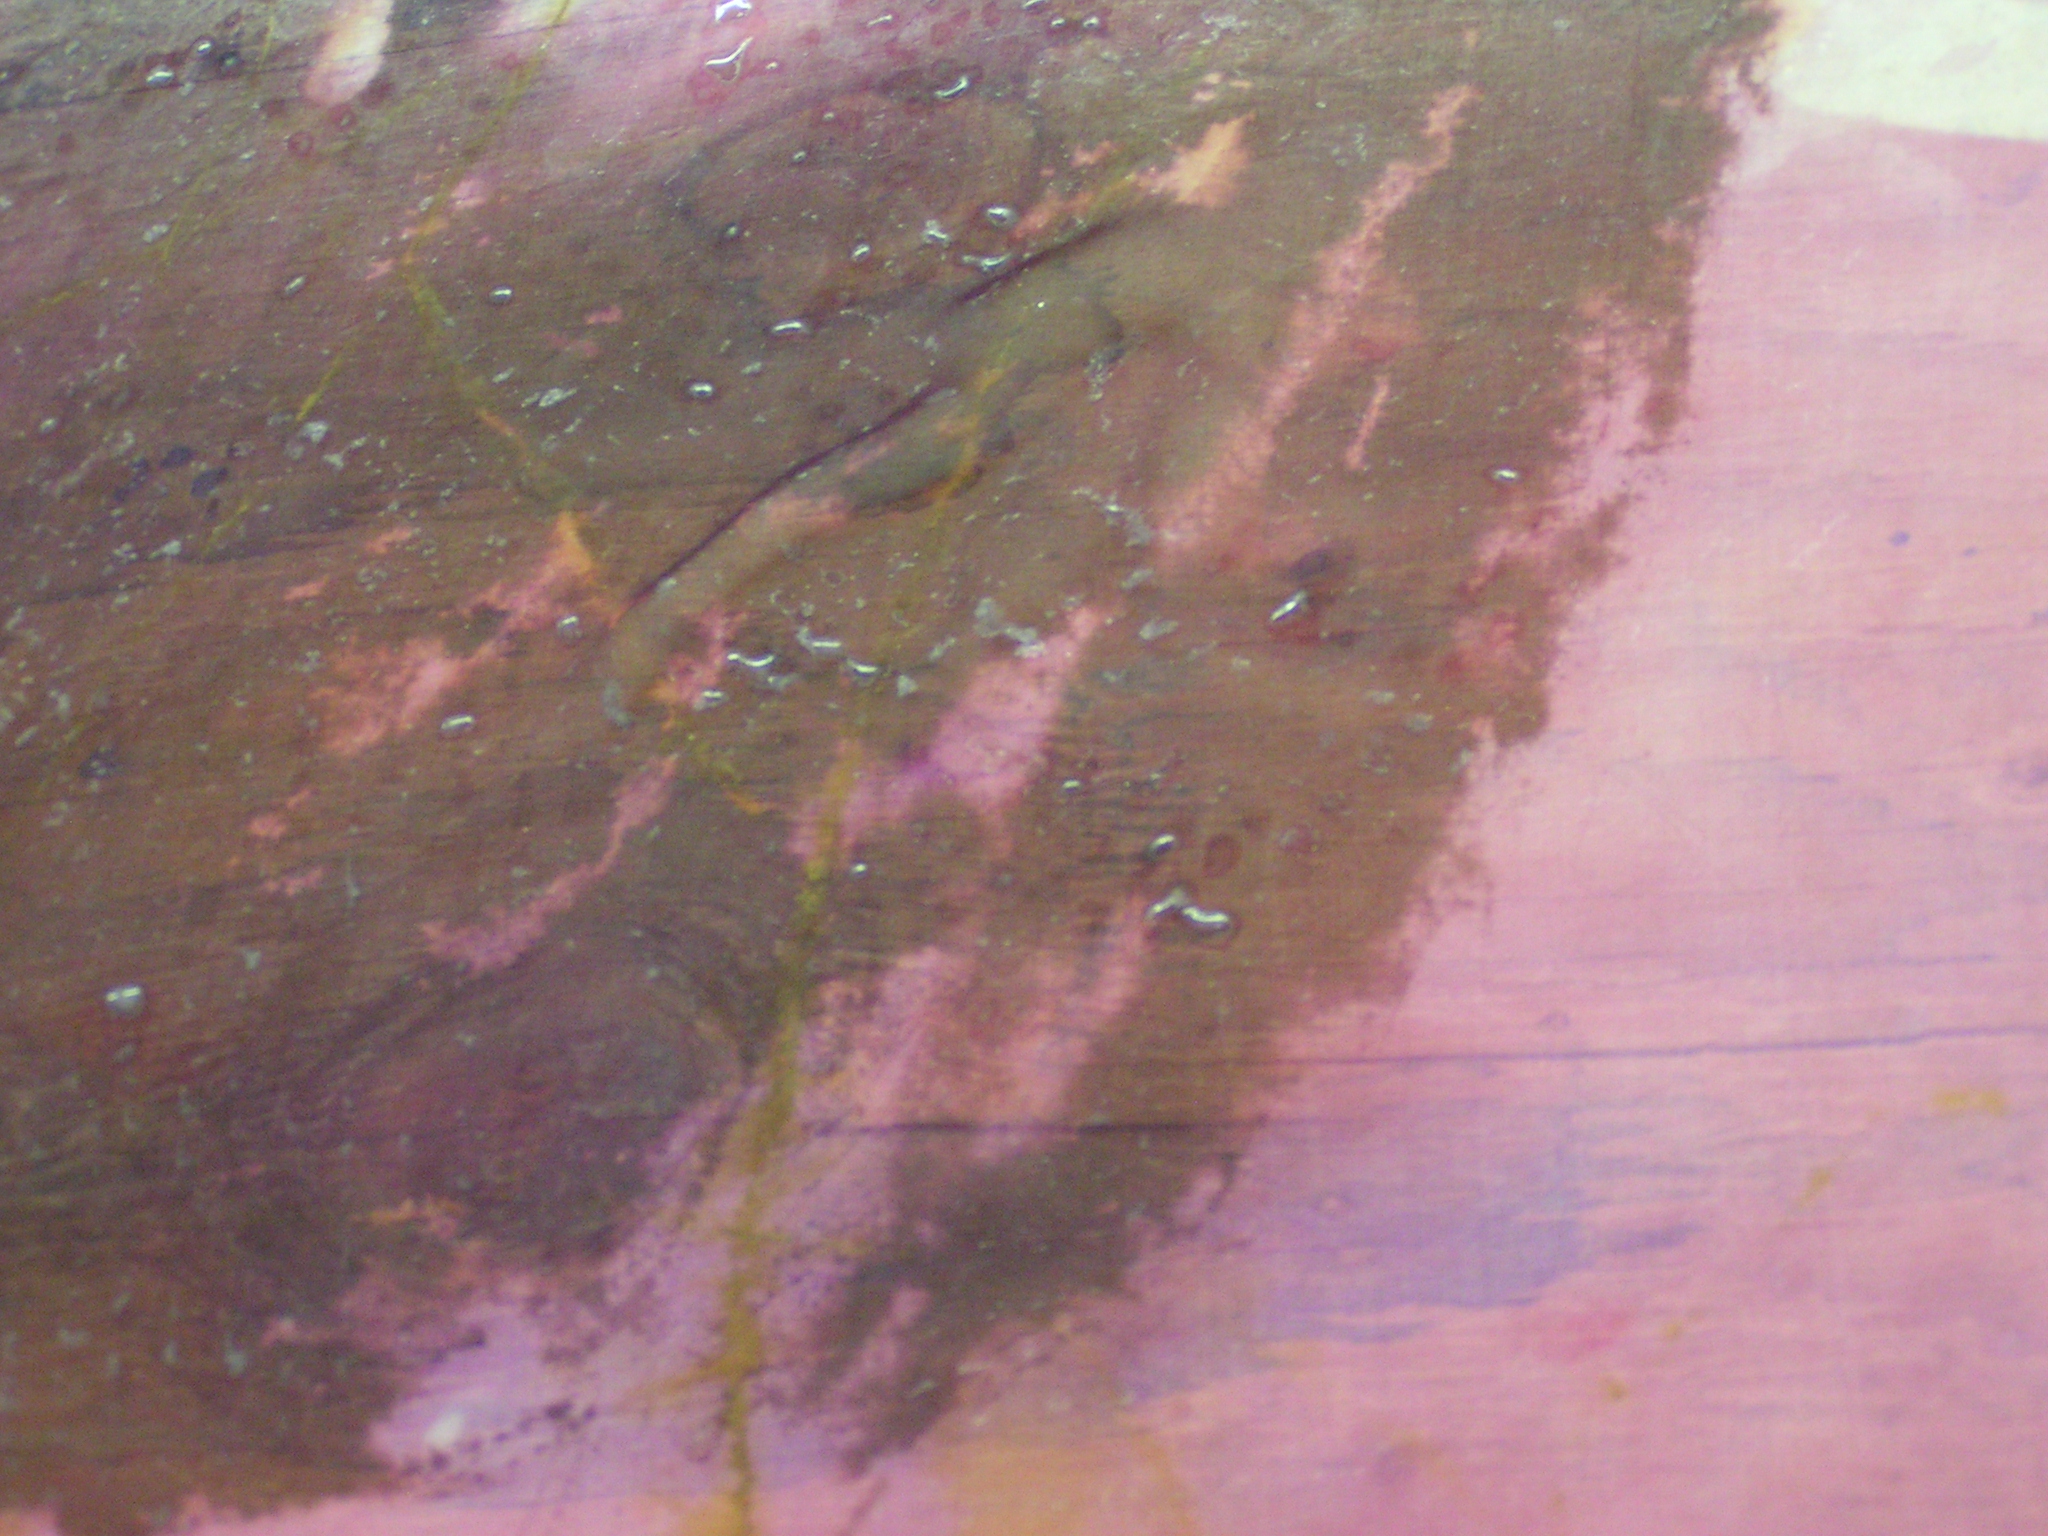
This was the weirdest one. The base is a wool blanket that has been printed with dye and then over dyed with natural dyes. I applied the discharge paste through a flower stencil and it immediately turned bright orange. Sadly, once I heat set it and rinsed it, you can barely see any orange at all. Perhaps if I had let it dry completely and then heat set, it might have worked better.

I think this is one of Sally’s pieces after heat setting.

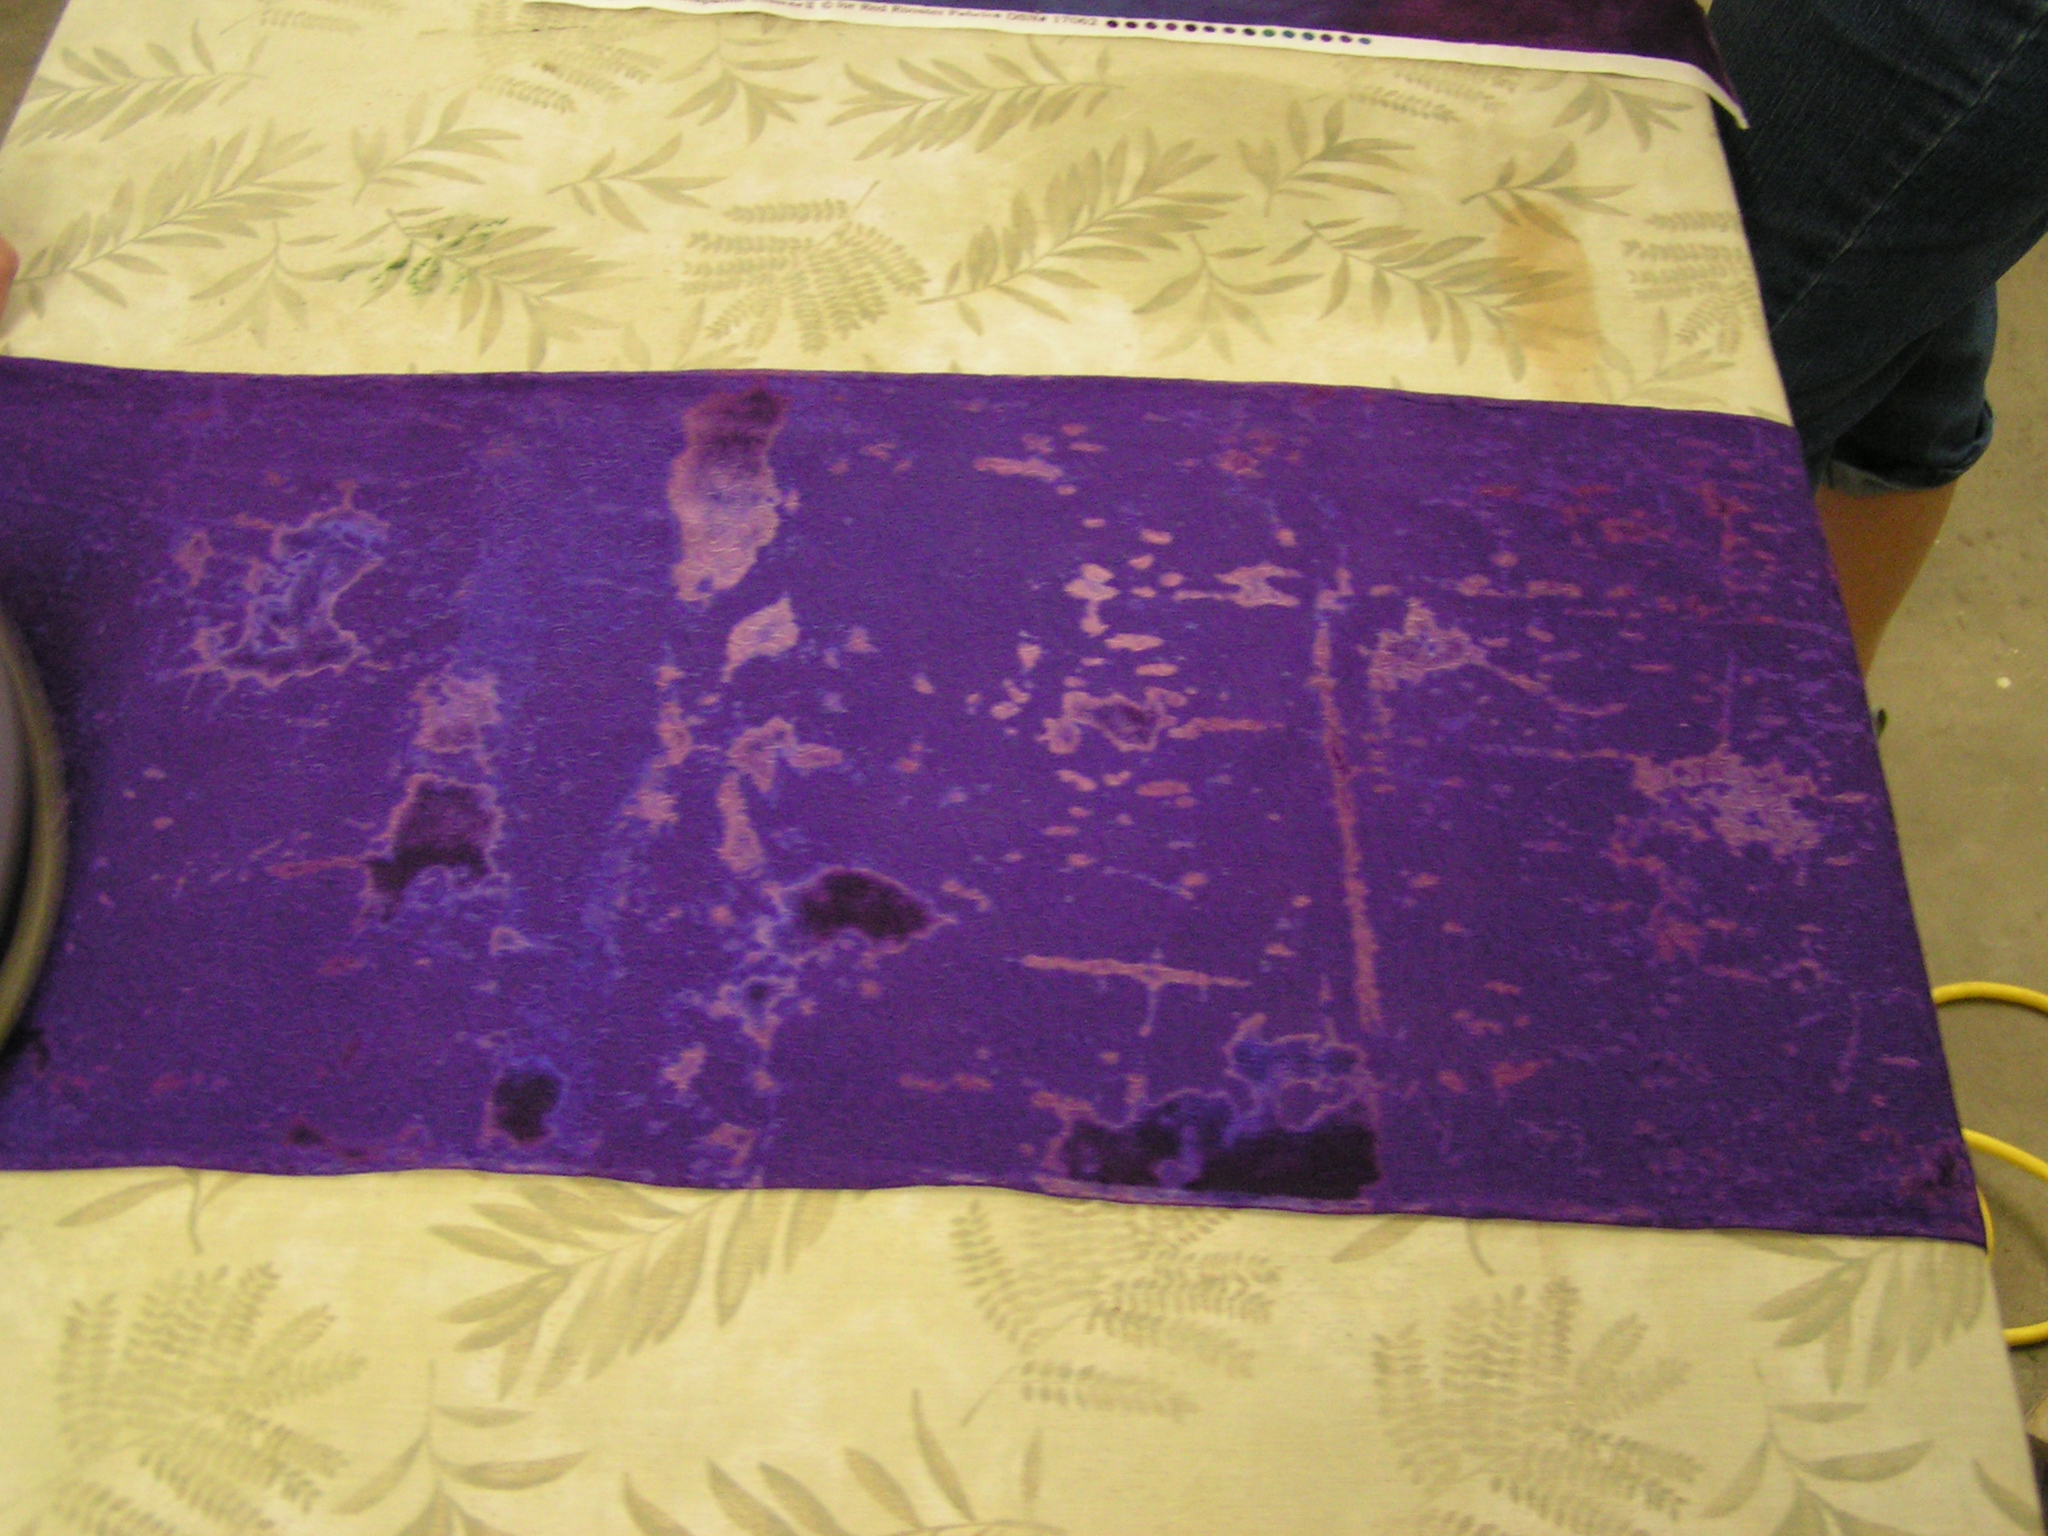
Here’s Bunny’s purple scarf in the midst of heat setting.

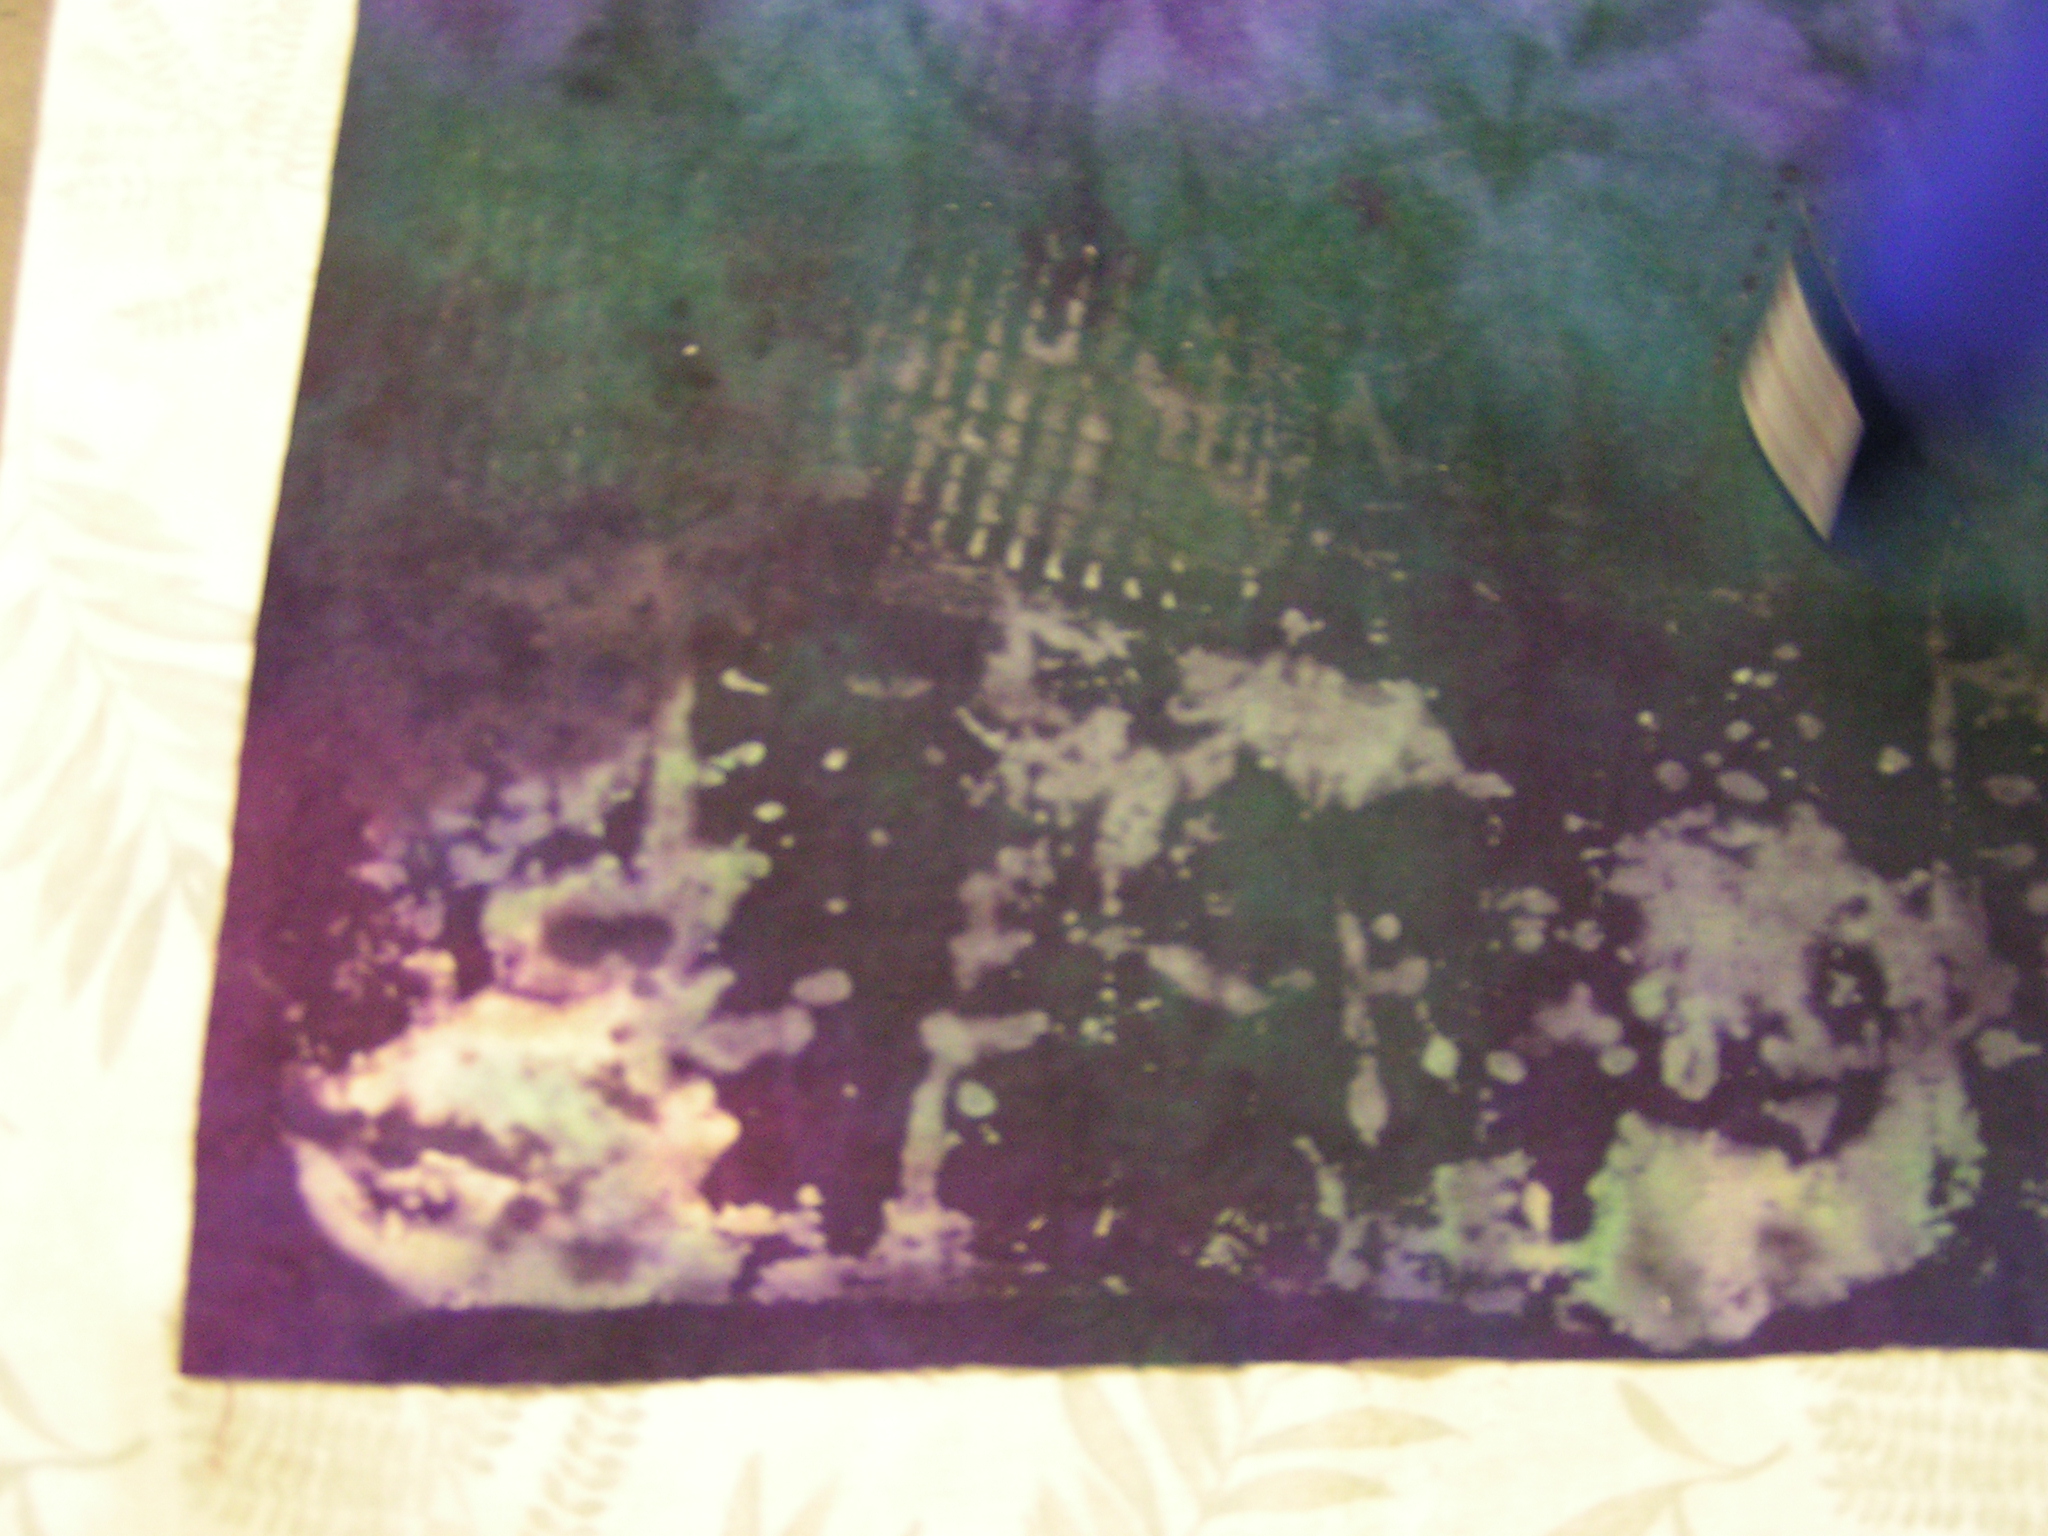
This is Sally’s piece where she used a batik fabric as the base and then screened the discharge paste through one of Louise’s screens. I think this one is really cool.

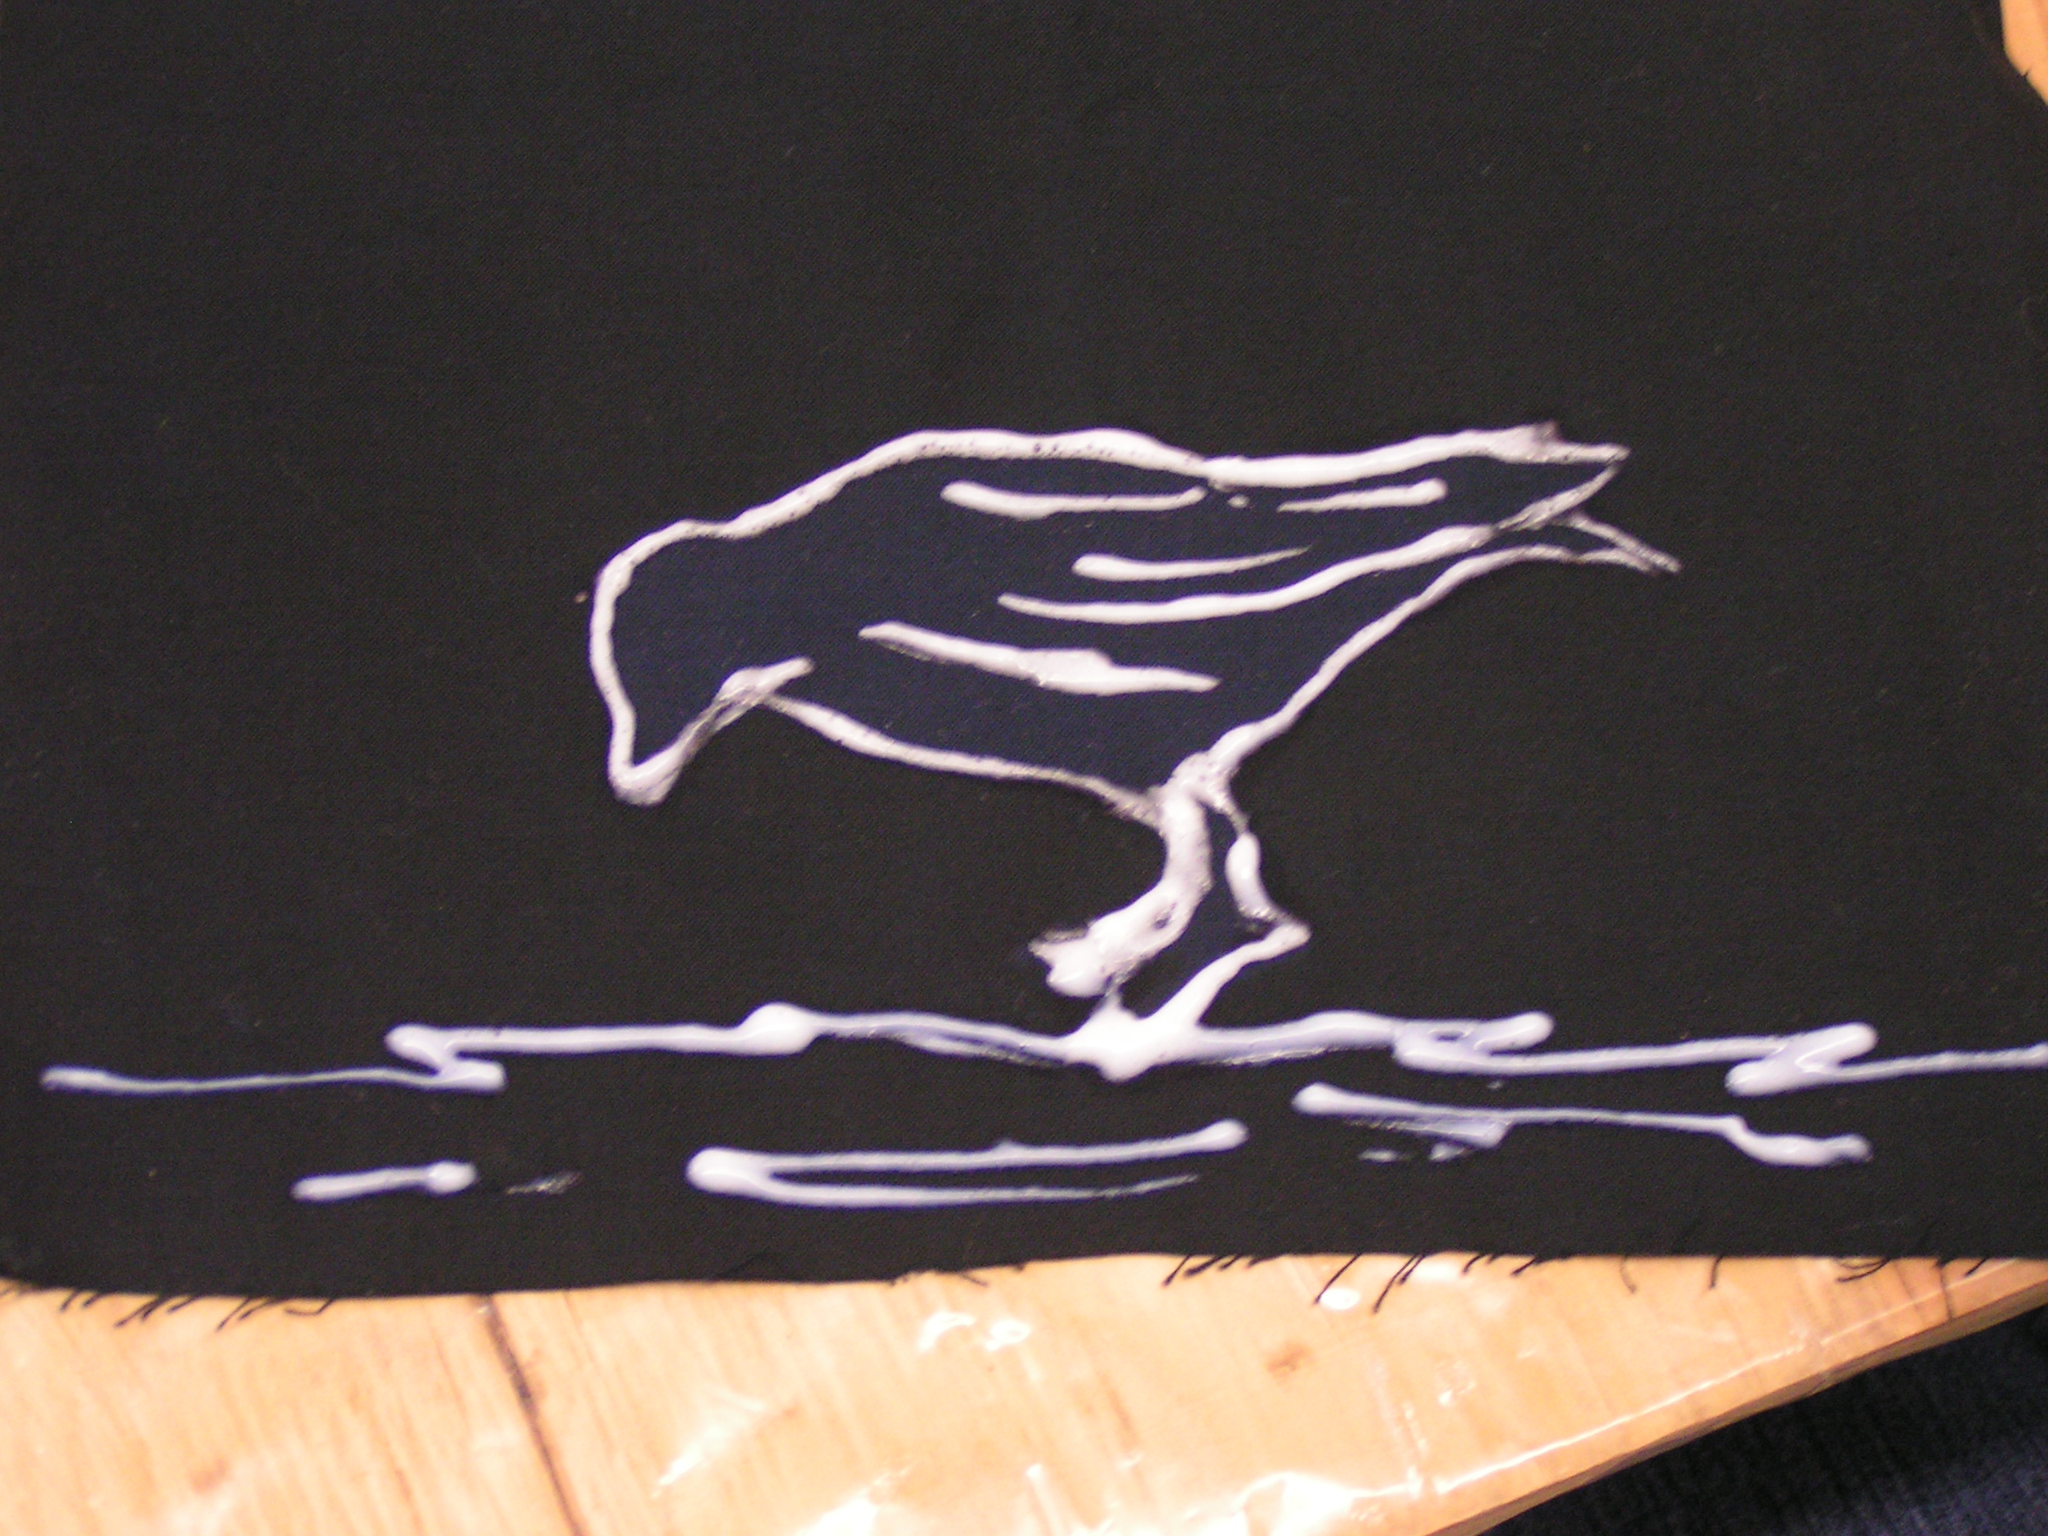
And here is Bunny’s using the same screen but on plain black fabric.
We had a great time and it’s good to get back into the experimenting groove again. I’m looking forward to seeing what everyone does with their fabric. I’ll take some photos of my fabric once it’s washed, dried and ironed and post later. Have a good weekend.