This month we’re going to focus on color. Don’t you just love to play with color? I think though that sometimes you might shy away from learning about color theory. It just sounds too technical and too much work. Many artists have spent a lifetime learning about color theory but you don’t need to get overwhelmed. Just jump in and start trying some of the ideas suggested here. It will be fun – I promise!
Color occurs when light in different wavelengths strikes our eyes. Objects have no color of their own, only the ability to reflect a certain wavelength of light back to our eyes. As you know, color can vary in differing circumstances. For example, grass can appear gray in the morning or evening or bright green at noon. Colors appear different depending on whether you view them under incandescent, florescent or natural sunlight. Colors also change according to their surroundings.
There are three properties of color which are hue, value and intensity. Hue refers to the color itself. Each different hue is a different reflected wavelength of light. White light broken in a prism has seven hues: red, orange, yellow, green, blue, indigo and violet. Remember Roy G. Biv? White light occurs when all the wavelengths are reflected back to your eye, and black light occurs when no light is reflected to your eye. This is the physics of light.
Color value refers to the lightness or darkness of the hue. Adding white to a hue produces a high-value color, often called a tint. Adding black to a hue produces a low-value color, often called a shade. Value can be used for emphasis. Variations in value are used to create a focal point for the design of a piece.
Intensity, also called chroma or saturation, refers to the brightness of a color. A color is at full intensity when not mixed with black or white – a pure hue. You can change the intensity of a color, making it duller or more neutral by adding gray to the color. You can also change the intensity of a color by adding its complement (this is the color found directly opposite on the traditional color wheel). When changing colors this way, the color produced is called a tone.
Certain colors have an advancing or receding quality, based on how our eye has to adjust to see them. Warm colors such as red, orange or yellow seem to come forward while cool colors such as blue and green seem to recede slightly. In the atmosphere, distant objects appear bluish and the further away an object appears, the less colorful and distinct it becomes. You can use this tendency to give an illusion of depth, by using more neutral and grayish colors in the background.
Various color schemes can be used in your work. A monochromatic color scheme involves the use of only one hue. The hue can vary in value, and black or white may be added to create various shades or tints.
An analogous color scheme involves the use of colors that are located adjacent on the color wheel. The hues may vary in value.
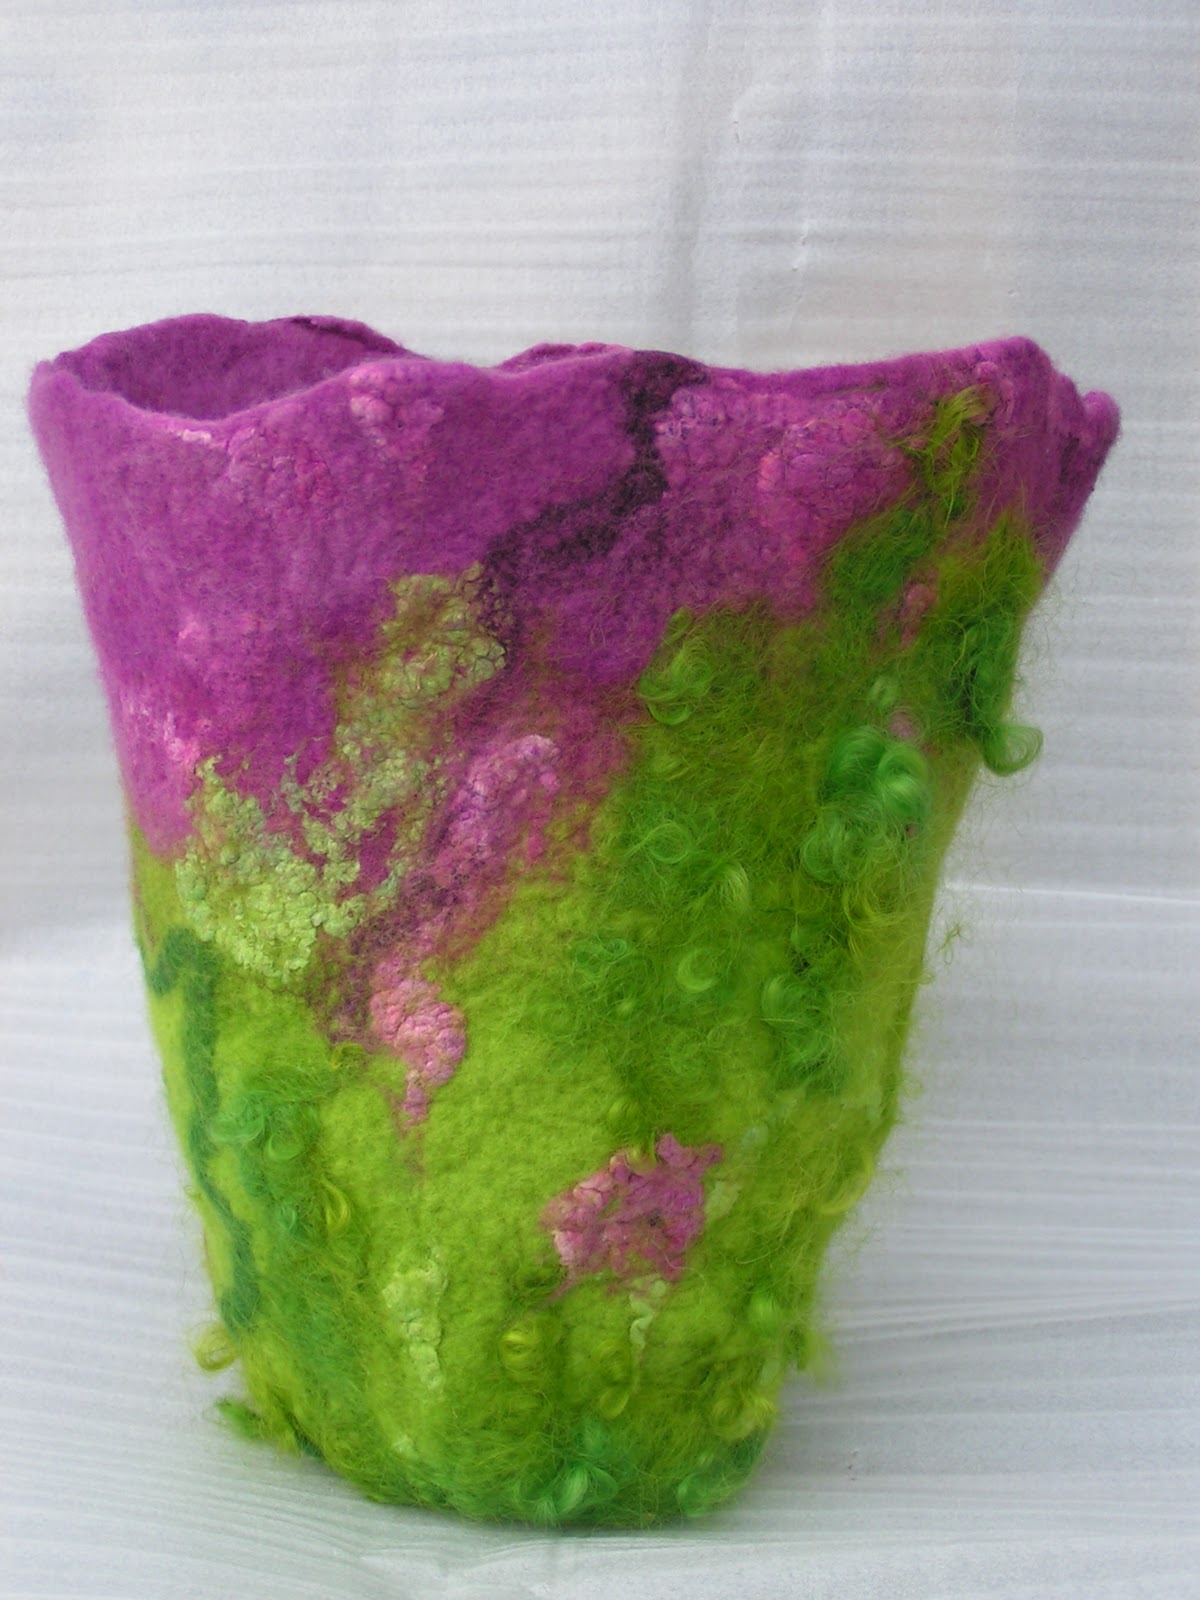
A complementary color scheme involves the use of colors that are located opposite on the color wheel such as red and green, yellow and purple, or orange and blue. Complementary colors produce a very exciting, dynamic pattern.
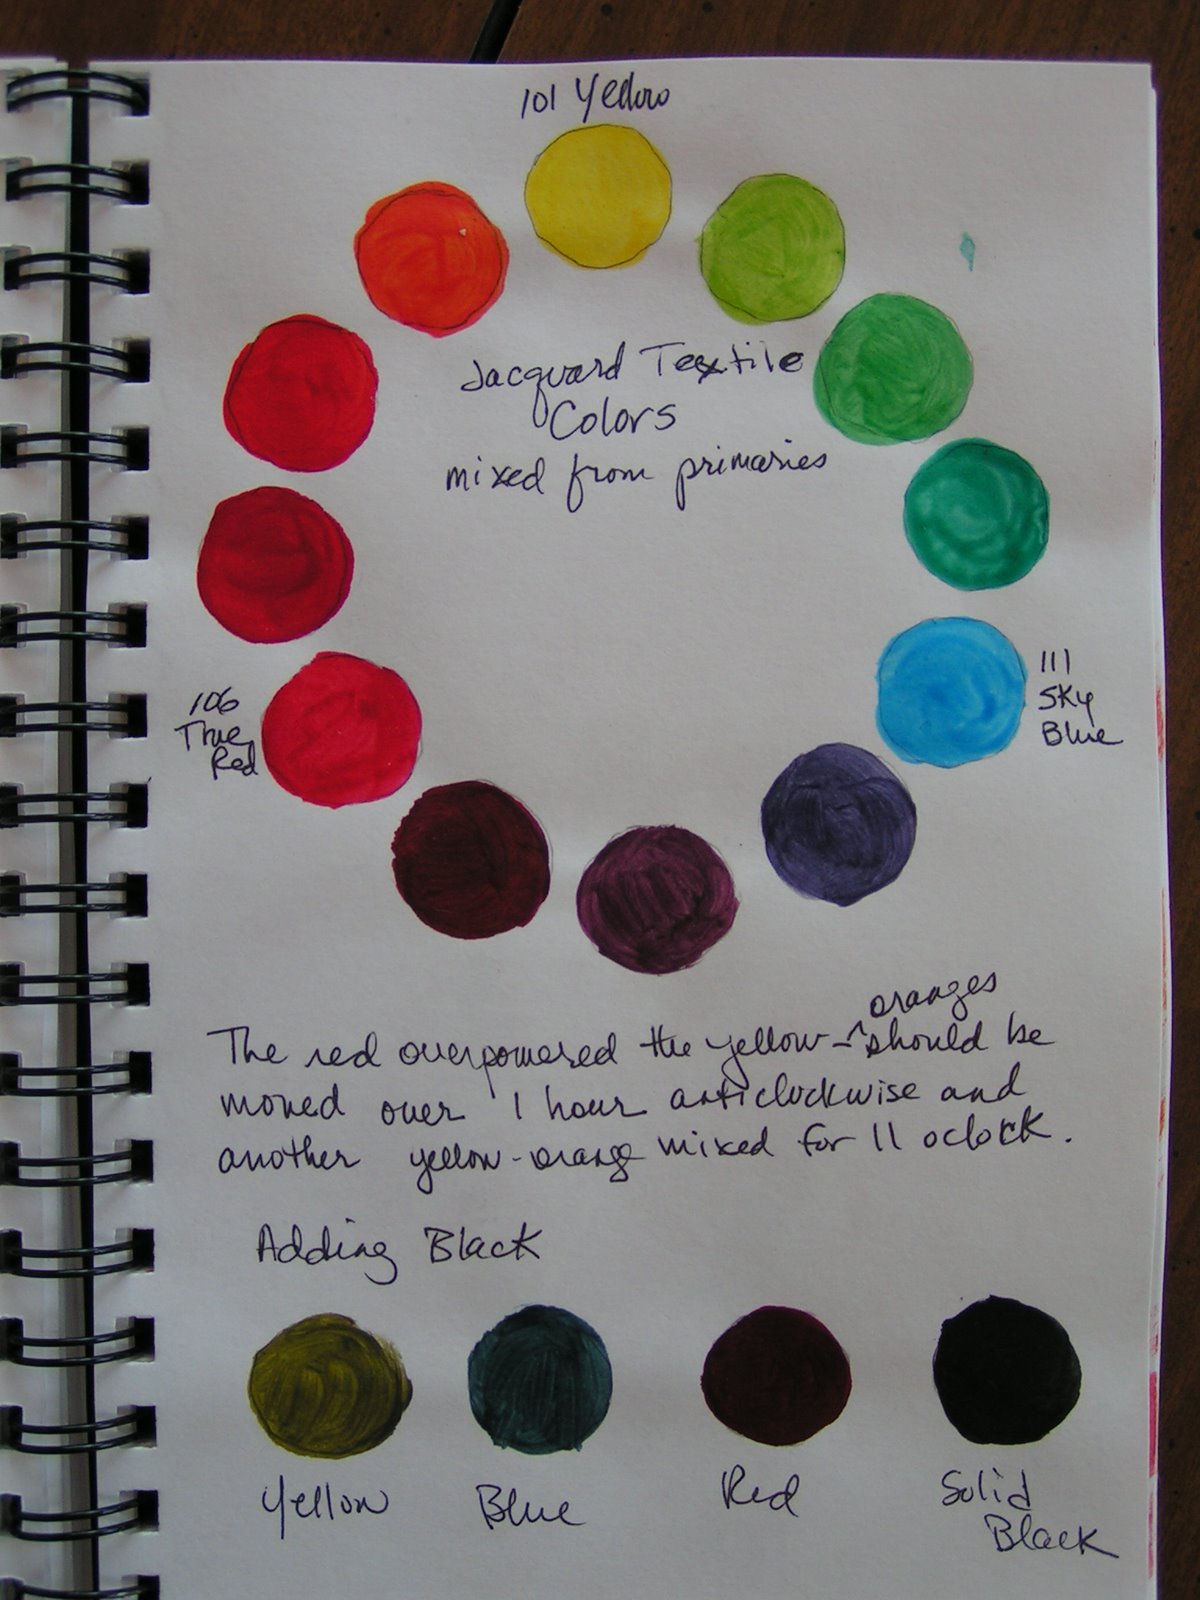
Or how about triadic? This color scheme involves the use of colors that are equally spaced on the color wheel. The primary colors of yellow, red and blue could be used together in a color scheme to produce a lively result.

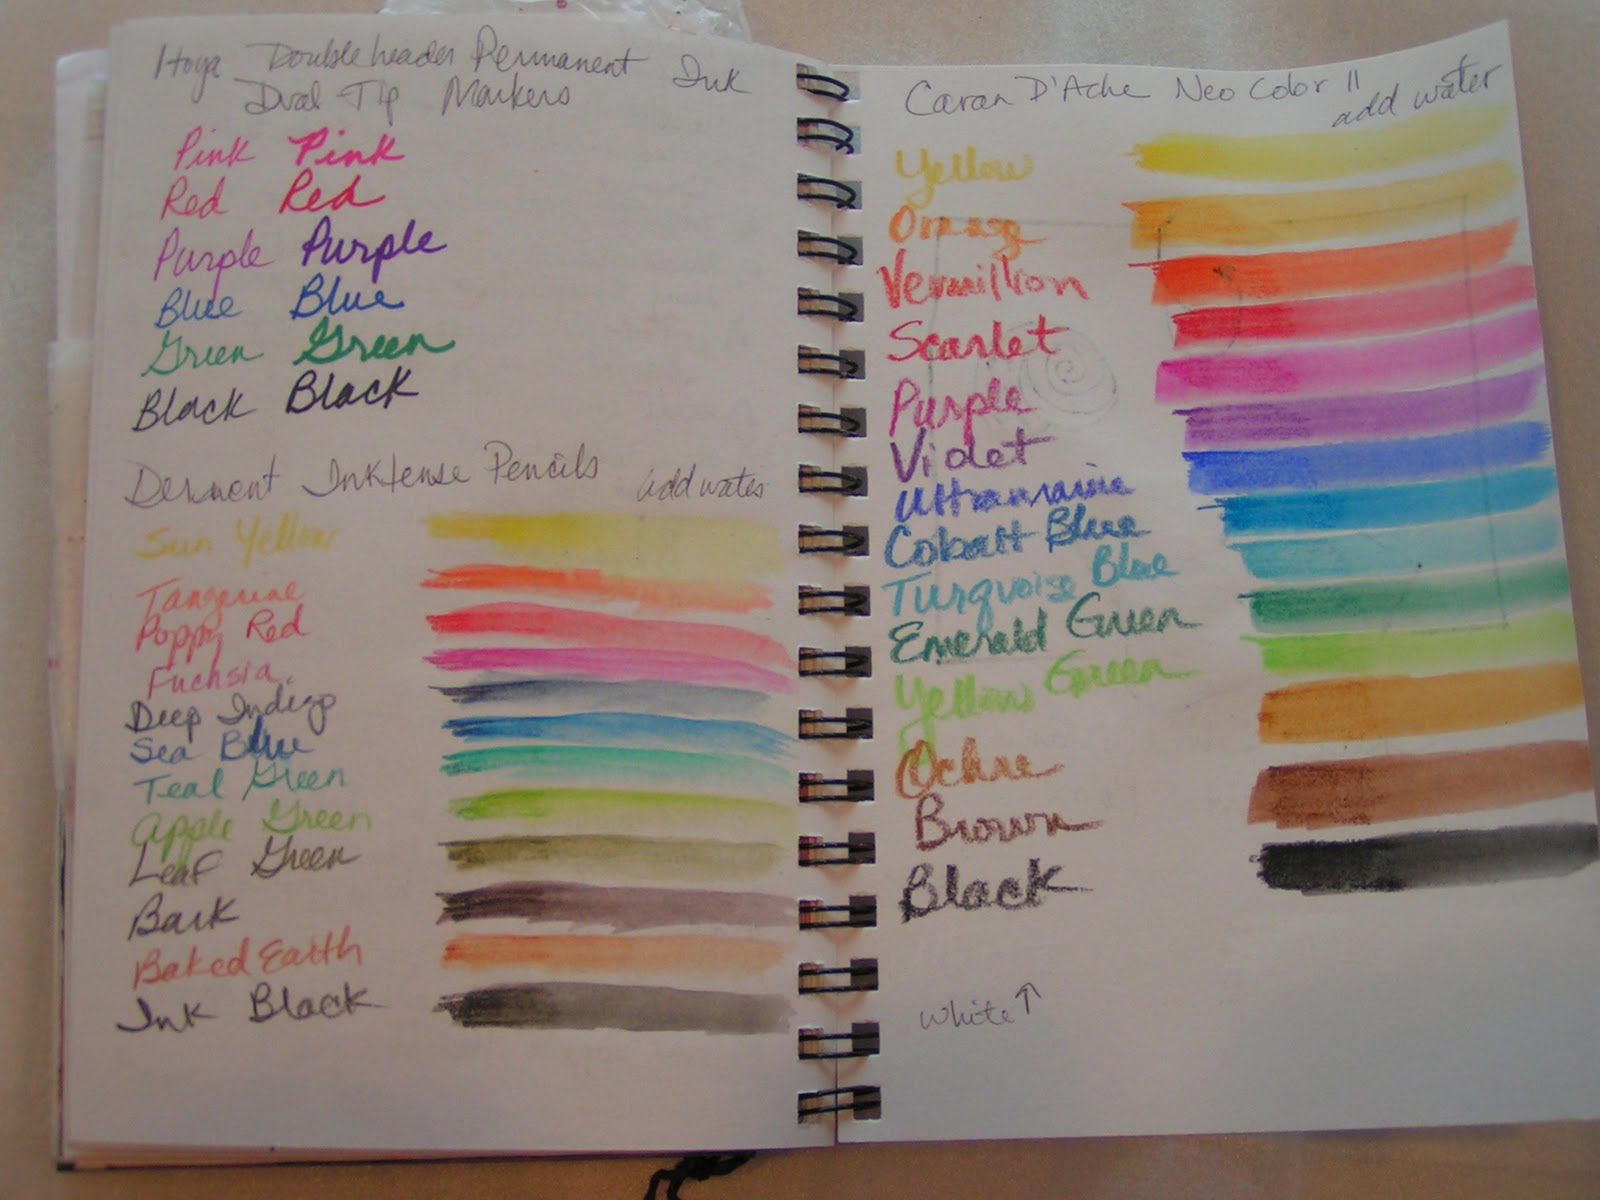
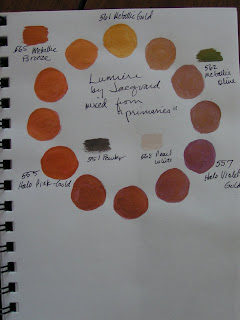
I am certainly not a color expert. (Most of this information came from this website.) That’s one of the reasons I’m doing these design focused posts, to help me learn more about color as well as design. One of the things I try to do is when I get new painting/color supplies, is to make a color wheel and mix the different colors together. I am always surprised by what comes out. One yellow is not the same as another yellow. One yellow may tend more toward the orange/red side of the color wheel, while another may tend toward green/blue. These different yellows will yield absolutely different results when mixed with other colors. I recently got some Golden acrylics. I mixed green and red and got purple. It wasn’t the color I was expecting. Try mixing your colors beforehand and making a sample of each mixture in your journal. If you don’t keep a journal, just use a sheet of paper and keep it with your paints.
I found an excellent resource about color, books about color and just why it is important to learn more about color. Check out Roz Wound Up in this post. Here’s another one that has tons of information and links about color. There’s enough information there to keep you busy for a while.
When you’re thinking about color this month, ask yourself a few of these questions:
• How can you use color to evoke different emotions? Do you connect certain emotions to certain colors?
• What does using a monochromatic color scheme do to your composition? Complementary? Analogous? Or Triadic?
• How do you choose your color scheme? Is it affected by the subject of your composition? The mood you want to achieve? What is the impact of choosing a color scheme that is the opposite of your normal choice?
• What would your composition look like with all the same values? How can you use value changes to improve your focal point?
• Have you tried mixing various fabric paints to see what colors you can achieve? What colors do you achieve when you mix two colors together? What happens if you add black to your colors?
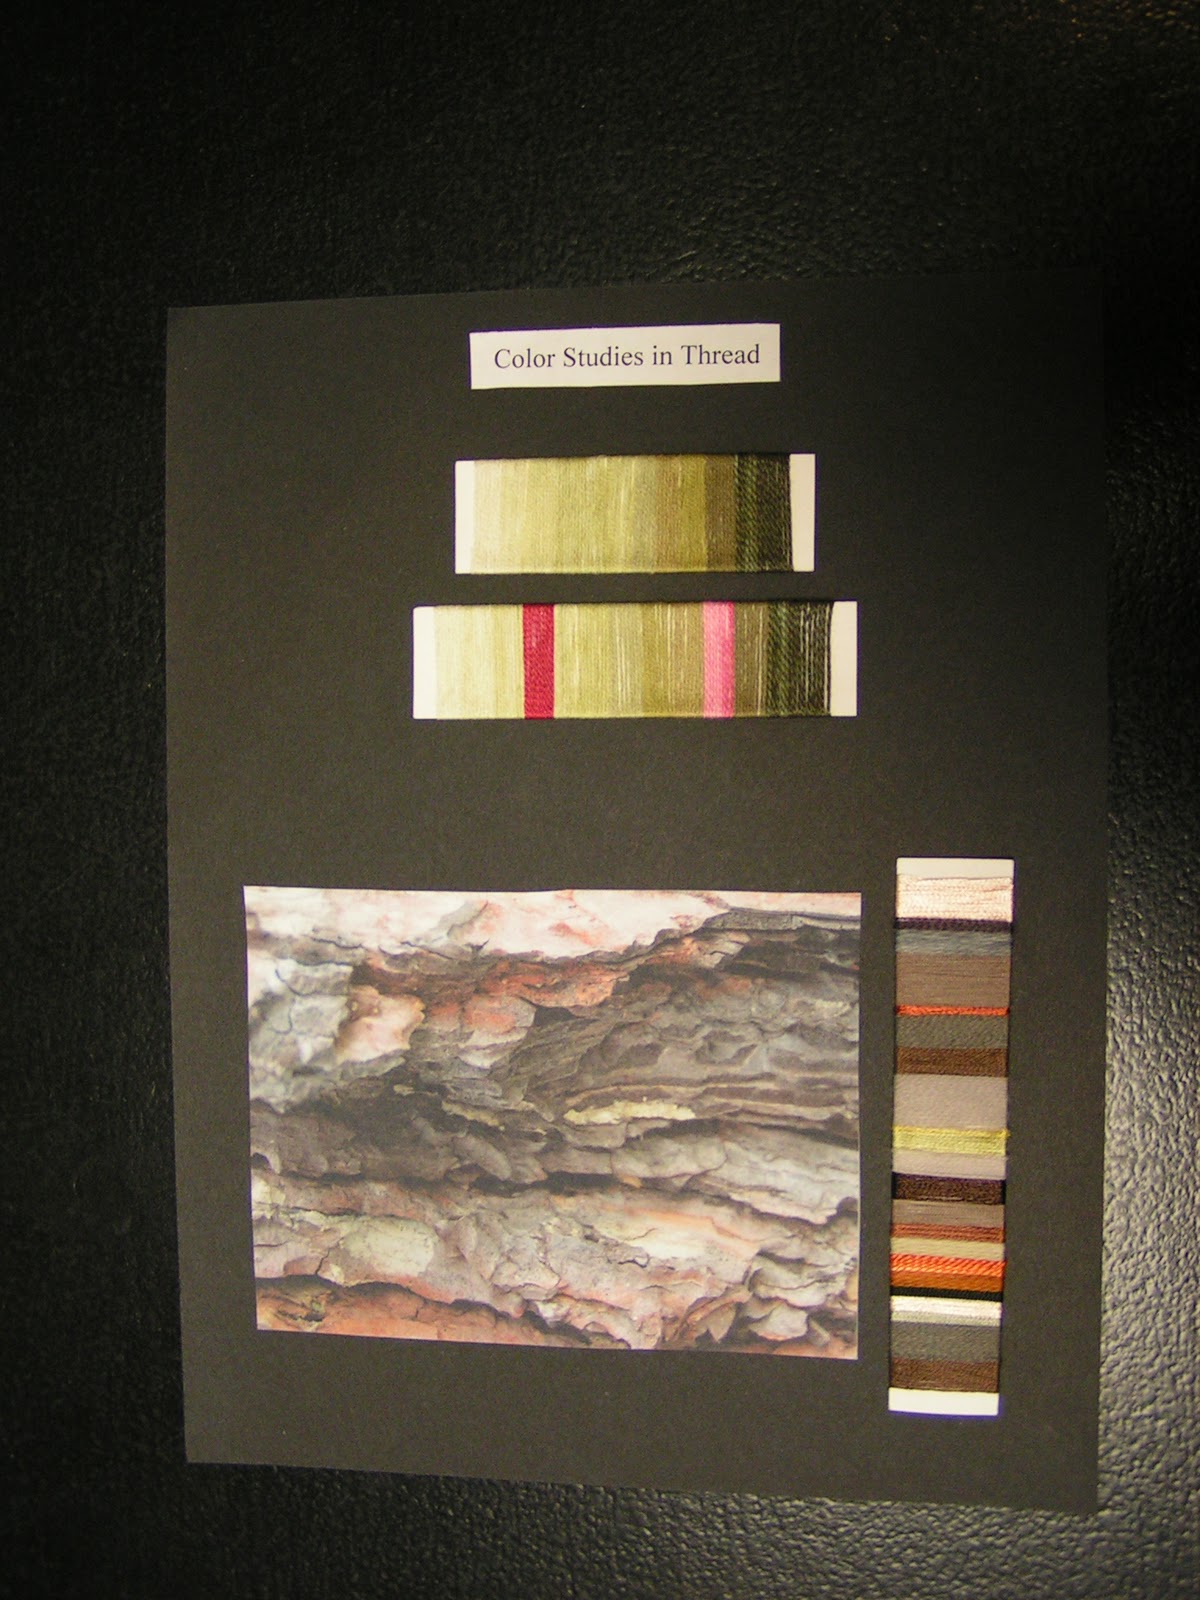
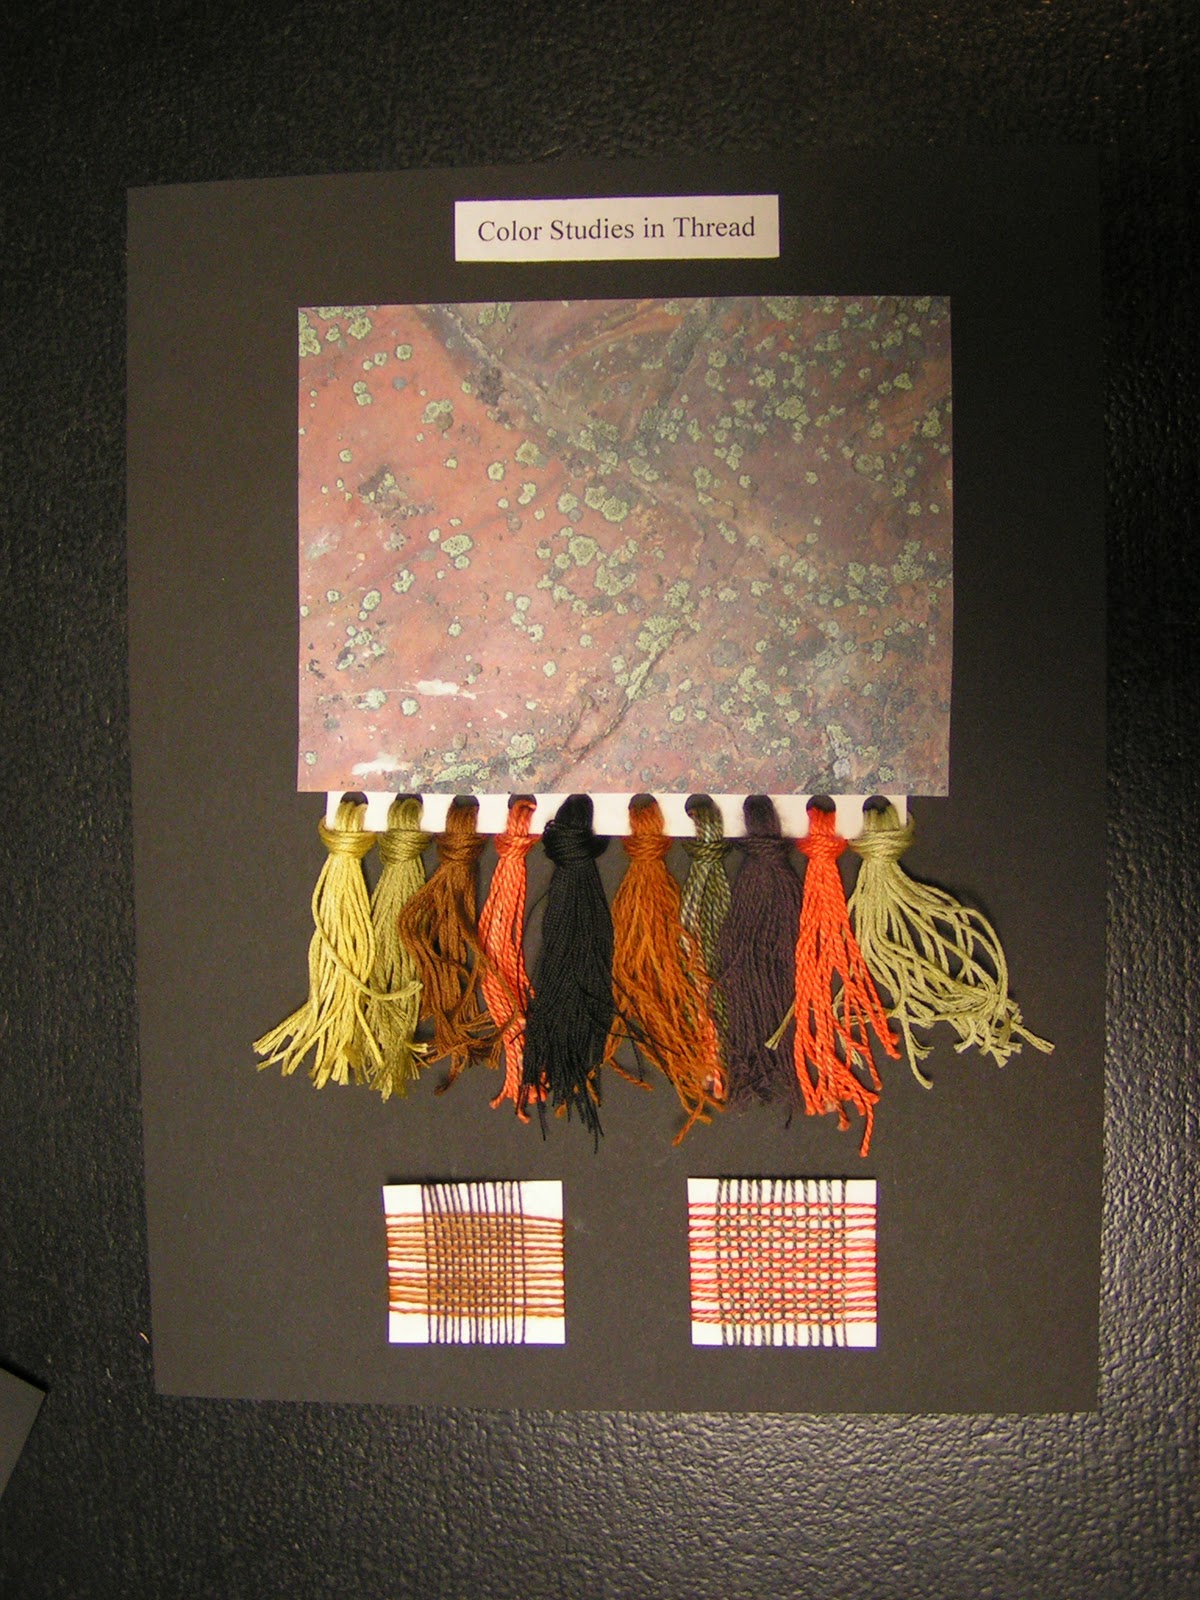
I’d love to hear what you’re working on and how you use color theory in your work. Leave a comment and give us a link to your favorite colors. Next week, I’ll hopefully have some thread color studies completed to show you.