Sneak Peak of Page for Debi

I’ve finished another page for our Traveling Pages Swap for Debi. Her theme is shabby chic/vintage. This is the 12th page I’ve made so I only have one more to go. I’ve already started on the last one and soon this swap will be completed. I do have to make the front and back covers for my book and put it all together. I have some ideas on how that’s going to go so I’ll get started on that soon. For any of you wondering about how I did on my goals set for 2010, I’ll be writing a post soon about that as well as my planned goals for 2011. More soon!

Design Focus Friday – Shape Continued

 One way you can use shape is making stamps. You can combine small shapes together as I did with the stamp on the left or a bigger shape. You could use geometric or organic shapes. Guess which ones I usually do?

 You can also use shapes to make stencils. The most important thing to remember with stencils is to make sure you have bridges so your center part of your stencil won’t fall apart once you’ve cut it out. This one hasn’t been cut out yet. I am planning on trying to use a heat tool to cut it out.

 Here’s the sketch where I figured out how the stencil would work. I drew the big shape of the pine cone first and then drew the smaller pine cone bits (what are those called?). My friend thought it was a pineapple.

 Here are the stamps in my studio journal. I seem to have lost my ginkgo leaf stamp somewhere in my studio. I’m sure it’s there somewhere…

The fun thing with the foam stamps is you can add details within your large shape. Have you been thinking about shape and how you use it in your work? Let me know!

The sun will come out…

 Living in northwest Montana in the winter time means that you don’t see the sun that much.

 So when it comes out, you rejoice.

 Go exploring a bit.

 And take photos of the blue sky and sunshine.

So you can remember it for the next several weeks before it comes out again! Hope you all are having a wonderful day!

Fiber Bird Nester Tutorial

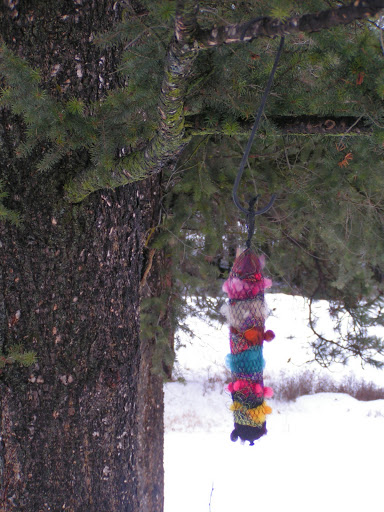
 Do you have lots of birds visiting your backyard? Or do you have a friend or family member that loves to watch birds. This is a quick and fun gift to make using recycled materials. I had a bunch of these net tubes. I can’t remember what they held originally but this would work with other size nets from onions or oranges etc. These tubes were a great size though and it doesn’t take a lot of fiber to fill them.

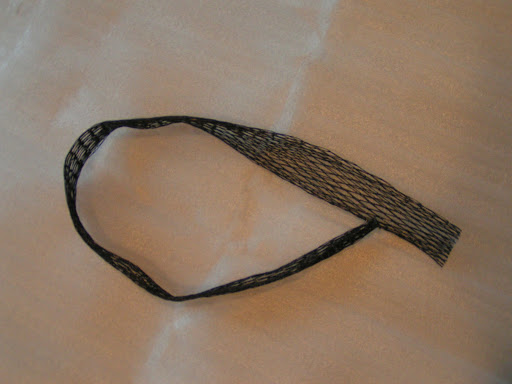
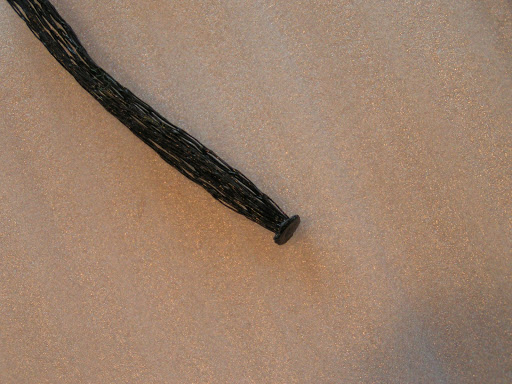
 The other nice thing about these tubes is that one end is already sealed off. If your netting isn’t, you can always tie a knot in the end.

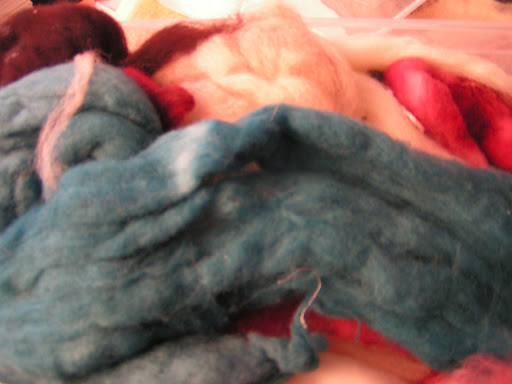
 Then take a bunch of threads, yarns or extra string.

 And some fiber bits that you don’t mind donating to the birds. You layer a bunch of fiber, then thread, yarn or string, then more fiber, then thread until you have a fiber parfait in your tube. I pulled my fiber bits apart so that they weren’t just one big mass. That will make it easier for the smaller birds to get smaller pieces of fiber.

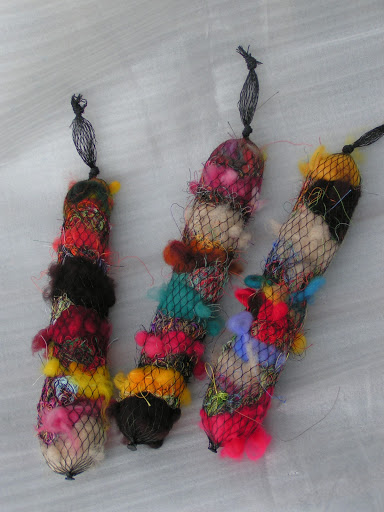
 Once your parfait is complete, you tie the end. Leave enough room to tie two knots. One close to the fibers and one close to the top of the netting. Pull out small nubbins of fiber through the netting (or not). I love the little lumpies poking out.

Then hang it in a tree and your  bird friends will have a wonderfully colorful home next spring.I just used an S hook and ran it through the netting between the two knots. I’ll be watching to see if fibers start disappearing and I will really keep an eye out for colorful bird nests in the spring. If you give it a try, let me know how it works for you! I made three, two as gifts and one for me.

Design Focus Friday – Shape

 When our local group got together last week.  We played around with shapes. Each of us cut out various shapes and then considering positive and negative shapes, we made a design. We all chose to use black as the background but could have done either. This is one of the designs I was playing around with. I feel it needs some line, what do you think?

 Here is another one that I did. I added some line to this one. I really like this better in the vertical orientation with the small squares at the bottom.

 Here is Louise’s design. I liked her wonky stars – she said that she got the ideas of the lines from my design. They certainly added a good focal point to her design as it was lacking a focus with just the stars.

 This one is Bunny’s. We decided it looked too much like a snowman on skis.

This is also Bunny’s. And we also liked this one in a vertical orientation.

This is a simple exercise to try out. We used only black and white paper so that color didn’t get in the way of designing with shape. You could also try this with fabric. What have you been doing with shape this week? Leave a comment and let me know.