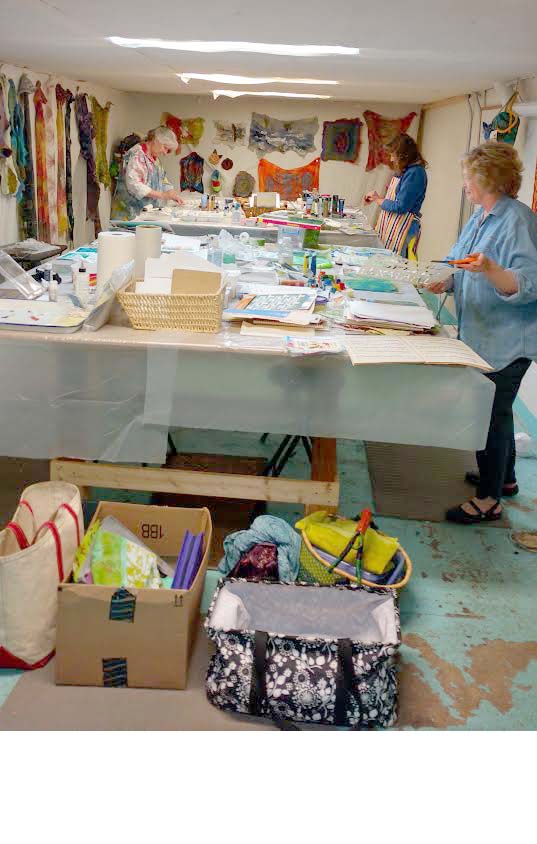
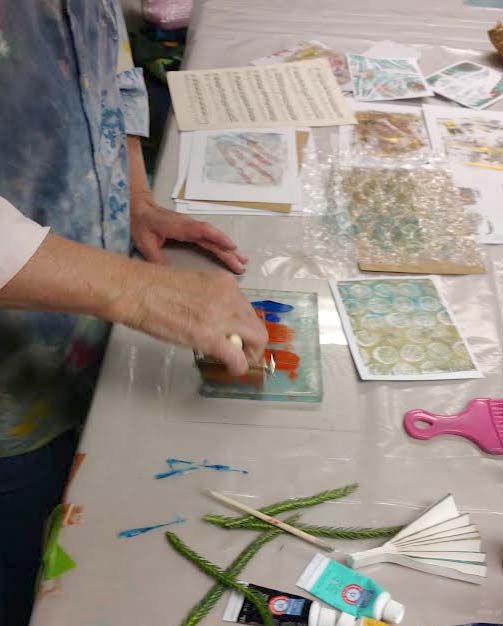
Next week our surface design group is meeting and we’re going to be using Gelli plates for printing. I don’t have one and Paula found us a recipe on how to make one of your own. So I thought I would give it a try. It was simple and I already had most of the ingredients, just had to buy four more packets of gelatin.
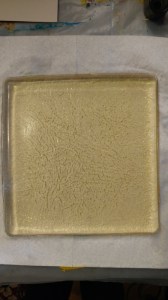
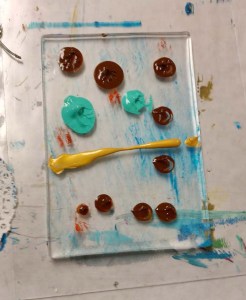
Here’s the gelatin plate that I made. It is about 8″ x 8″ I decided I really needed to try it out. So I played around with some acrylic paints, stencils and texture plates. There are tons of Youtube videos out there on how to do this and the Gelli Plate company has a really nice set of videos on their blog.

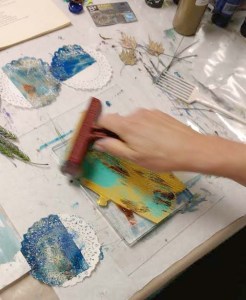
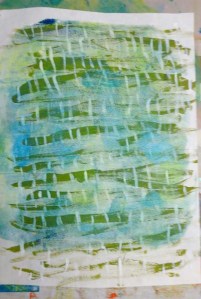
Here’s one of the first prints that I made. It only has two layers and definitely needs a few more. I wasn’t sure on how much paint to use. This one I used Golden fluid acrylics and they dried really quickly. Plus I needed to use more paint.
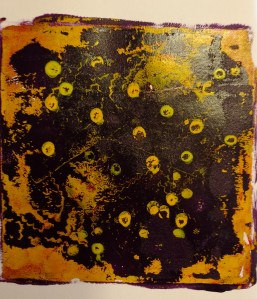
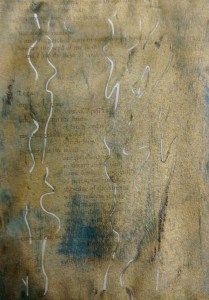
This one was a clean up sort of print. I added a few dots into the middle, let it dry and then added dark purple paint on top. Then you pull the print. It picks up the dried yellow paint on the plate as well as the purple.
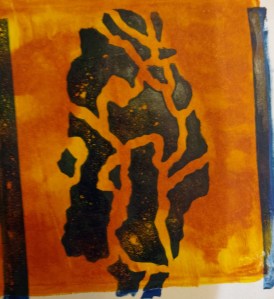
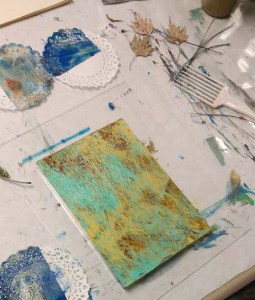
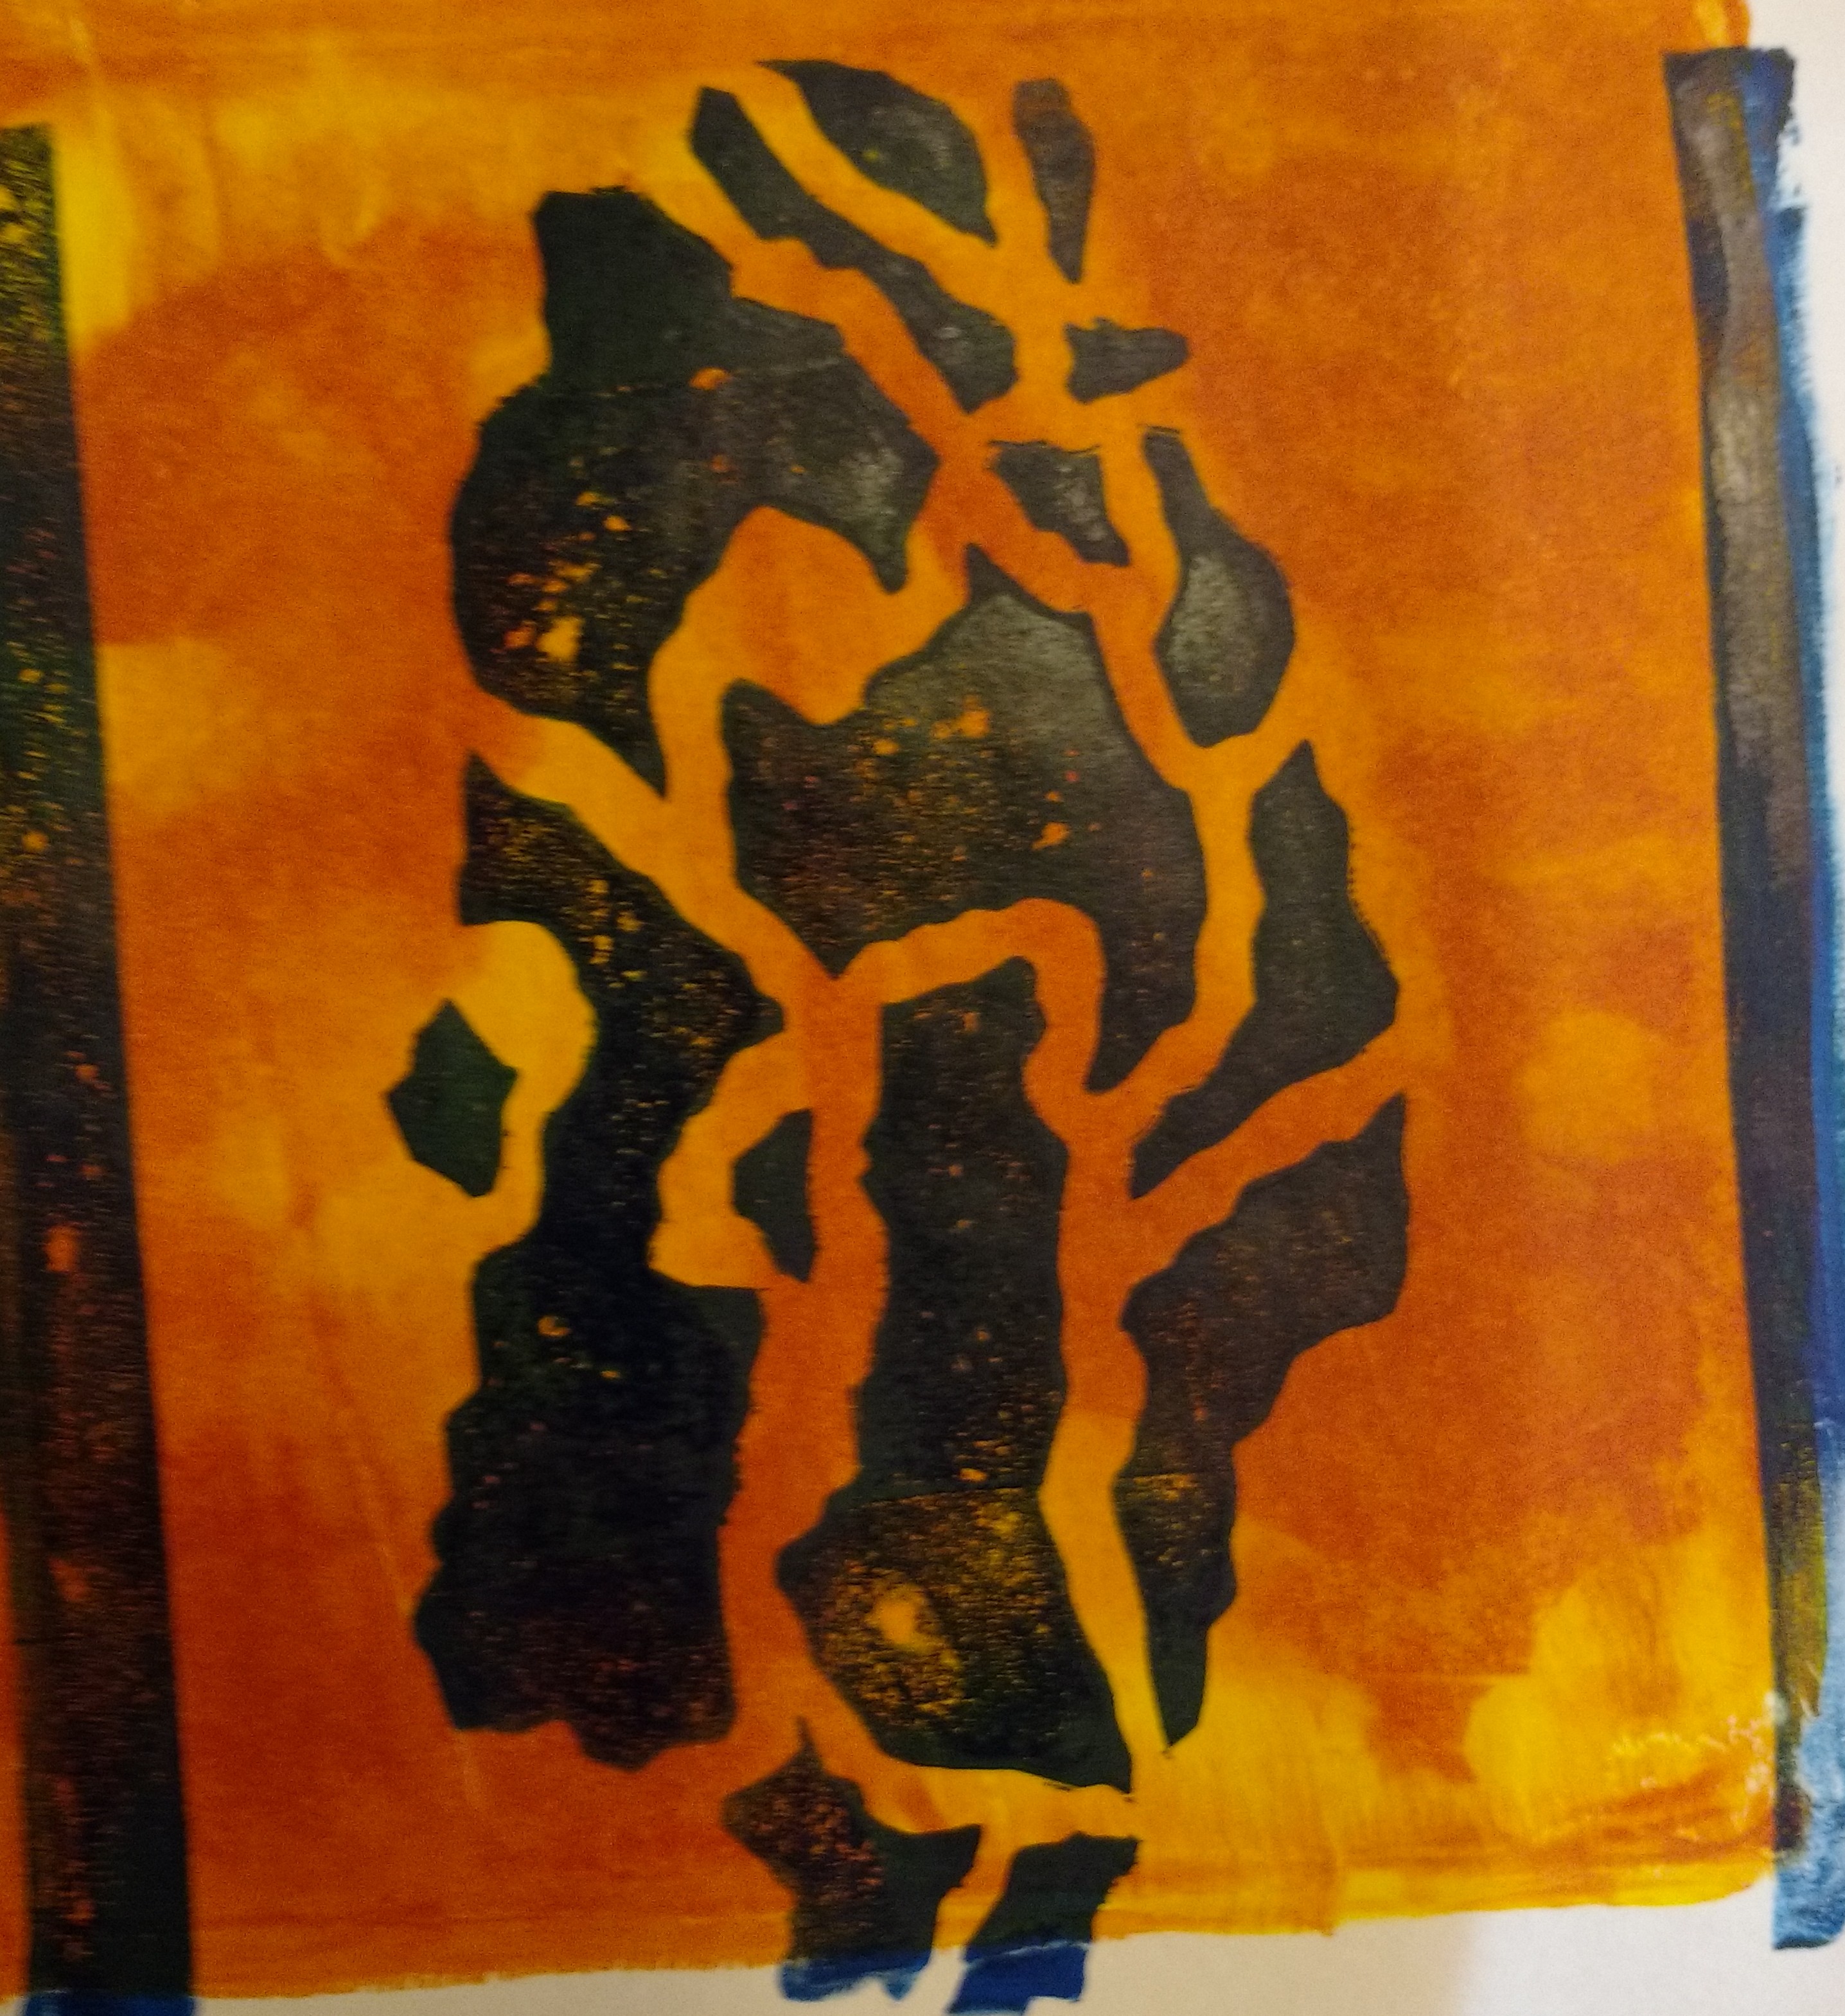
This one is two layers with blue over orange-yellow through a stencil that is supposed to represent bark. It looks too much like an animal print to me though. I switched to the high flow Golden acrylics and really liked the way they printed better than the standard acrylics. They don’t dry out as quickly either.
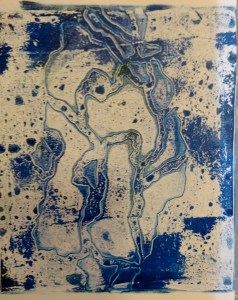
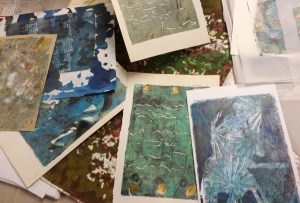
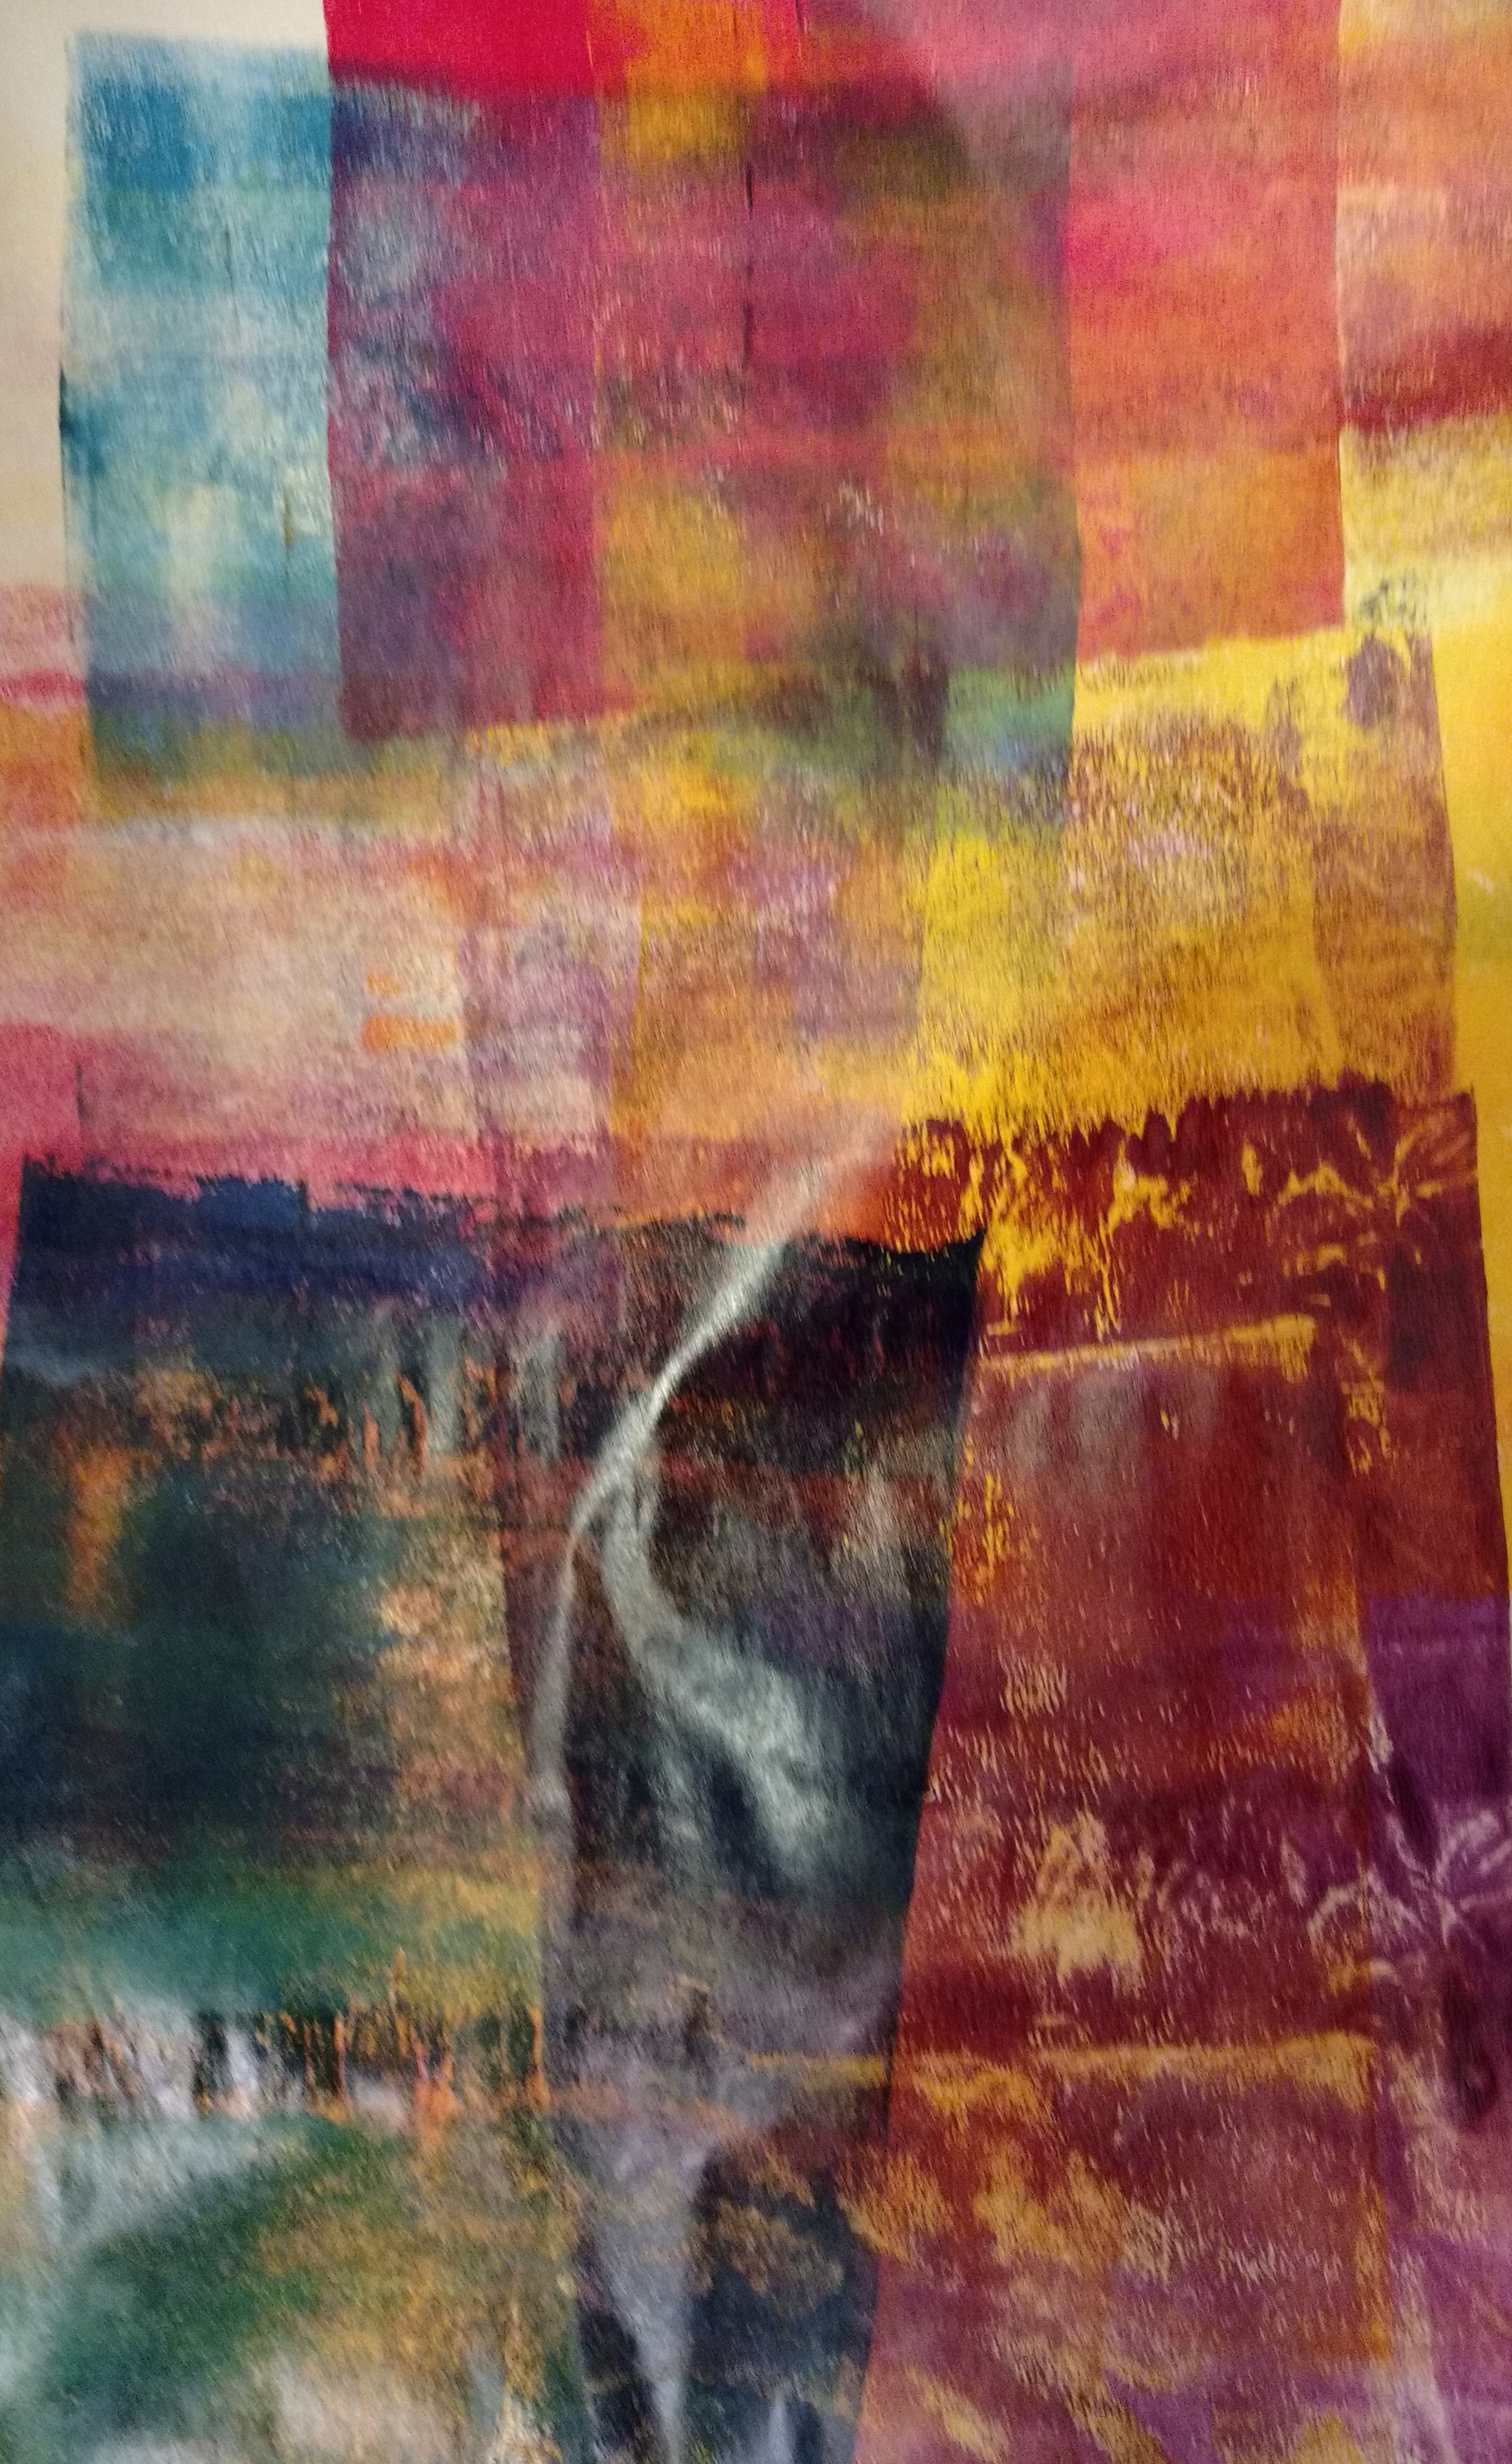
I love this ghost print after the stencil is pulled off.
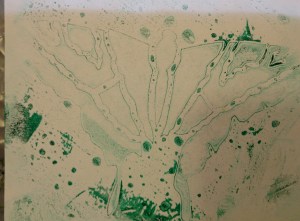
And here is another ghost print from a butterfly stencil. I always seem to like the ghost prints better than the first print pulled with the stencil in place.

And this is the paper where I cleaned off my brayer. It’s pretty cool too. Have you tried printing from a gelatin plate? It’s pretty fun. I have included the recipe to make your own below that Paula gave us if you’d like to give it a go.
Make Your Own Gelatin Plate Recipe
1 1/2 c. Water
3/4 cup glycerin (Walmart)
3/4 cup rubbing alcohol (70% is fine)
7 envelopes gelatin
7 x 7, or 8 x 8 glass or metal pan without any texture on the bottom
(Walmart or the Dollar Store has good pans)
In a microwaveable bowl, mix cold water and gelatin together with a whisk. Add alcohol and glycerin into bowl, mix. Microwave 3 mins. Remove and stir. Repeat till mixture is hot and clear. The mixture may still have a yellowish color to it. Do not boil. It took Paula 4 round of 3 minutes in her microwave to get mixture clear an hot. It took me one round of 3 minutes. Microwaves are variable so just keep a close eye on it. Pour into pan and let set over night. Try to remove any air bubbles from the surface. The painting surface will be the bottom of the pan which will be very smooth. Make sure to use a glass pan that is smooth inside. When set, use your fingers to pull the gel from the edge of the pan. Once suction is released, it will come out of pan easily. Do not use a knife.