Marbled Scarves and Paper


We played with marbling scarves and paper with my local fiber art group on Friday. I have never tried marbling before and really enjoyed myself. I don’t think I want to invest in the equipment and paint to do this on a regular basis but one of our members has the whole set up so everyone got to make a couple of scarves. These are not exactly my colors. I didn’t take the time to mix colors and the ones straight out of the bottle were really much brighter than I normally use. She already had the marbling vats set up so all we had to do was put drops of paints on the surface of the sea weed based jelly stuff and let them spread. These are called stones. We then used a variety of tools to marble the paint. She had several books with very intricate designs but we mainly just played around. I like the bigger blobs of paint as opposed to the intricate marbled designs so I didn’t do much of the marbling more just lots of “stones”. She had also already put the scarves in alum water, let them dry and ironed them. Then all you have to do is lay the scarf face down on the marbling vat and ta da – a marbled scarf. You have to be careful not to get air bubbles as they’ll leave white spots.


Here is the last one that I did. I didn’t marble this one at all.

 I like how this one turned out but I don’t really like the white in the pattern and the backs are white since it is paint and not dye. So I will probably over dye all of these. I will show you the results of over dying whenever I manage to get that done. I do need to dye soon because I have some wool that needs dyeing.

Here are some index cards that I put in the remaining paint after dyeing a scarf.

 And larger papers which I am going to cut up and use for greeting cards.

We had a blast. We did discuss our Design Focus Friday and so this month I am going to try and find a couple of pieces of art and “critique” them to see if I can determine how the artist used the design elements and principles in their work. More on that later. Next month, the group will be coming to my house and we will be doing nuno felting. Perhaps I will remember to take some photos. I completely forgot to take any of us marbling as I became so engrossed in the process.

Studio Journal

I’ve been playing around with some of my previously painted pages. I made more stencils and used these on the pages. The one on the left is stenciled with acrylic paint on to paper and then washed with walnut ink. On the right I just stenciled directly on to the page with acrylic paint.

This one has three different leaf stencils used. I just used gesso through the stencil.

These pages just have previously dyed or stamped paper towels glued down.

And this one is dyed paper towels and walnut ink. I will probably add more to this page in the future. I did go to the local quilt show on Friday. I took some photos but they didn’t turn out too well. I didn’t think you’d want to see poor photos of quilts from people you probably don’t know. Have a good week!

Photoshop Layers

I have been messing around with Photoshop Elements for a while now trying to figure out how to do layers. It never seemed to work for me and I got a bit discouraged. But I finally found a tutorial to help me out. Linda Matthews has a wonderful set of tutorials for Photoshop Elements. So this is the first one I did.

Here’s another. I used photos I have taken of my work and a variety of textures such as lichen.

I really like this last one. It is lichen and a photo of the bottoms of my metal jewelry cases at the store. So now that I’ve finally gotten a couple of layers together, I’m sure there is much more that I need to learn. I’m thinking I will try to use photos of windows in layers for my next traveling page. We’ll see. Have a good weekend.

Re-Discharged and a Sneak Peak

Here’s the black shirt last week.

And here it is this week. I put more Soft Scrub on as the first time it didn’t take well. I did learn that if you spray with water after putting on the Soft Scrub it soaks in better.

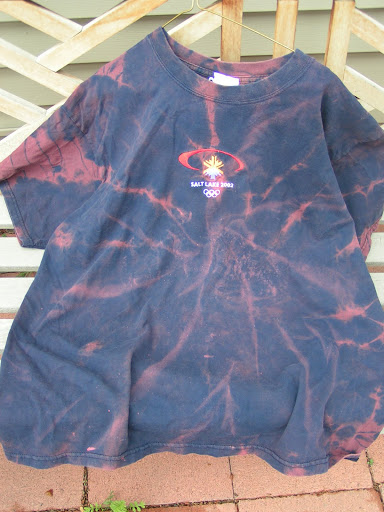
And here’s the blue one last week.

And after spraying with bleach and leaving for over 1/2 hour. This shirt is very slow with discharging. But I like them both better now.

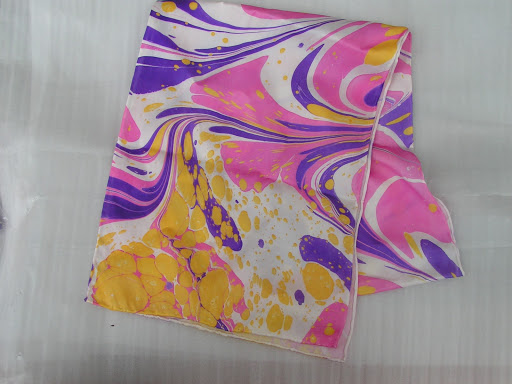
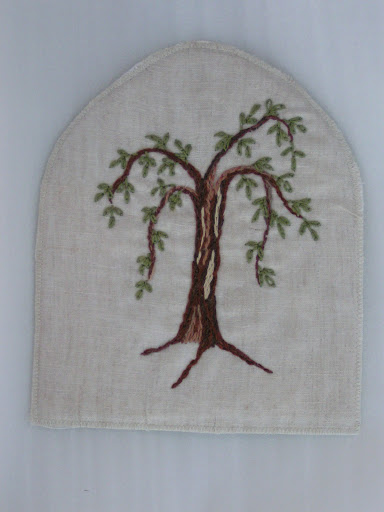
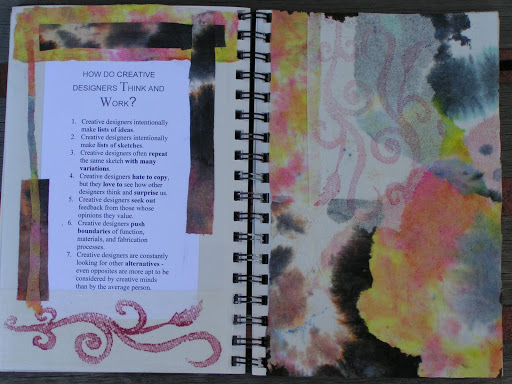
I have finished my September page for Cobi. Her theme is Art Nouveau. Here’s a little peak. I’ll mail it off tomorrow and post the full page after she receives it.

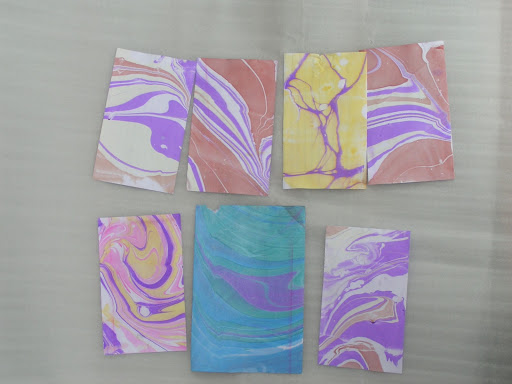
Carole, from my surface design group, gave me some plastic a couple of days ago. Two big sheets of it. So I thought it would work great for stencils. I have several stencils I made out of paper that are wearing out quickly. So I am going to re-do them in this new plastic. And it works great. Here’s the first one. More to come.

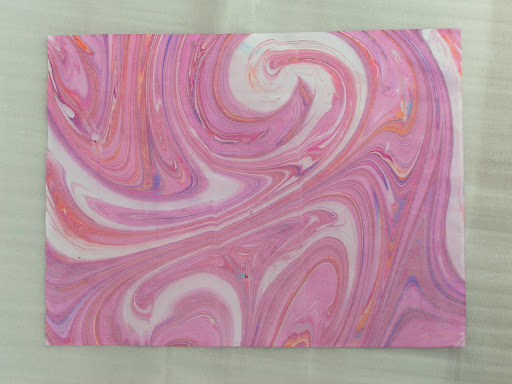
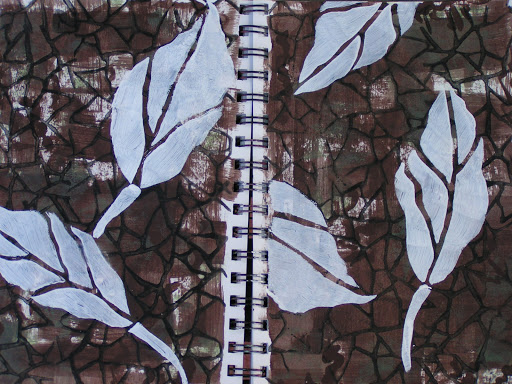
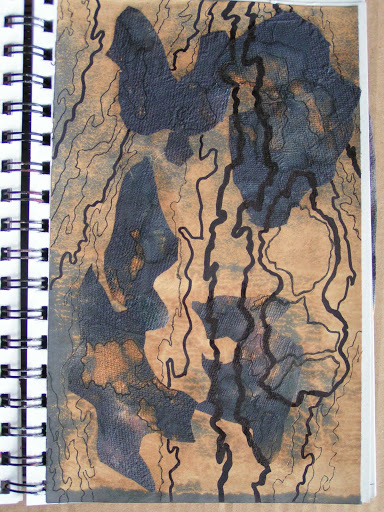
In my studio journal this week, I worked with some of the bleached papers that I made. This one is based on my continuing obsession with tree bark. It has a base of bleached paper, with torn bits of bleached paper towel and then drawn lines with pen and Sharpie marker.

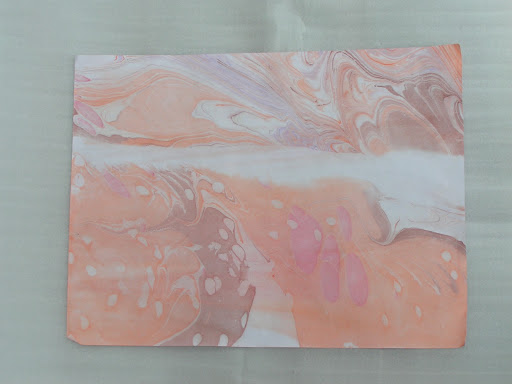
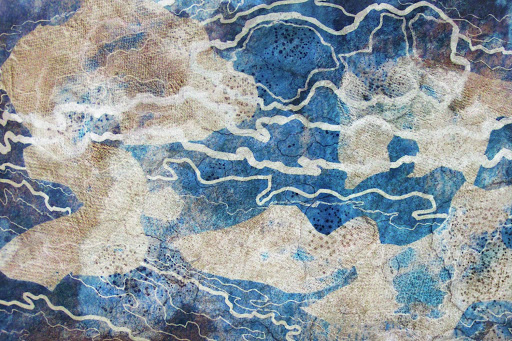
This is the back side of the bleached backing paper in the bark piece. It reminded me of a horizon with clouds. So I accented with very light Lumiere paints to give the look of water and added a moon.

With my new local group, we are going to be working on design elements and principles each month. I am going to be taking charge of this activity and I’ve been doing lots of research. Since I am going to be doing all the work already, I thought it might be fun to put the information and exercises here as well. Then if you wanted to join in, you could let me know in the comments and we could work on design, show the results on your blog and then I can post links for other people to see what you’ve done. Anyone interested? It will start next month and a new design topic with a short explanation will be posted each month. I will also give a list of exercises/practice ideas for each topic to follow along with each month. You could do the work in your studio journal or make practice pieces or just use that topic in whatever you happen to be working on at the time. What do you think? Join in the fun and improve your design capabilities at the same time!