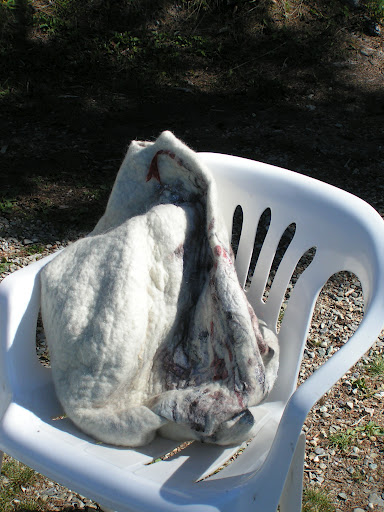
I felted a bunch of rocks to go under my tree. Of course my husband says, “They just look like rocks, why did you bother?”


I felted a bunch of rocks to go under my tree. Of course my husband says, “They just look like rocks, why did you bother?”
Hmmm… What does umbrella felting conjure in your mind? A new technique using an umbrella? A bunch of beach umbrellas at a felting party? For those of you wondering what I’m making for the Shelter Exhibition, I think this post will give it away.
 This is where I started today. I had already removed the fabric from the umbrella and my husband fabricated the stand. He also painted it brown. Have you ever tried to spray paint the ribs of an umbrella? Not the easiest thing to do. So I was ready to start my umbrella felting.
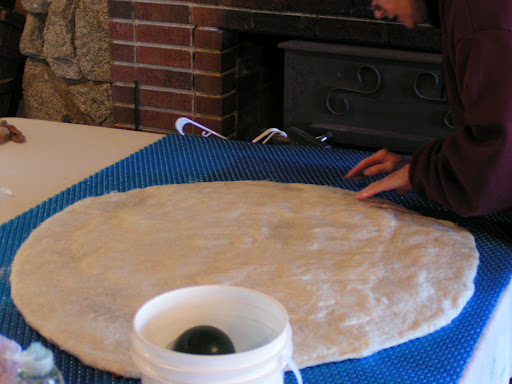
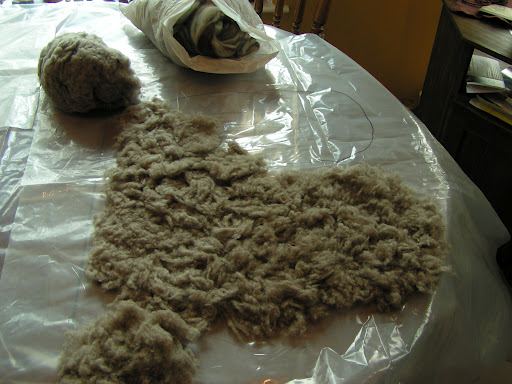
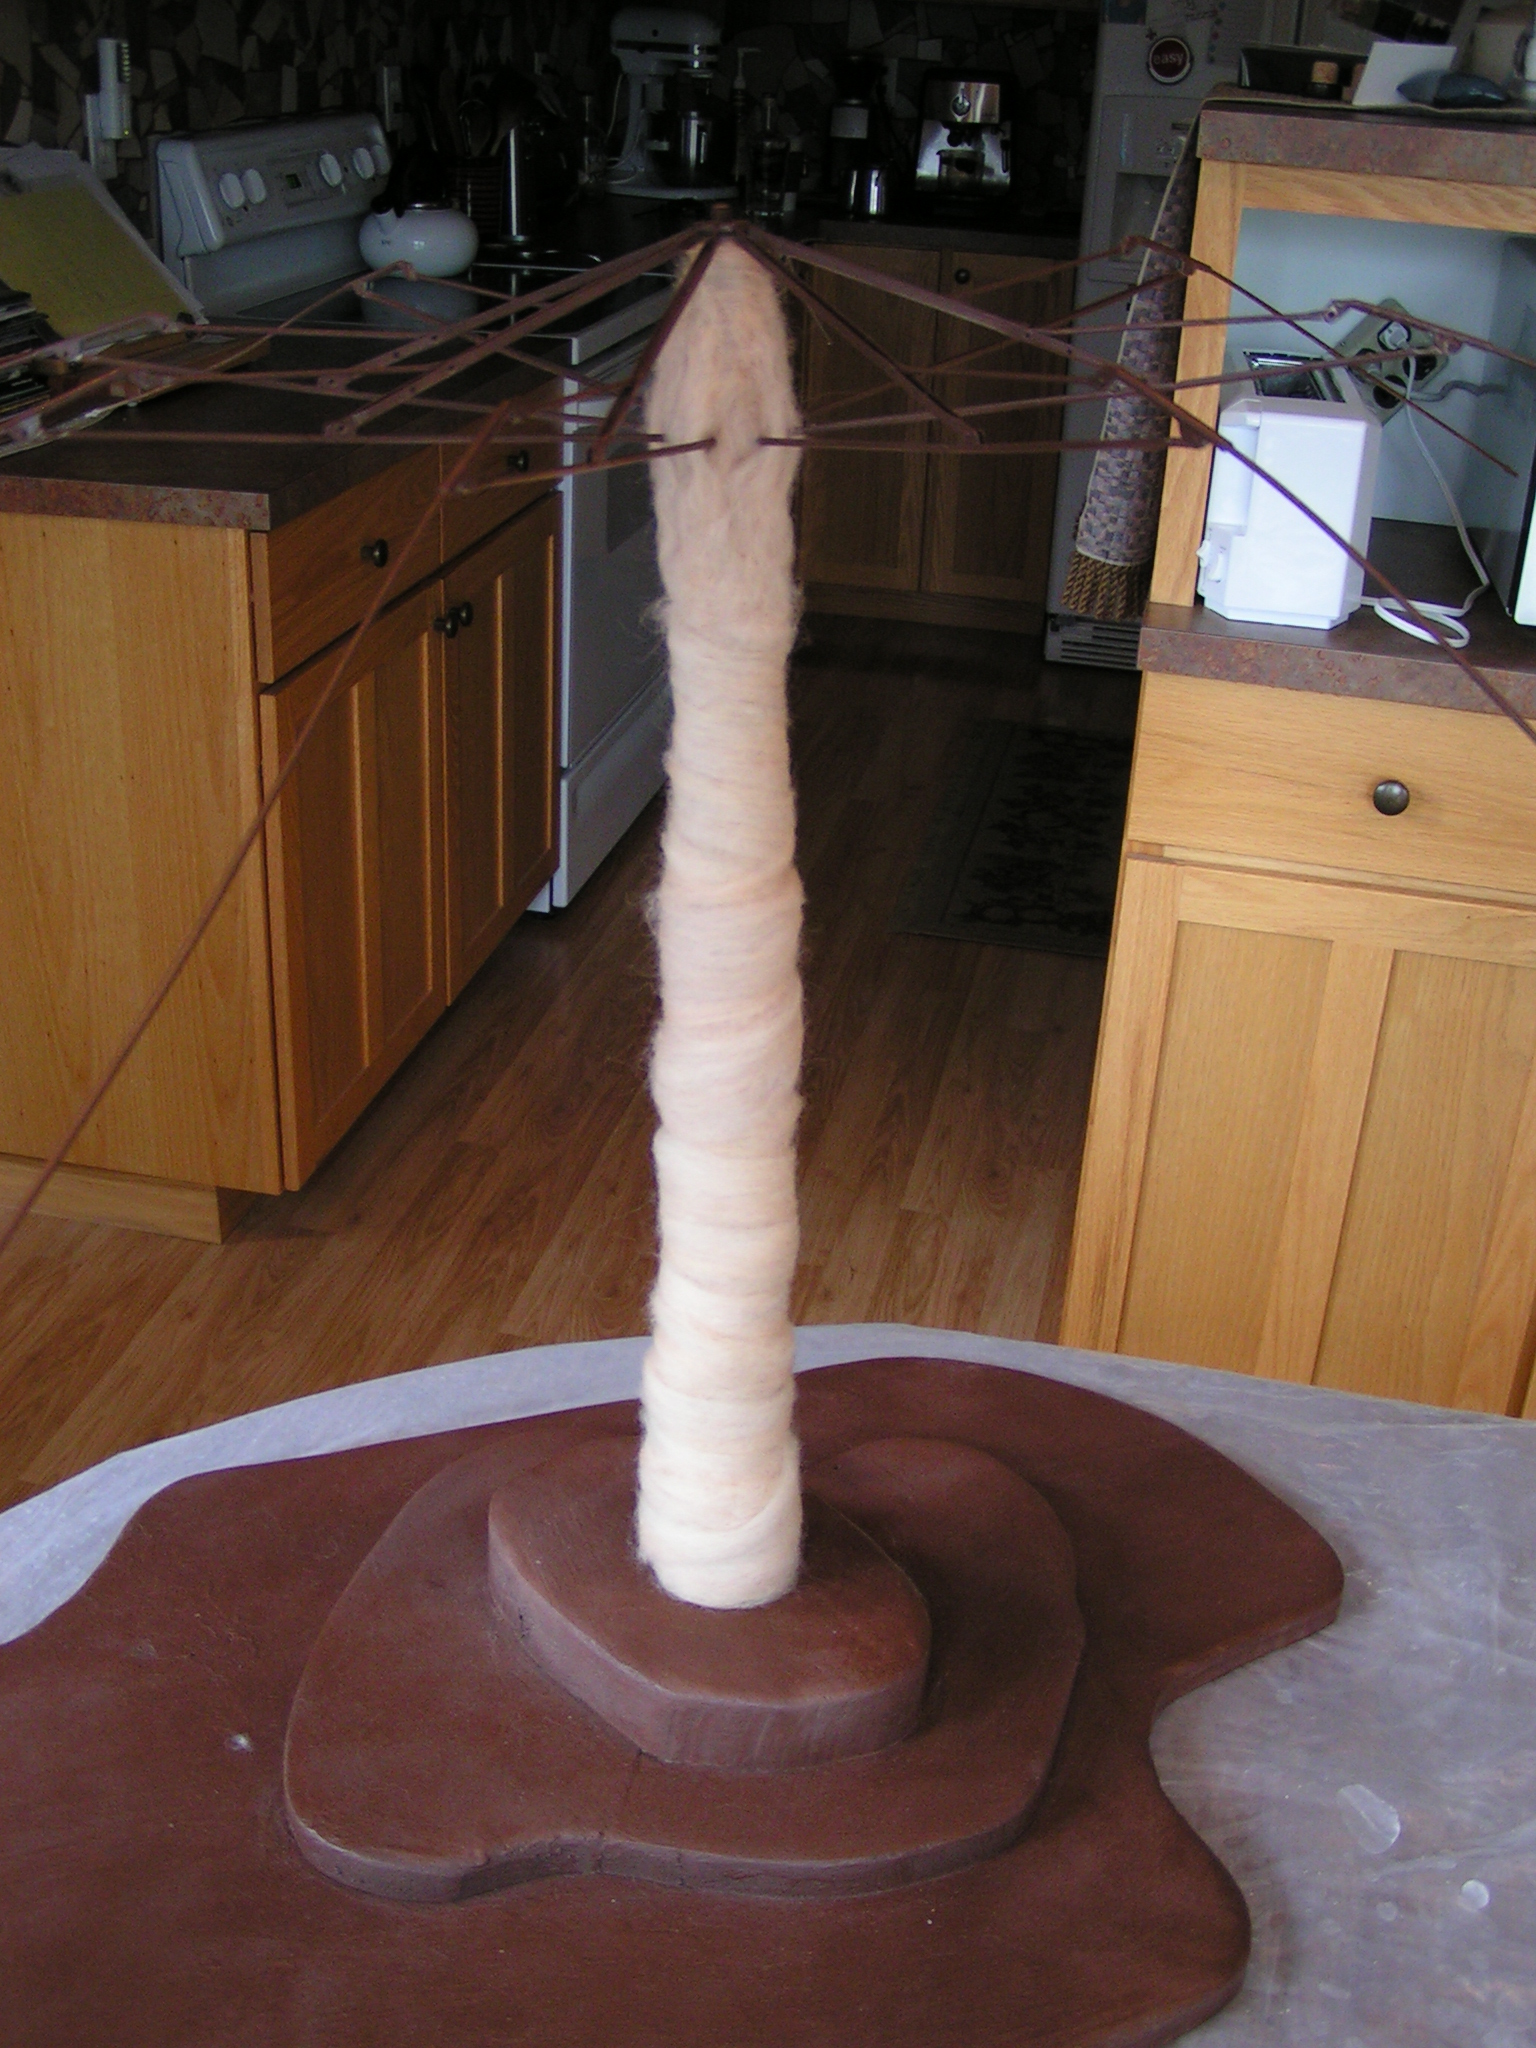 I started with some tan wool that I rarely use to add a bit of bulk to the trunk. I wrapped it all around the umbrella handle first. I needle felted the wool in a few places so it would hold.
 Then I wet down the wool and started rubbing away. This was a bit messy and water was going all over the place, dripping down my arms and all over the floor. But I persevered.

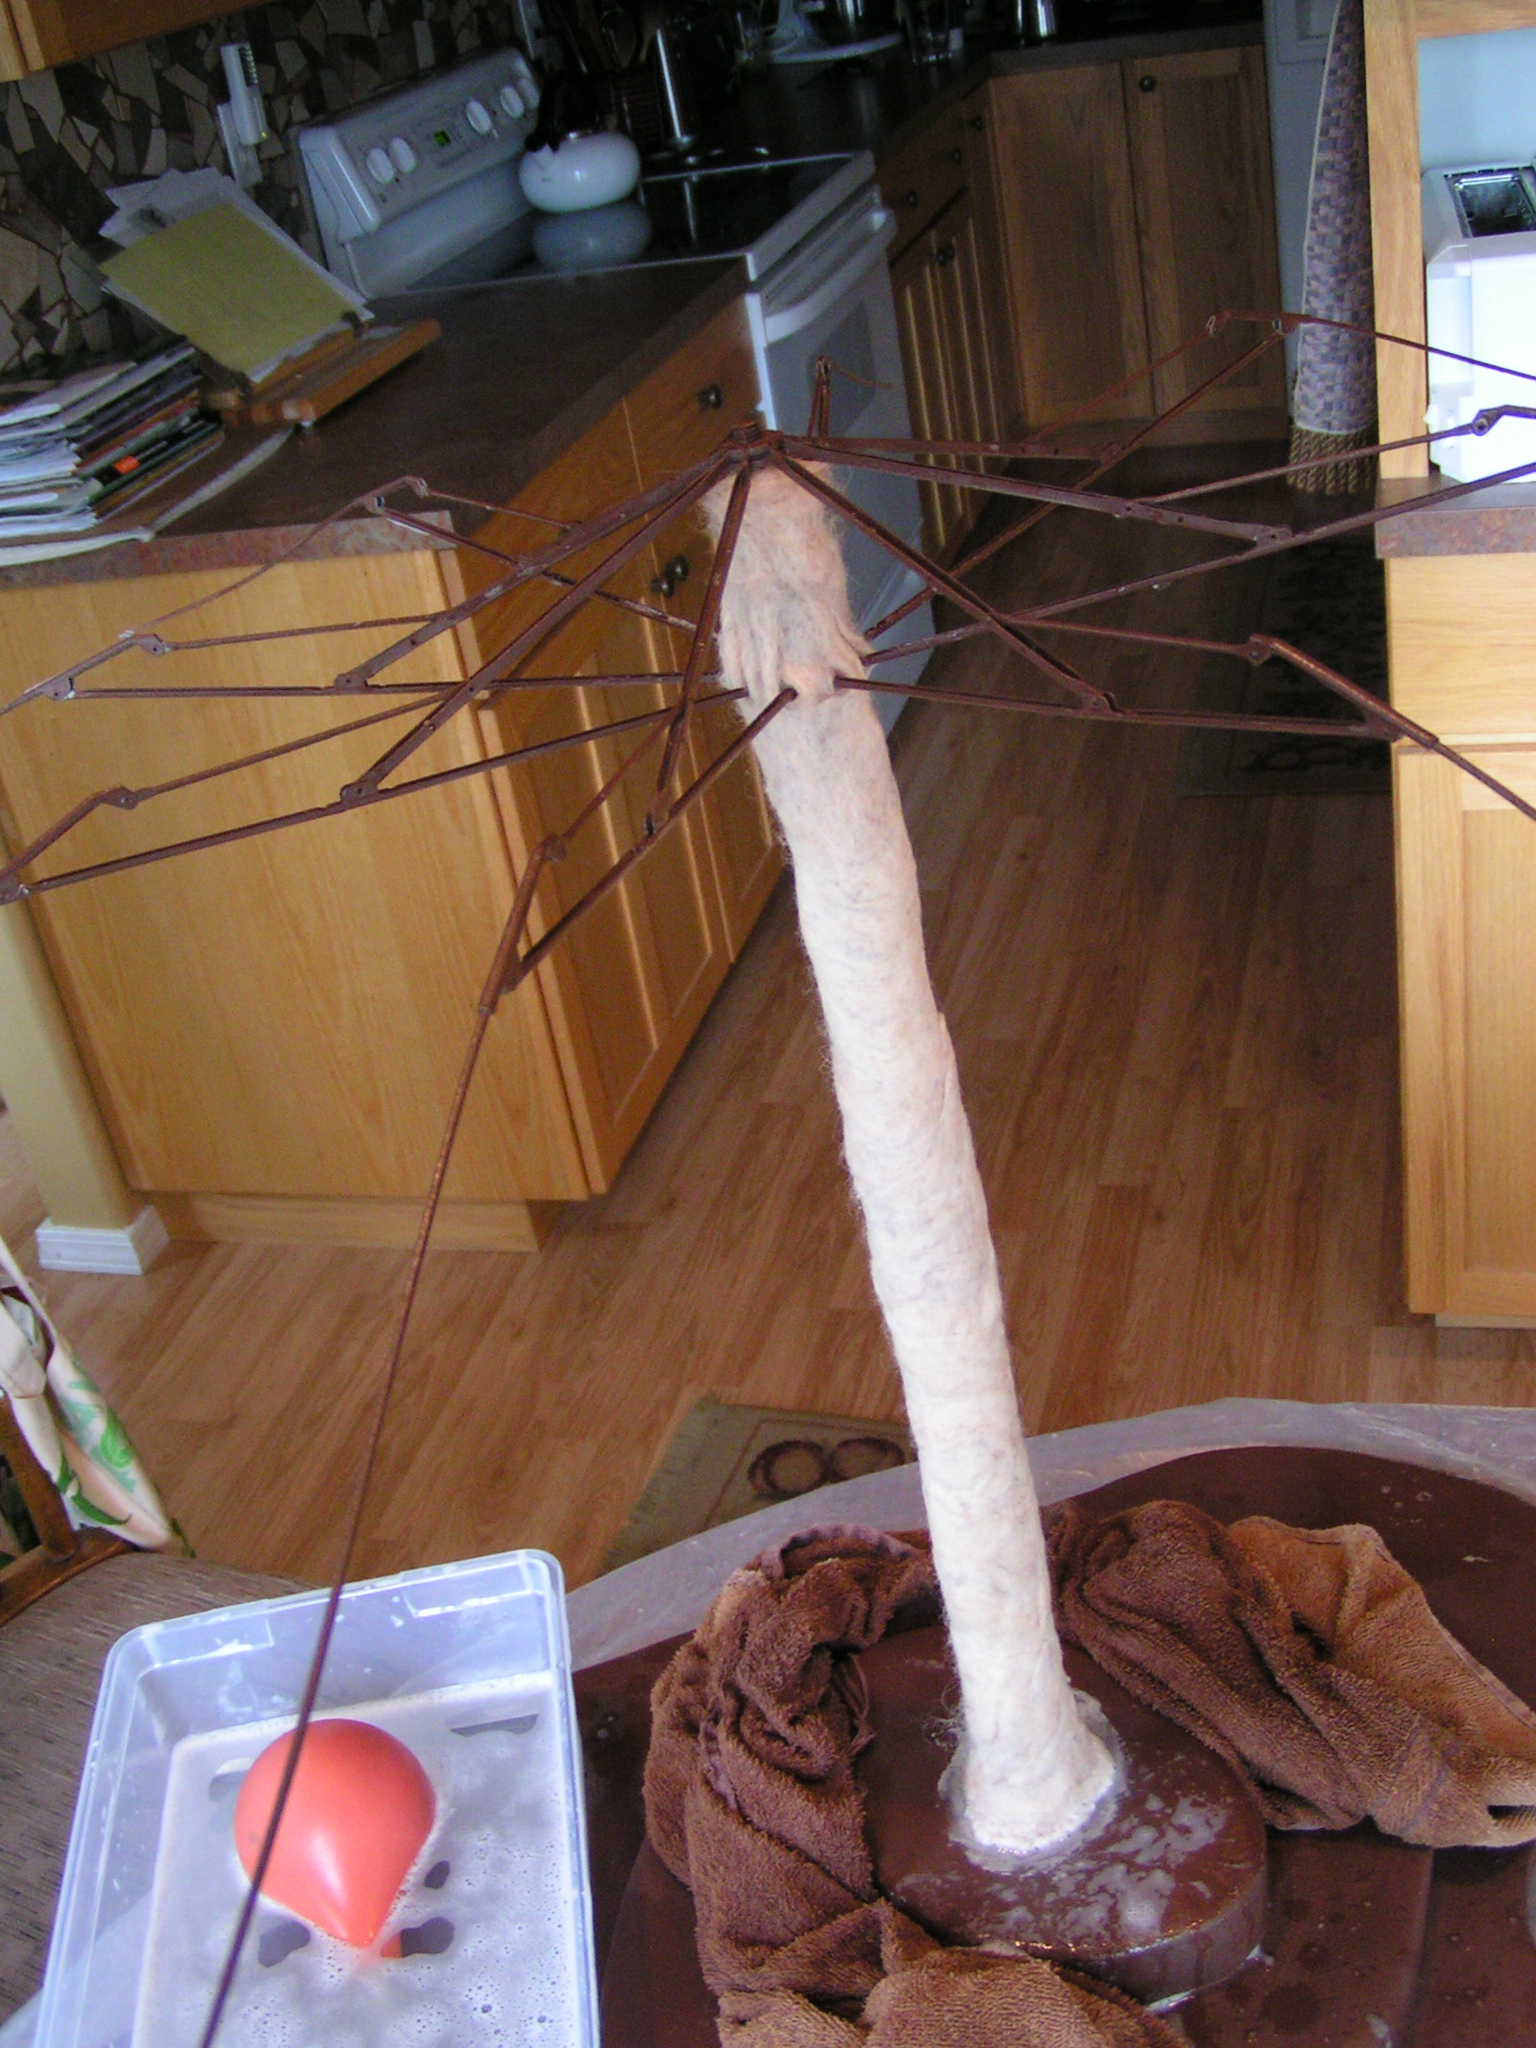
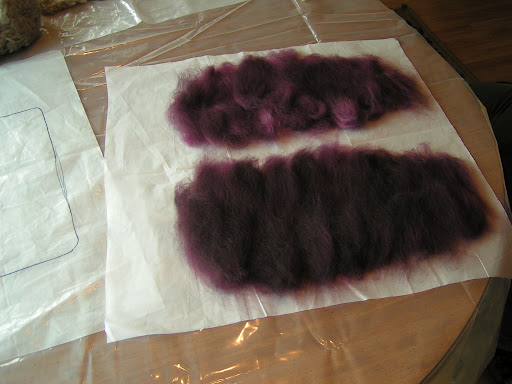
Next I added some dark brown Romney locks in hopes of adding texture to the final layer. As it turns out, I could have skipped this step as it didn’t really show through the final layer of wool at all.

Then I added a batt of mixed Corriedale and Moorit wool, wet it down and rubbed away. The color is perfect but I really had hoped you would see the darker wool coming through in spots. I will be adding more texture to the felt but that will happen later.
 Here it is after the trunk was finished. You can see that it shrunk quite a bit. There is about a 2″ gap now at the bottom. I’ll fix that when I add the roots and what ever is going to go on the base. I haven’t quite decided on that yet.
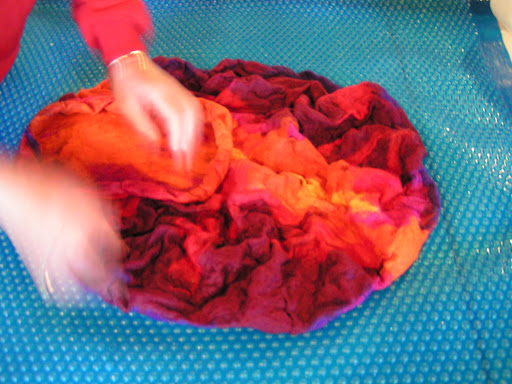
 Next I started wrapping brown wool around the ribs of the umbrella. Again, I used the felting needle to hold things in place as needed. The first one I did was kind of painful but then I got the hang of the wrapping and covering all those angles at the top.
 My husband came home at this point and said “Oh that looks like a spider.” So then I had this idea of taking the top part of the umbrella off of the handle and making umbrella spiders. Wouldn’t that be cool? But no, I am working on “Shelter” not spiders. So I started felting the wool around the ribs. I did the first one on the table but holding my arms up in the air that way was very tiring. So I put the whole thing on the floor and that worked great with me sitting in a chair and rubbing all those “limbs”.
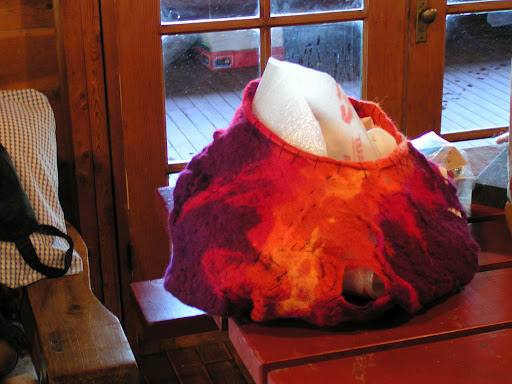
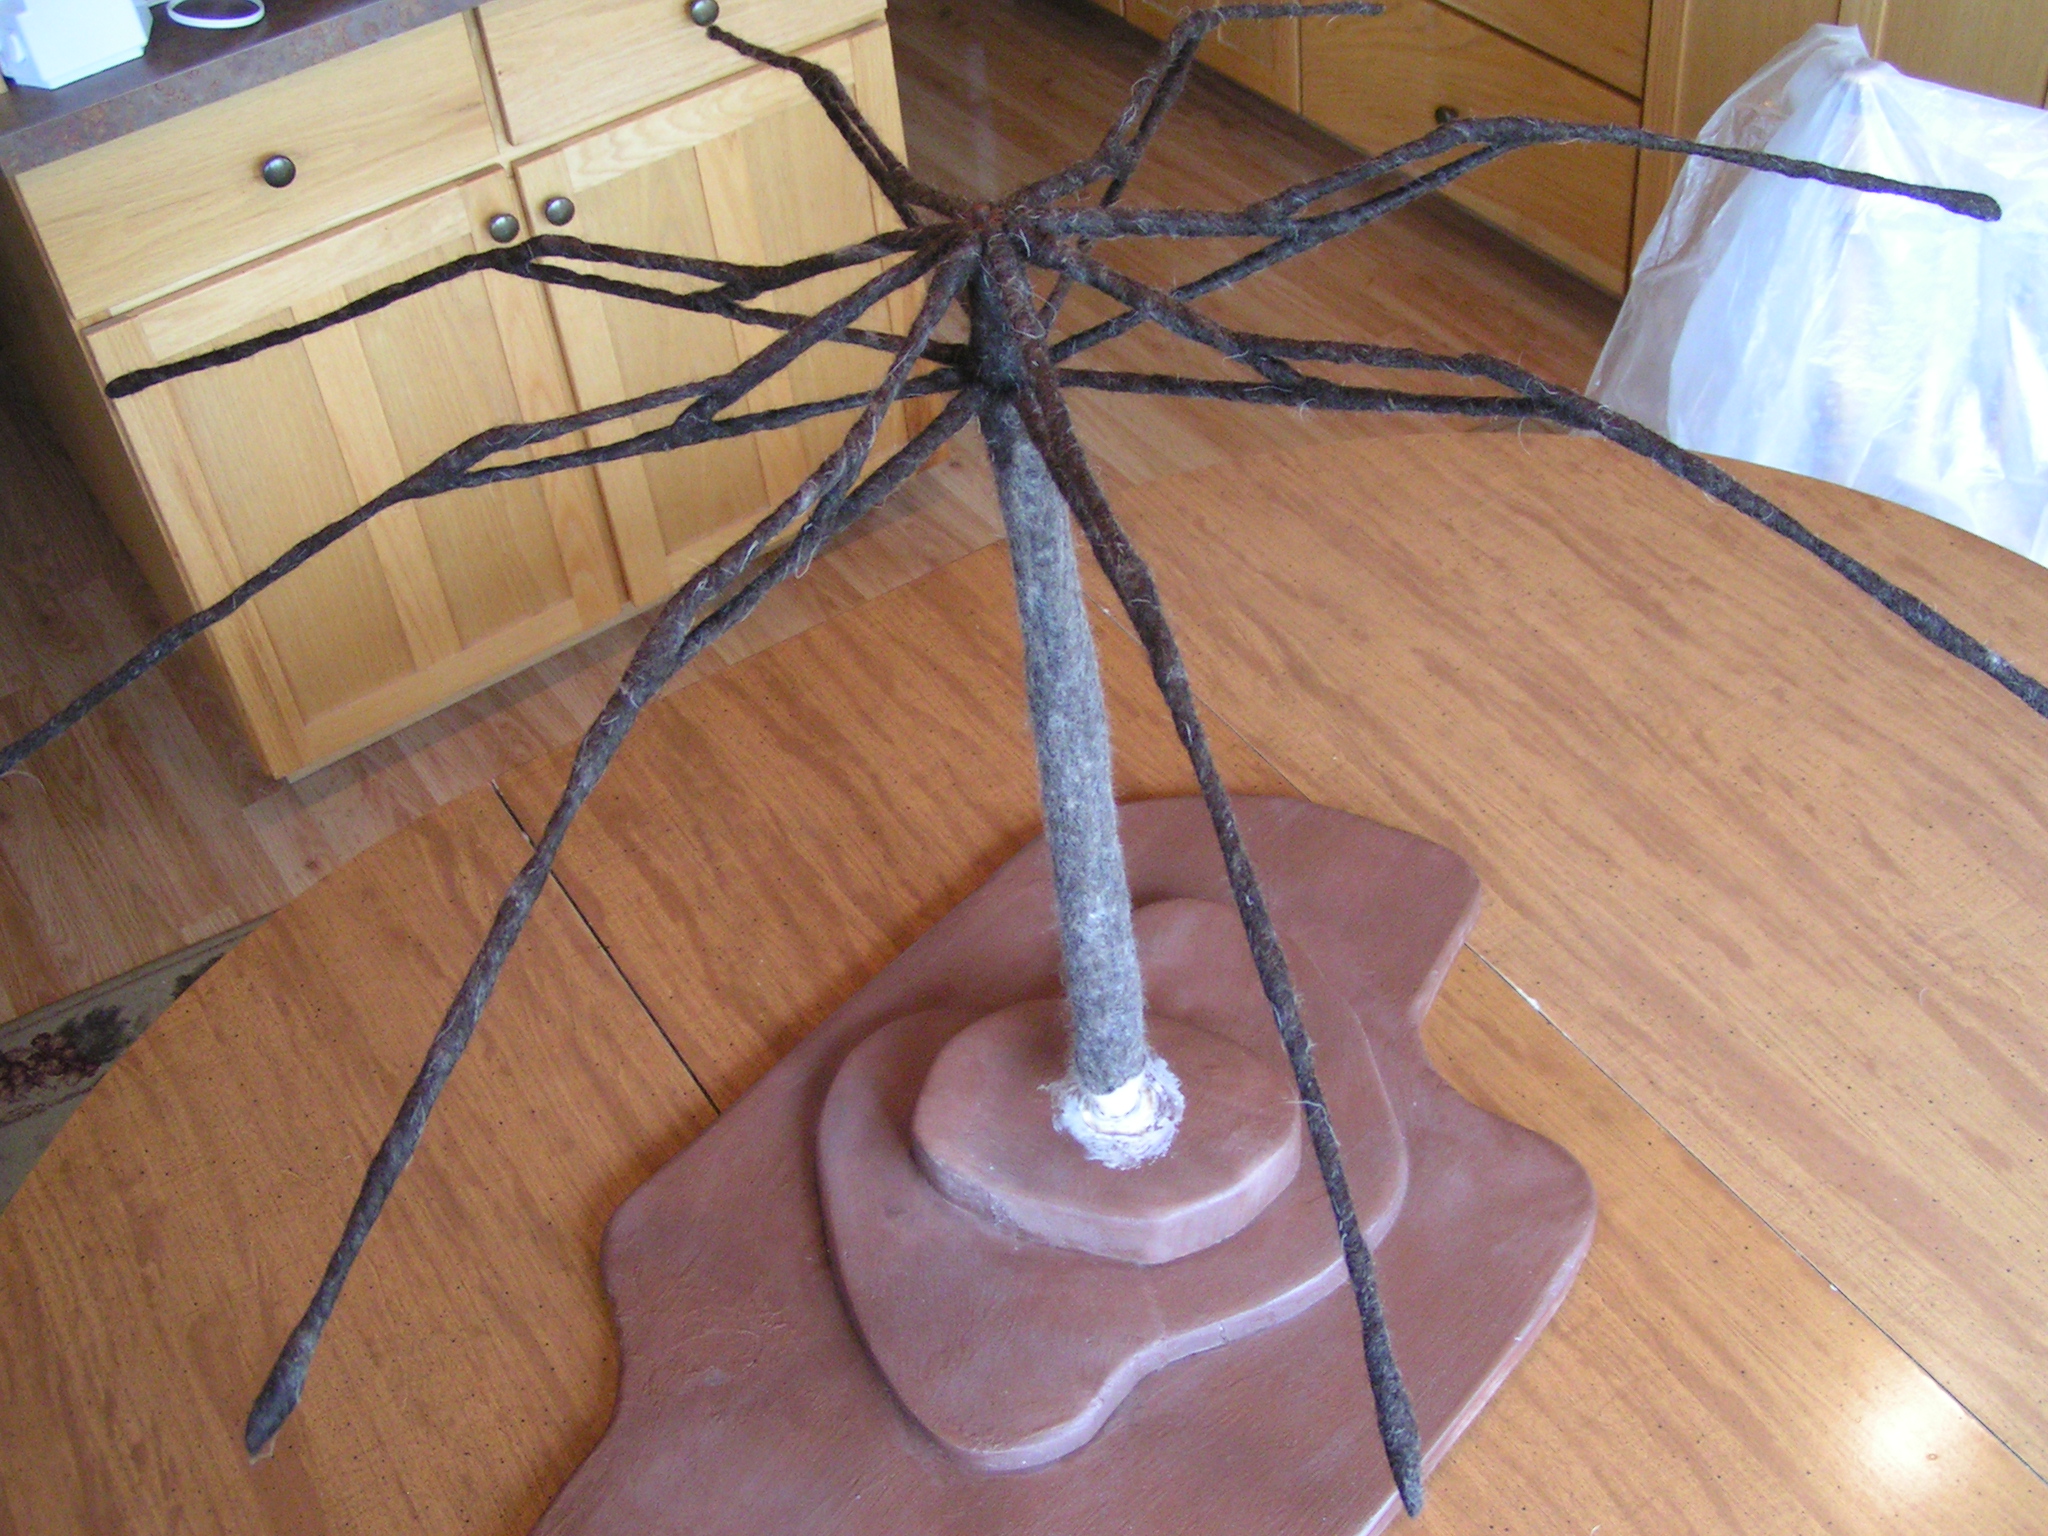 And here is the felted umbrella tree. I thought it would take a really long time to finish the limbs of the tree but it went fairly quickly. They aren’t fulled completely because I didn’t want the wool to shrink so much that the ends would poke out. It’s not meant to be functional so it didn’t need to be shrunk down all the way.
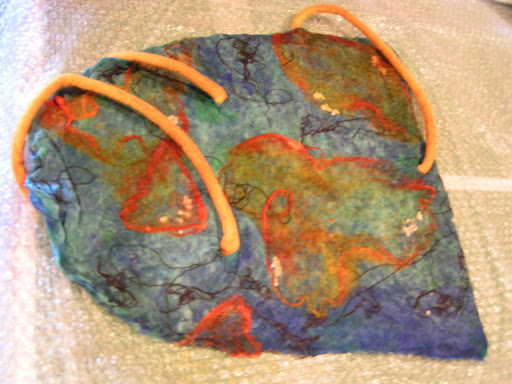
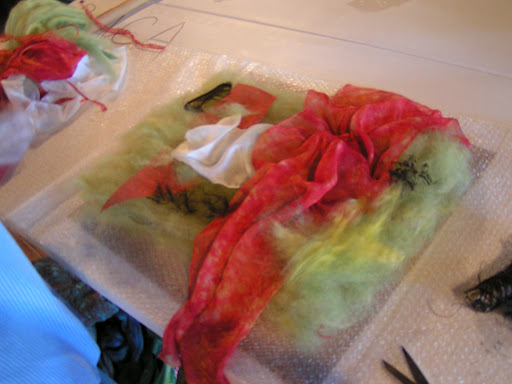
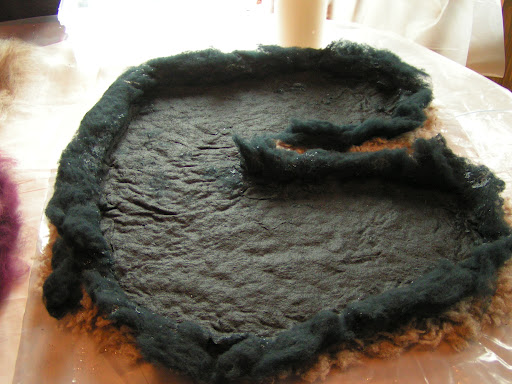
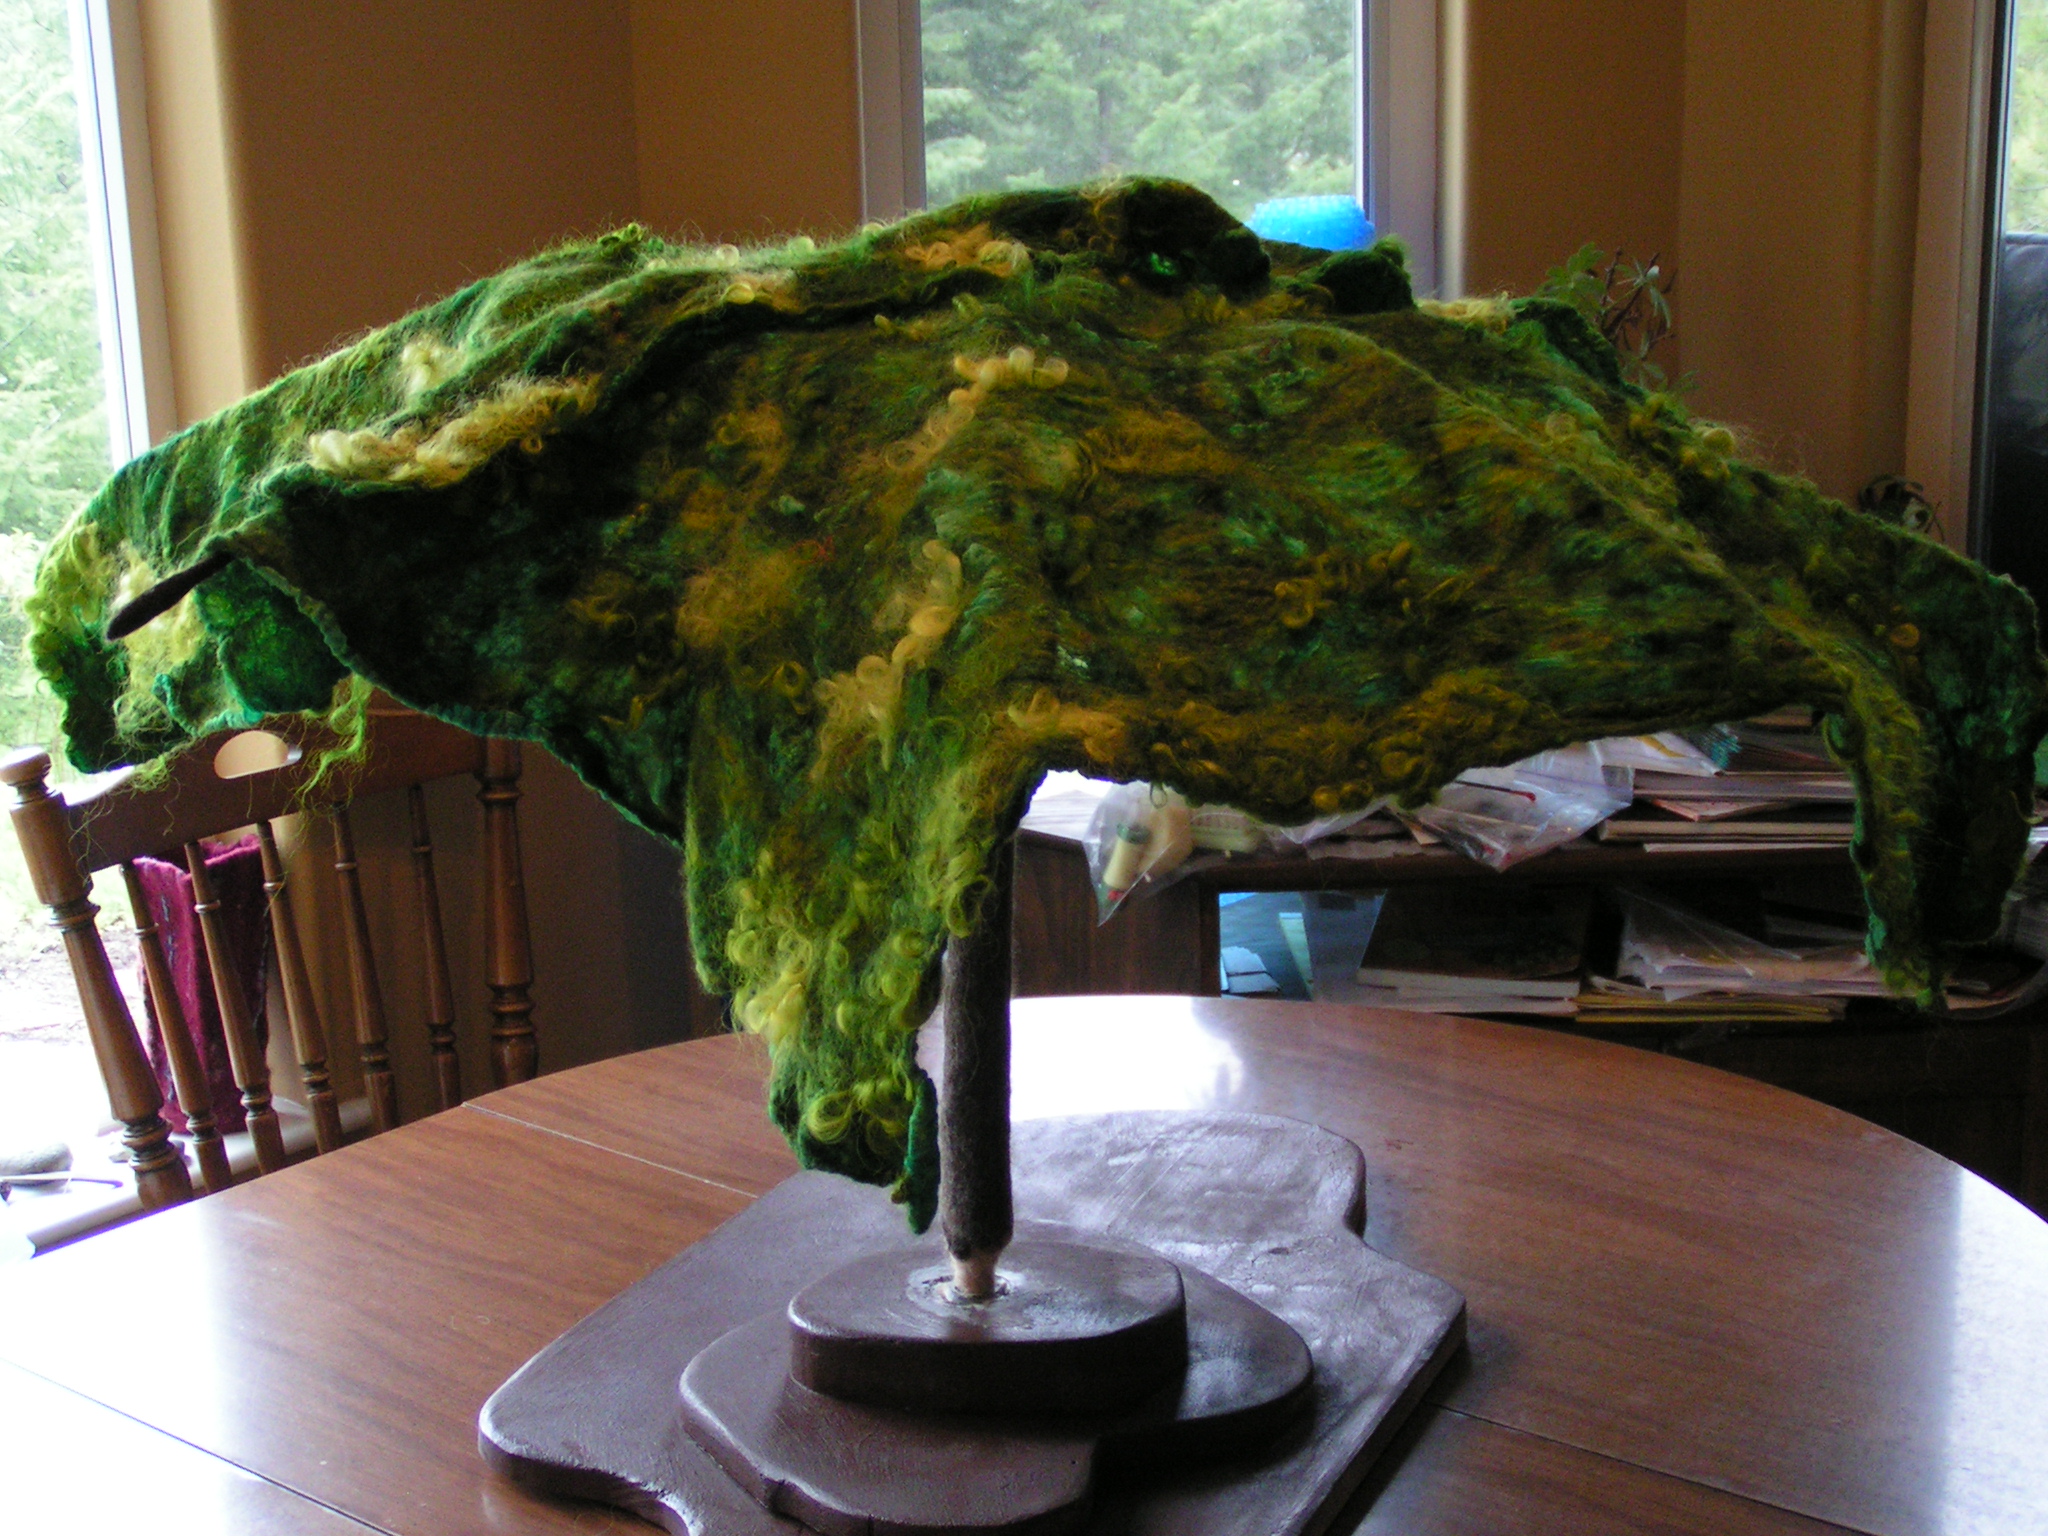 So for those of you that were wondering how the green nuno felt would be used, I bet you’ve already guessed. In the photo above, I just have the green pieces draped over the umbrella frame. I will be cutting these up and sewing them back together to fit over the umbrella. This is just to give you an idea of how it will look.
 And I love this view from the inside, under the shelter of the umbrella tree. Lots more work to do yet but I’m happy with it so far. If you’re interested in entering a piece for the exhibition, take a look at the Call for Entries on the Tangled website.

I’ve finally got a moment to show you the photos from my felting retreat. There were 7 of us all together including Chef Rhonda. Rhonda joined in on some of the projects we did. Jan showed us how to make key chains by wrapping and making beads from yarn. It was a fun project.
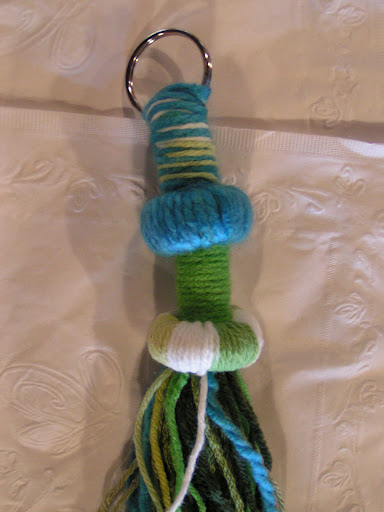
Here’s the start of my key chain. Jan brought all the yarn and the rings. All it takes is yarn, a key ring and a tapestry needle.

Here’s Paula (I think) wrapping her key chain in preparation for making a bead.

Here’s my finished key chain.
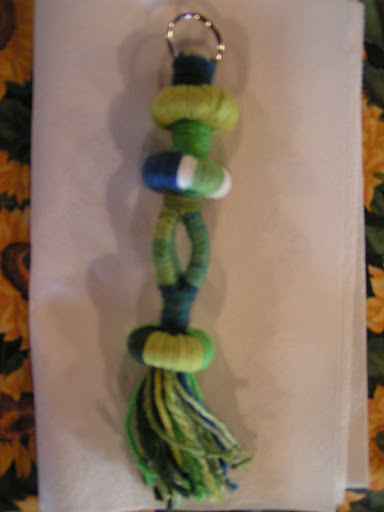
And here’s Paula’s.

Here we are after spreading out at the lodge. Everyone worked on their own projects but their was lots of sharing of supplies and equipment and felting ideas.

Here’s Rhonda sitting in the sun working on her key chain. Notice the brown shirt.
This is one of Paula’s projects. She wanted to add cords to a vessel. I already had the yellow cords made so she used those on her vessel.
Here’s Juliane working on her big pod. She hadn’t ever felted anything this large before.

Here’s Louise resting after working hard at felting.
Here’s Jan working on her pod/vessel.
Here we are taking a break for lunch.

Here’s Juliane’s pod again after rolling for a while.
Here’s Jan’s pod. She had a few holes and was a bit disappointed but I like it!

Jan was also working on finishing up a needle felted figure she had started in a class two years ago. Now she only has to finish his clothing. His name is Bennie and he’s going to be a monk!

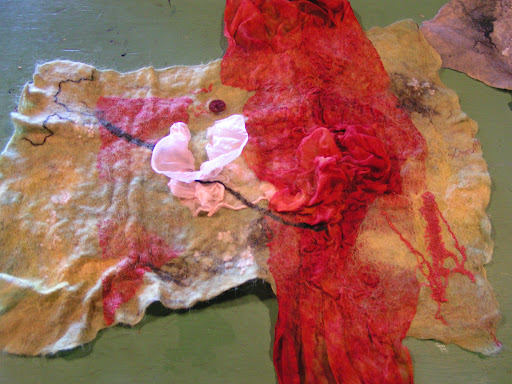
This is Paula’s felted landscape.
And Paula laying out another piece. Paula was the most prolific.
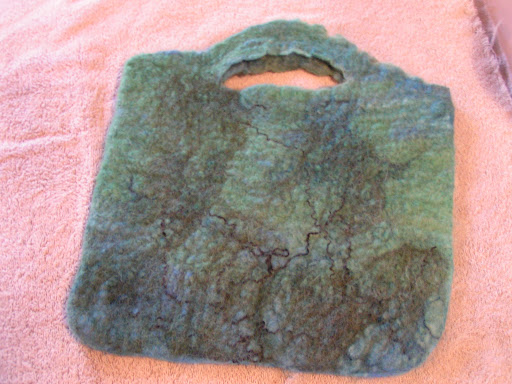
Here’s a felted bag that Louise made.
Here’s Paula’s vessel finished. Looks like it belongs in the sea.
Here’s her textured piece.
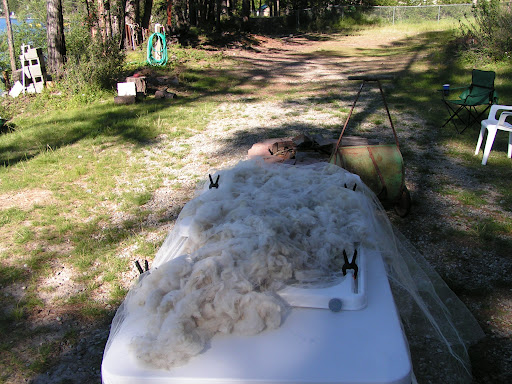
And this is what I did all weekend. Washed wool and then worked on carding wool.

I also taught everyone to make felted beads.
Here’s Julianne’s finished pod drying in the sun.
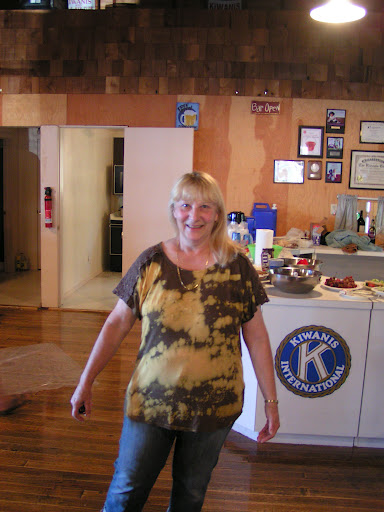
And remember Rhonda’s brown shirt. She got bleach on it (no potable water at the lodge so you have to use bleach in the dish washing water). She had come out to show us she ruined her shirt. So I showed her how to discharge with bleach and now she had a cool shirt instead of just plain brown. We had a blast and there are plans in the works for next year.
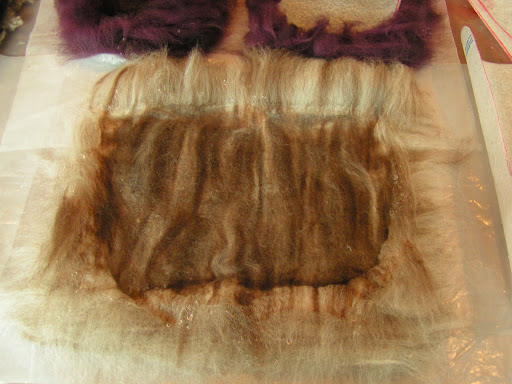
My sister Margaret is visiting me for a week and we decided to felt some slippers yesterday. She hasn’t felted before so this was her first effort. The photo above is the layout for slippers for my husband. I used some fiber that a friend gave to me. It is the broken tips from a merino fleece. They can’t be carded because they are too short. It was a pain to lay out but actually worked out better than expected. I made the slippers really thick because hubby wore through the last pair very quickly.
Here is Margaret’s beginning layout. We decided that they looked like “Wild Thing” feet.

Margaret also really liked this Blue Faced Leicester wool so I made her an I-pad cover.

We tried a new experiment with Margaret’s slippers and put a foot shaped piece of wool blanket in the middle of the bottom layers to provide more thickness and support to the bottom of the slippers.
I put black short fiber merino as a second layer of my husband’s slippers as I was afraid there would be holes in the gray wool.
Here’s the I-pad cover after partial layout and wet down.
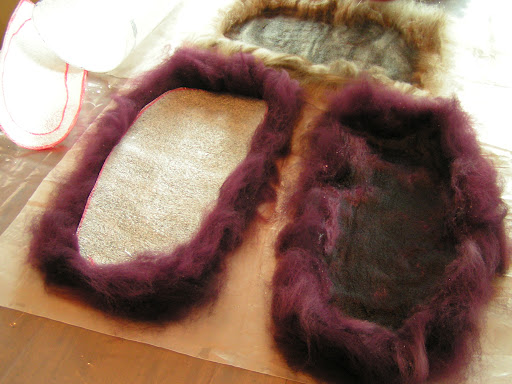
Margaret’s slippers after partial layout and wet down.
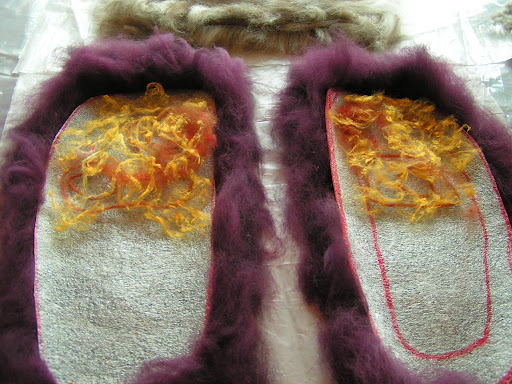
She added pre-yarn, silk cap and silk noil for embellishment. The wool used here is Falkland that I dyed with leftover dye from my cocoon jacket dyeing session.

Here are the wet down and rubbed slippers for hubby. It took lots of rubbing to get the wool to start holding together.

Here are Margaret’s slippers after a bit of rubbing.
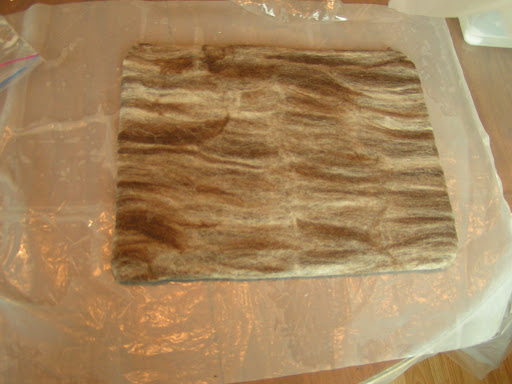
And the I-pad cover.

We got really busy after that with rolling and fulling and forgot to take any photos. But here is a photo of me fulling hubby’s slippers on the washboard. Boy am I fast 🙂
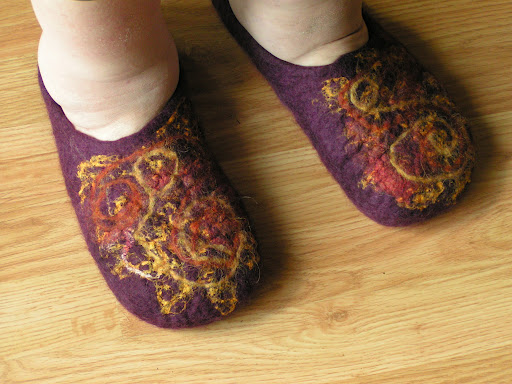
And here are Margaret’s finished slippers. Didn’t she do a great job? She was really pleased with them.

Here are my husband’s slippers and the I-pad cover. He still hasn’t tried them on so there might be some shaping left to do. All in all, it was a great day. Hope you have a good weekend and thanks for stopping by.

I recently got three hat forms from Hat Shapers to make more felt hats. In the past, I just shaped my hats with the washboard and fulling techniques. I would then put plastic bags inside to hold the shape while the hat dried. But to make a hat that is really specific, it works wonders if you have a hat form. The hat above was an experiment and was only partially successful. It was going to be a flat beret with a brim but it ended up looking really silly. So I turned it into a baseball cap with the help of a hat form. It still looks a bit silly but at least it doesn’t cause people to fall down laughing.

This hat is a sample made using a Columbia wool from Oregon. It comes in these really nice tweedy colors. It doesn’t felt as quickly as merino but it’s very sturdy and works really well for hats. I used the fedora hat shaper for this one and it actually looks like a fedora.
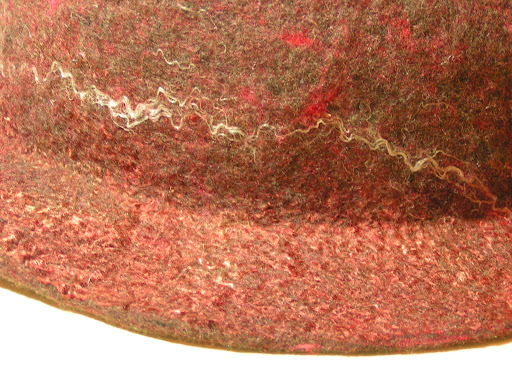
I used flax and bamboo fiber to add a little embellishment to the brim. I’m still trying to work out where you put embellishments that will end up in the area of the hat band. It’s hard to determine that exactly because of the shrinkage and how the hat form works. I never thought I would like making hats but with the hat forms, they are really easy. I have no connection with Hat Shapers but I do like their products.
