I promised to show you some of the prints that I created from the rubber stamps that I carved in class. I didn’t include all of them because there were loads of prints. We spent one full day creating prints.

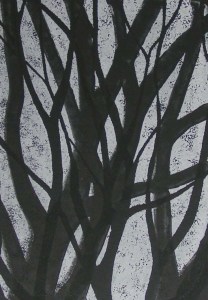
The one on the left is the first tree stamp that I created. The photo on the right is both stamps combined. I wanted to get a variety of tree branch size and give it some depth. I was happy with how the two stamps combined into one print.

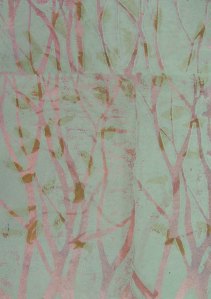

Here are some other prints I made with the tree stamps.
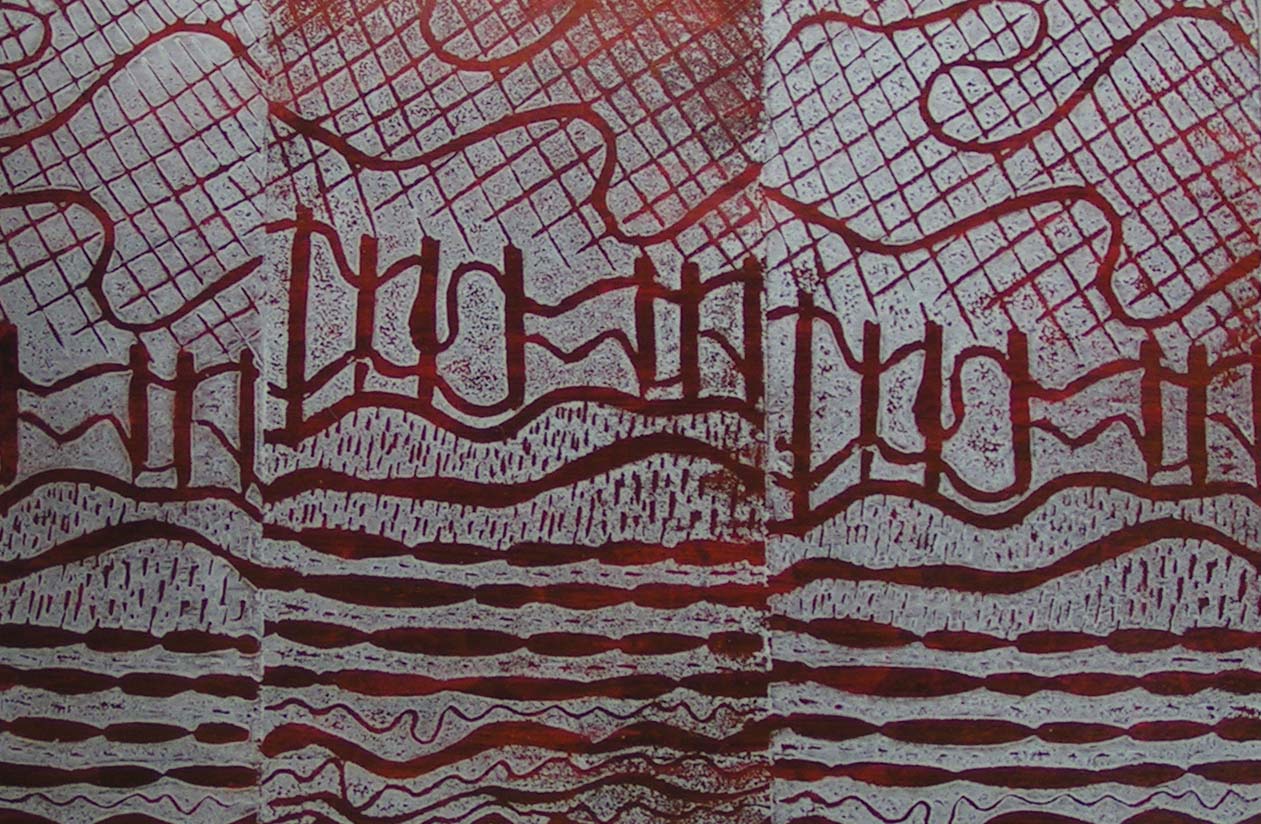
This one was from a texture stamp I created. I had no idea I was creating a landscape until I printed it.
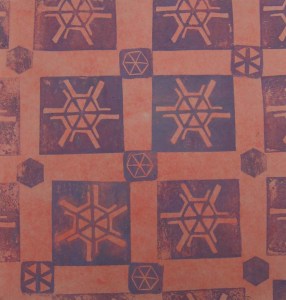

Here are some of the ideas for using the little stamps.

This is the round stamp that I started with just to practice my carving skills. I like the layered look of this one.

This one is gold ink over a mottled background with a texture stamp. Now I have to decide how I am going to extend or add to these prints as well as including them in collages. Lots of homework between now and March. I better get busy!

They are lovely! I sense you had great fun with this. I particularly like the accidental landscape.
Thanks Lyn! I had a great time, it was fun.
Wow, they turned out great, Ruth! What did you use to make the blocks? I’ve been meaning to learn for years, mostly for fimo.
Thanks Zed! We used a product from Enasco called safety cut. Easy to cut but firm and not crumbly.
Lovely prints Ruth. I particularly like the trees and circles. Sounds like you’re going to have a very winter. Have fun.
Thanks Marilyn! Yes, it should be a lot of fun playing with these prints and creating more.
Some great layered and repeat effects here, especially against the coloured backgrounds. Look forward to seeing how they develop!
Thanks, the layering definitely improves the prints for me. I am looking forward to seeing how they develop as well!