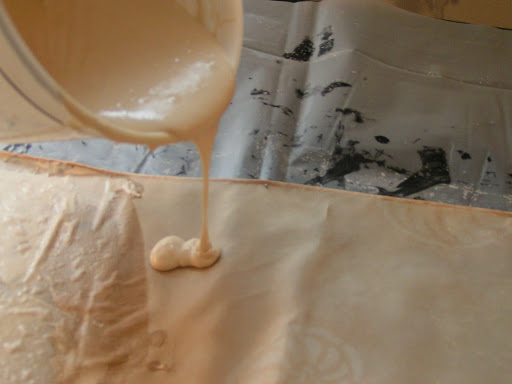
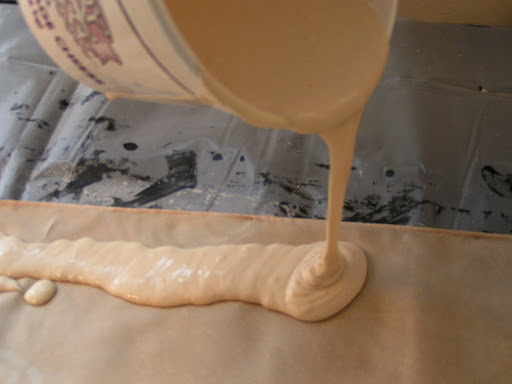
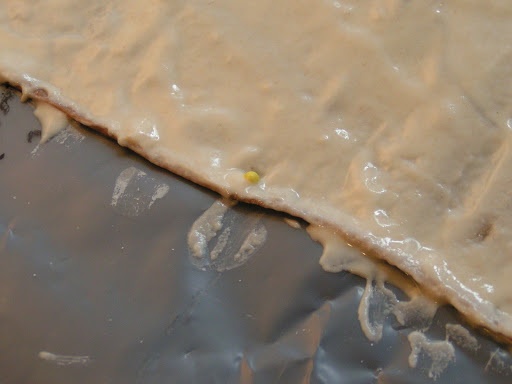
Here’s better photo of a generous pour of flour paste.
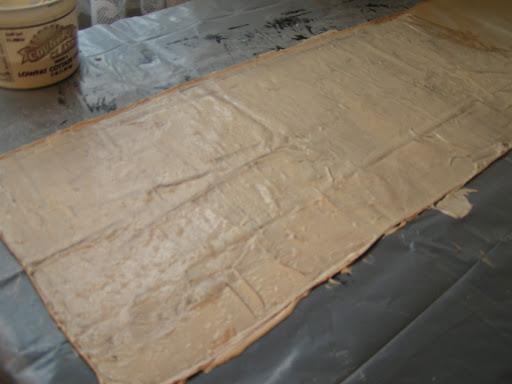
Once you have your entire surface covered with flour paste, pin the bottom edge and ends of fabric. Make sure you have covered all your edges well. I have this on my “new” print table that I made by stapling a large piece of black felt to the table. Therefore, I can pin right through the plastic and into the felt.
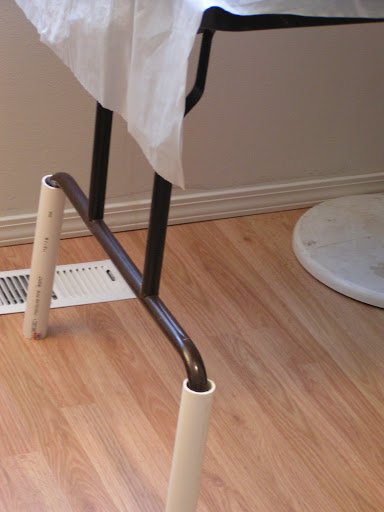
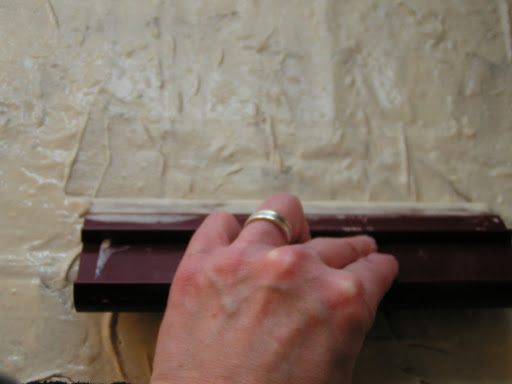
If your table is too low, just add four pieces of PVC pipe. Works a charm to prevent your back from bothering when working.

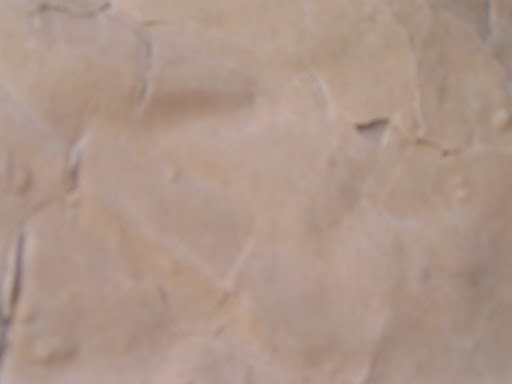
Then let the piece dry for at least 24 hours. I had the fan going on this and it only took 12 hours to dry. It should all be the same color with no translucent looking spots when it is dry. If you look closely, you can see that almost all the pins have been pulled up due to shrinkage. If you don’t pin it down, the entire piece will curl up and be a big mess. Ask me how I know!!
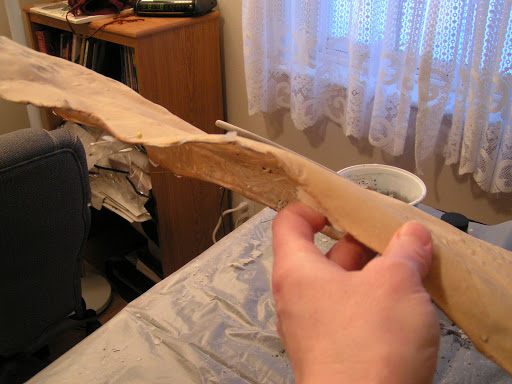
This is how stiff it is when the flour paste is dry. This is an 8mm silk scarf – now turned into a flour paste plank.
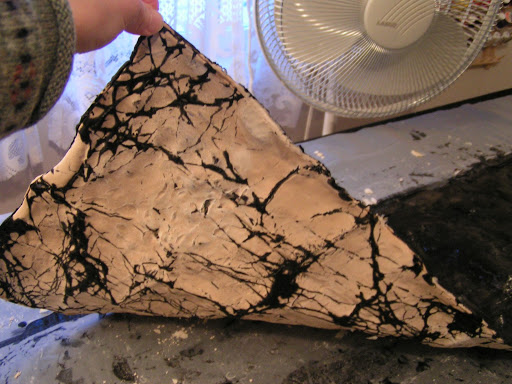
Here I am holding the end of the scarf. If you haven’t tried this technique, it seems really bizarre.

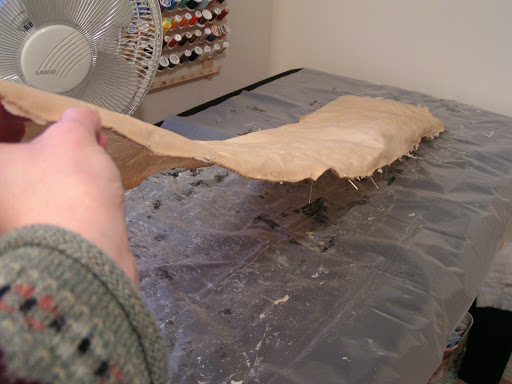
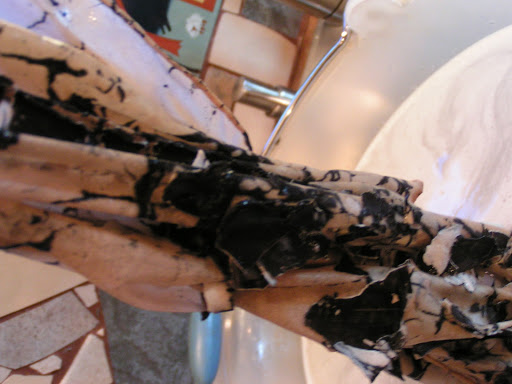
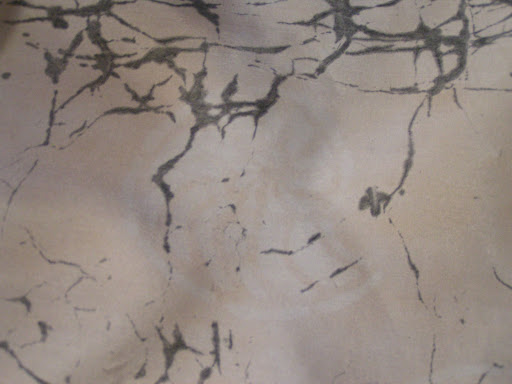
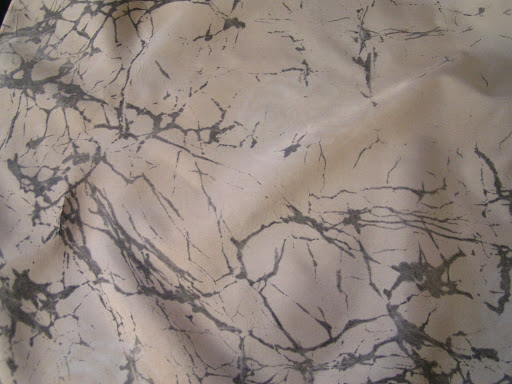
Next, you need to crack the flour paste. The more you bend, roll or push on the fabric, the more cracking you will get.
These are just a few photos showing the cracked flour paste.
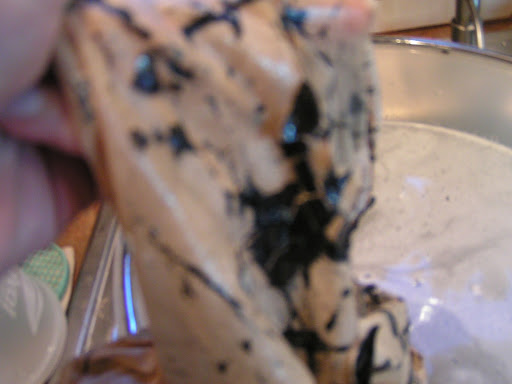
Then you can either use fabric paint or thickened dye. I used Jacquard Textile paint mixed with half water and half paint. Paint over the entire surface making sure that your paint is covering all the flour paste resist.
Here’s a peak on the back after painting. This is about how it will look when you wash it out. If that isn’t enough crackling, carefully (you’ll get paint all over yourself) crack it some more and add more paint. Let paint dry for 24 hours. Most textile paints are supposed to be heat set but it doesn’t work to iron this mess. You could try it on the back but both times I’ve tried it, the paint was pretty well set after 24 hours dry time. If you’re using dye, batch like you normally do.
Then fill a bucket with cold water. You don’t want to put the water directly in the sink because you won’t want this flour paste/paint gunk going down your sink. I just rolled the scarf up into a roll and dunked it in the water. It starts loosening almost immediately and you can peel it right off. Just let the gunk settle to the bottom of the bucket.
Can you see the black stuff peeling off in pieces?
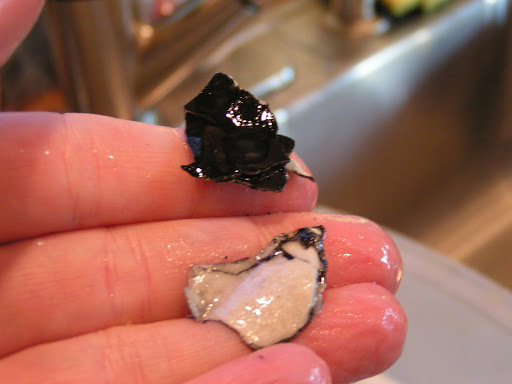
Here’s what it looks like.
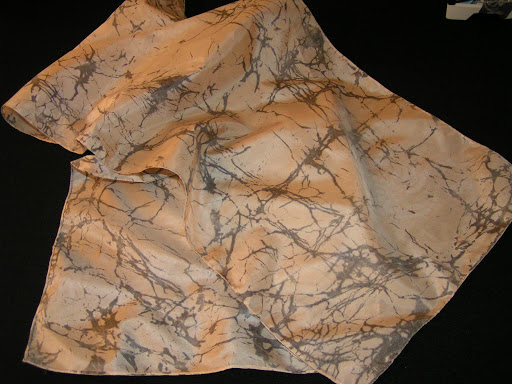
Once you’ve got as much gunk off as possible, wash with mild detergent in the washing machine. Then iron and you’ll have a lovely crackled effect. I just love the look of these. I have to try some more with different colored paint. Don’t forget to pour the water and flour paste gunk outside. Do not pour it down your sink unless you have a crush on your plumber!
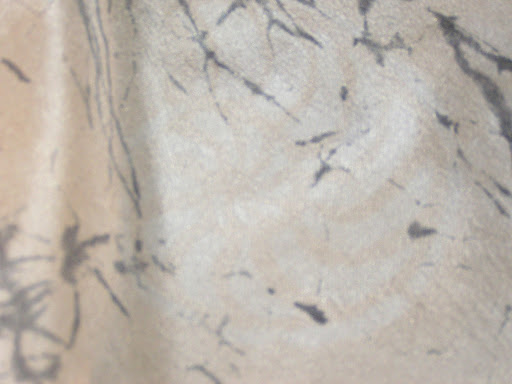
Here’s a few close ups. Can you see the discharged ammonite?


Fabulous!
Love the tutorial, I have to try this one.I did buy some fabric from a local show that was made in africa. They use the flour method and sun dried it.Debbie
I must give this a go! Thanks for the idae.
Wonderful results and great tutorial.Thank you for sharing!
I have to try this, but maybe I'll wait until summer when I can do it outside. I have Jane's Complex Cloth book. I'm sure it has instructions for this or something similar.
Beautiful results! I've been wanting to try this, have Jane's book, and now have a tutorial …. thanks!
I think I won't be able to resist to try this out – when the summer comes and I can work outside, love, love the minimalistic monochormatic pattern! Thank you so much for sharing!
Ruth, THANK YOU so much. This is an excellent tutorial. I have been planning to buy Jane's book, but keep telling myself not to be so extravagant [I have her Complex Cloth]. I will certainly be looking for it now. You have gone to a lot of trouble to share this, and are to be commended in bucket loads. Again, thank you very much.
This looks so lovely. I must try this one day for myself.Thaanks for posting the tutorial.
I can't wait to try this process with my upcoming high school students. What a great way to alter plain cloth in a very enviromentally safe manner. I think they will love the process.
That is really gorgeous – thank you so very much for generously sharing this method. I am very intrigued by it and will definitely have to give it a go. Thanks again. Nita.
Thanks! It’s fun, I hope you give it a try.
Hallo, Danke fürs teilen. Einfach Klasse Ergebniss. Könnte dies auch mit Papier funktionieren? LG
You’re welcome, it doesn’t work well on paper because you have to soak and wash it and the paper will deteriorate.
Very interesting idea for the crackle effect. Shall try.
Glad you are going to try it, the results achieved are wonderful. I haven’t found any other process to give this type of result with surface design.
Pingback: Experimenting with Paste Resists on Fabric – Felting and Fiber Studio
Love this pin ..my question is..can I use the flour paste on denim too
Thank you in advance
Regards
Jerome
Jerome, I have not tried it on denim but I don’t see why it wouldn’t work. I would try a small sample to see the effect. I would love to hear your results.
Hi Ruth
Thank you for your quick response and its highly appreciated..will definitely try it on the denim ..will keep you posted on the results…thanks again and have a blessed one
Ame está técnica que no conocía!!! En breve probaré!!! Muchas gracias!!!
Un saludo desde Argentina!!