I promised I would show you my results from the afternoon of playing with soy wax batik techniques. After the pieces had dried, I ironed the fabric between newspapers to remove the wax and then I washed the fabric in the washing machine. There were a couple of pieces of fabric that lost all their color after washing but most came out pretty well. Remember that many of these pieces of fabric were previously painted, dyed or stamped and were in the “ugly” category.


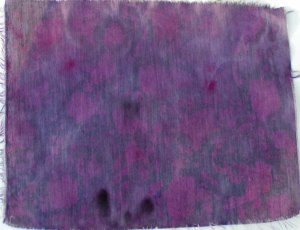


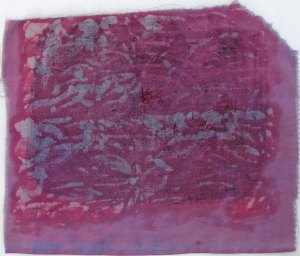

Most of these fabrics were stamped or painted with soy wax and then over dyed. I think they are much more usable even though most are just small squares about 6″ x 6″. A few are a bit bigger than that. I’m think about combining them with some other fabric to make notebook covers.
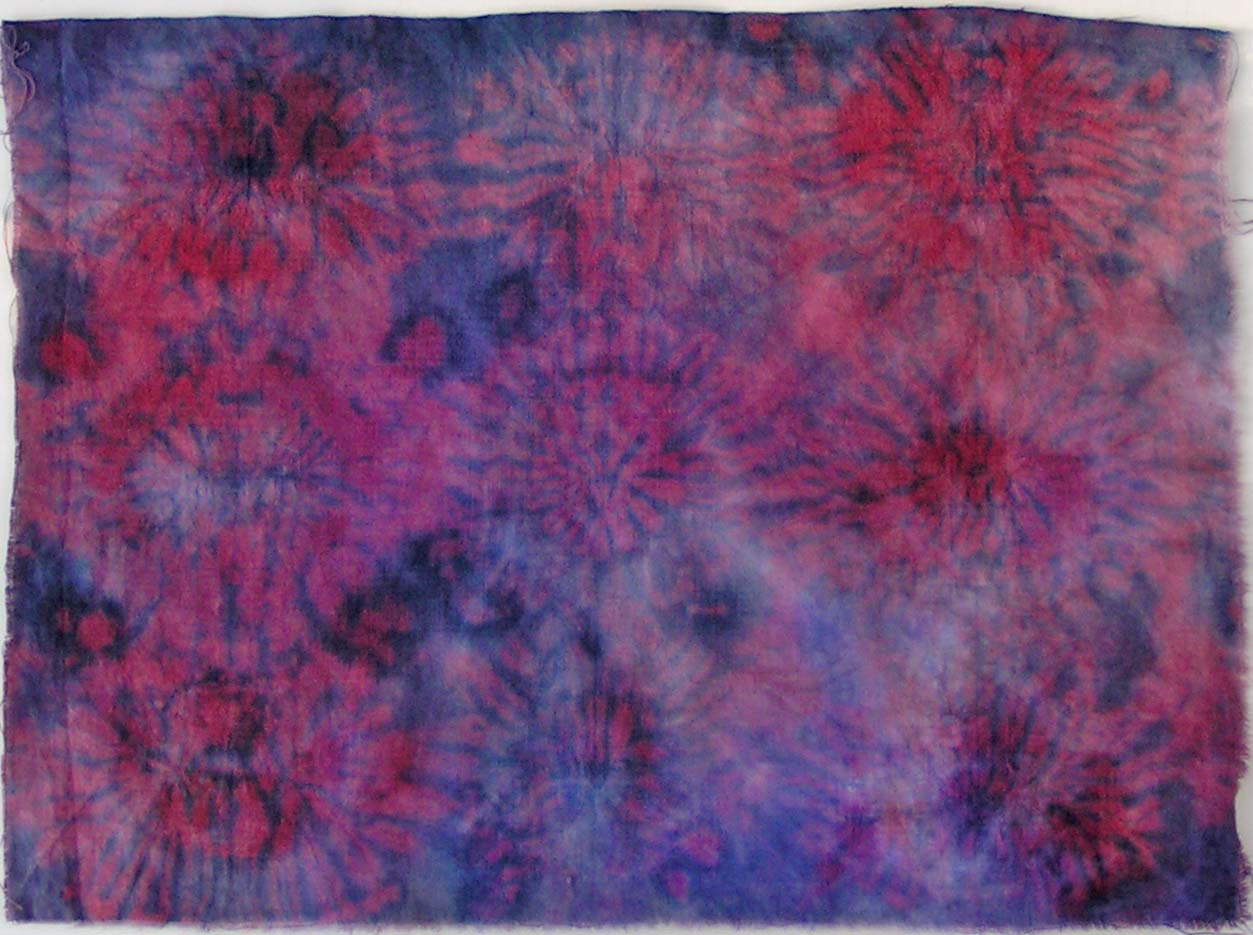
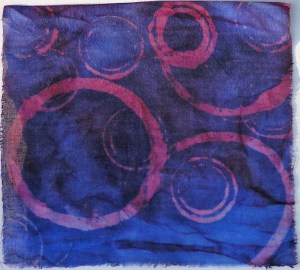
This is one of the stitched shibori pieces that I did. I’m not sure how the soy wax affected the design on this one but I like it.

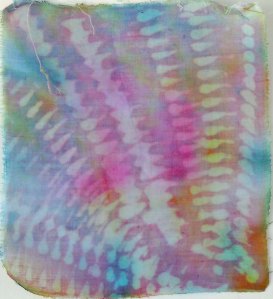
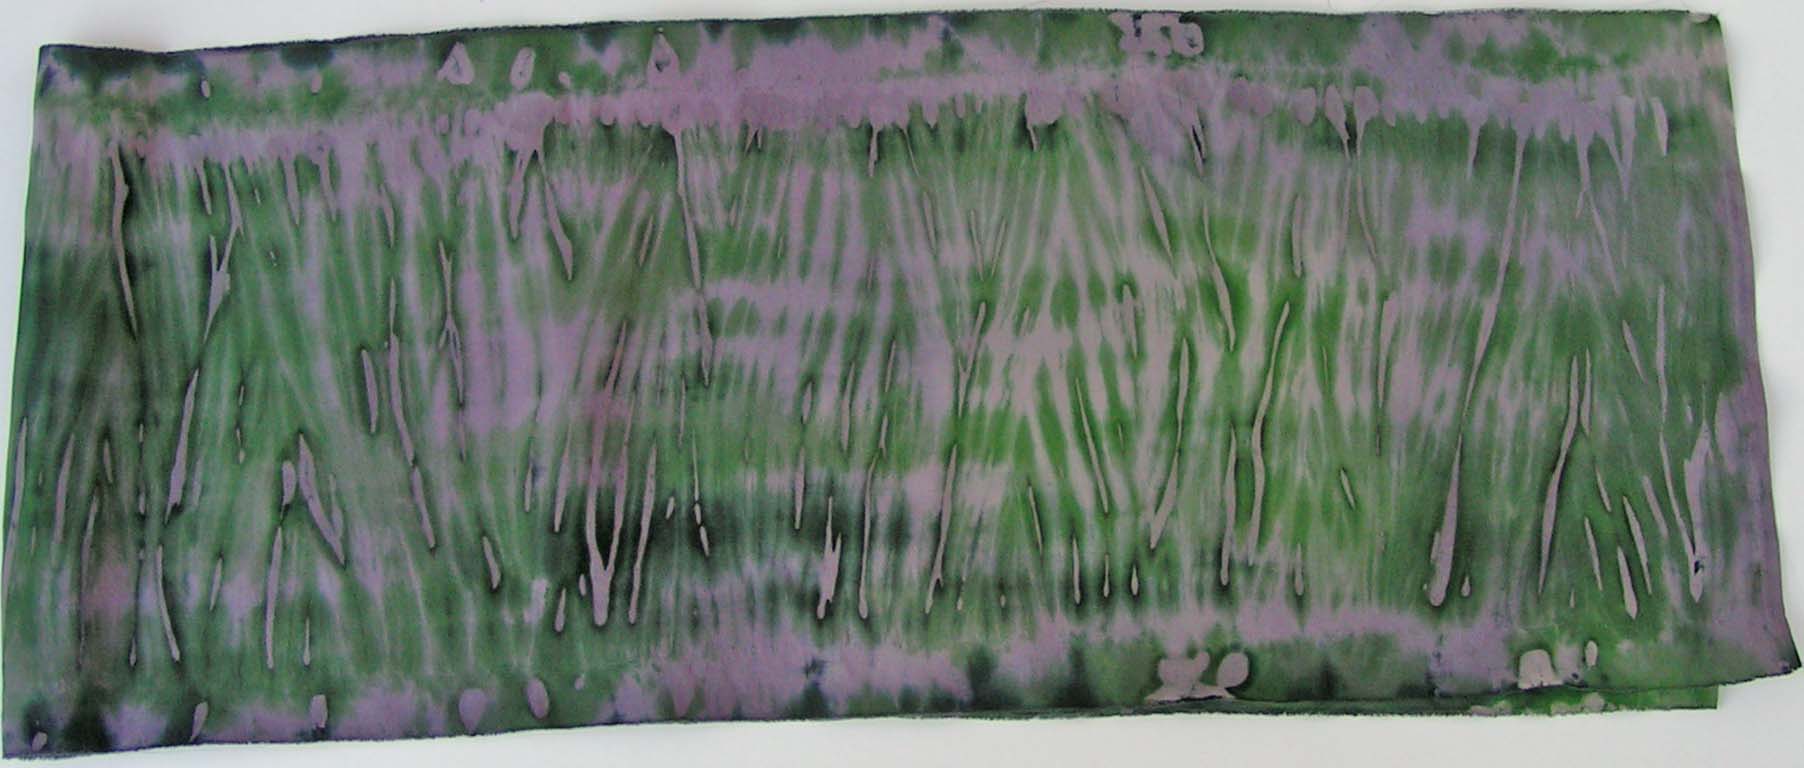
And this piece was stitched with the Mokume pattern or wood grain. It was originally yellow and I painted it with black dye. Now it’s green. But I think it would make a really nice background for something. Not sure what yet.

This is the piece of silk that Bunny had wrapped around a pole for us before we got there. You can really see where the wax was in the shibori pattern. I painted this with black and green dye. It was originally white where the resist of the scrunching and soy wax was. But I put this in the washing machine with the fabric shown above and the purple part came from the other fabric. I don’t think I could have done this if I tried. I really like it.

Here’s a closer look at one end.
And here’s the other. You can click on any photo to see an enlarged view. This piece of silk isn’t really long enough for a scarf and it is a heavier weight silk so it won’t work for nuno felting. Again, I am not sure what I’ll do with it but I’m sure I will think of something eventually. I do think that adding soy wax to the shibori process is worth the effort, especially if you are using silk.
