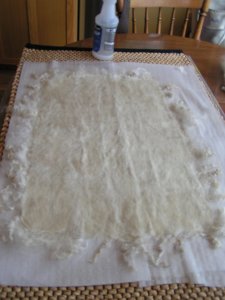
Lay out your wool and wet down to felt. You need to do a thin felt as really thick felt won’t fit under the sewing machine. I used three layers but it was almost too thick. Thinner felt is much easier when you are first trying this technique.
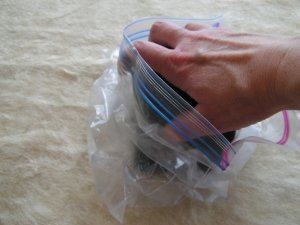
You can use a hand held sander to felt. Just cover with a plastic bag but allow air to escape so it won’t get too hot. Then finish felting and fulling in the sink.

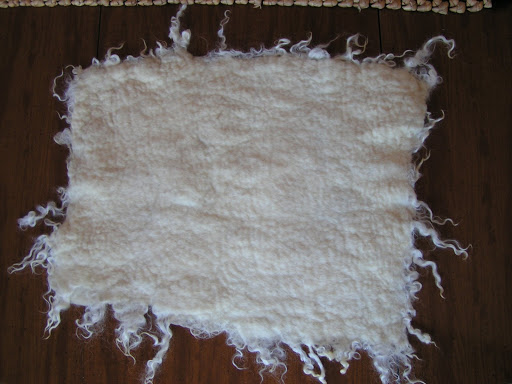
Here’s my finished piece of felt ready for thread sketching.

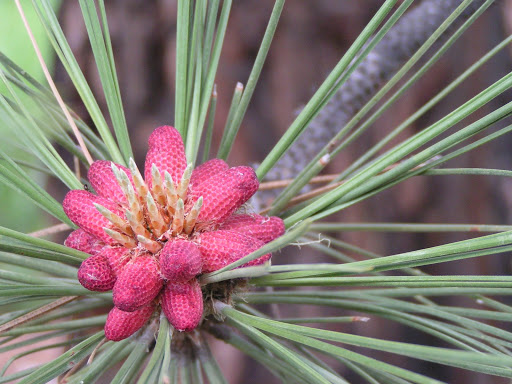
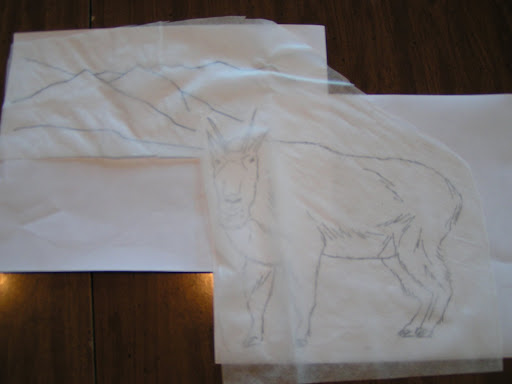
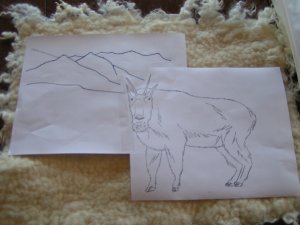
This is the photo from which I drew a simple sketch. You could trace your design if you’re not comfortable sketching. For your first try, I would suggest something more simple than this.

I used the copy machine and enlarged my sketch by 150%. I added some mountains behind the mountain goat.
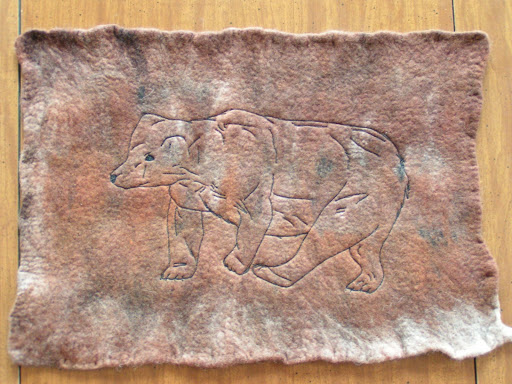
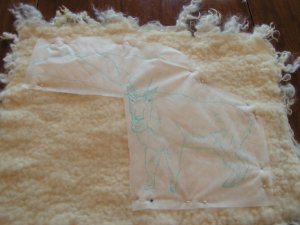
Here’s the sketch on the felt to make sure it would fit and that it was placed well.

Then I covered the sketch with water soluble fabric. You don’t need any extra around the edges, just the size of the sketch.
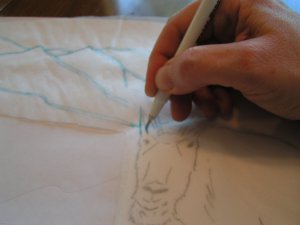
Then I used a water soluble pen to sketch the design on the water soluble fabric. Don’t use a permanent pen as it may stain your felt.
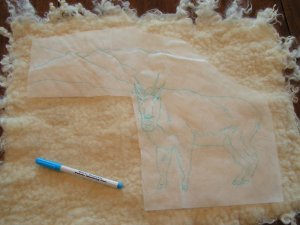
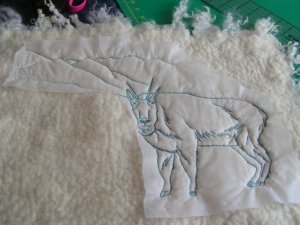
Here’s the sketch after it’s all done.
Pin it in place on your felt.
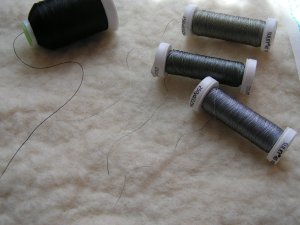
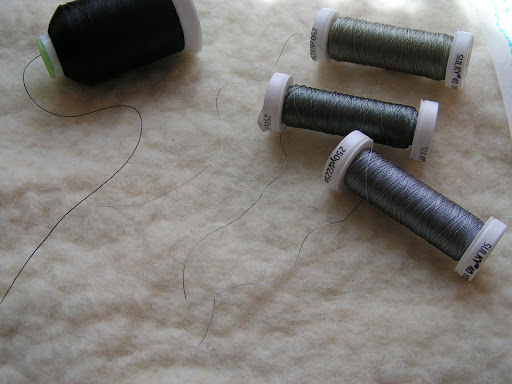
Normally for thread sketching, I have been using black thread. But I decided to look at what grey threads would work best as this piece was so white and I didn’t want the stark contrast. I used the middle grey thread.
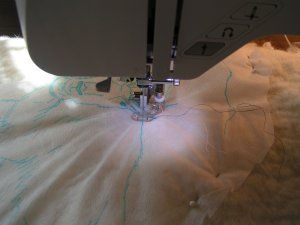
Put your piece under the machine with the feed dogs down, use a darning foot and the stitch length to zero. Bring your bobbin thread up to the top surface, stitch in place several times to start and then stitch following your design. This is sketching so you do several passes over all the lines. Don’t worry about being exactly on the line. It is supposed to look like a sketch so you don’t have to be perfect!

I usually do a section at a time and go over it at least three times for the major outlines etc. I do only two passes on the less important features. When you need to move from place to place, just
stitch in place several times before moving your needle and when you start to anchor the thread.
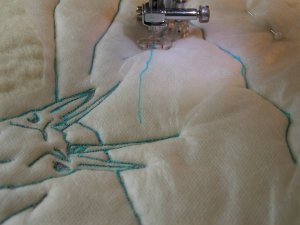
For the mountains, I used a lighter shade of grey to let them fade into the background and only did two passes of sewing.
Here is the piece completely stitched. You need to snip all the loose threads where you moved from place to place. I left the loose threads on the back to provide more security of the end threads.
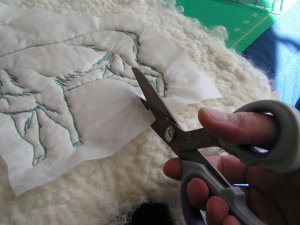
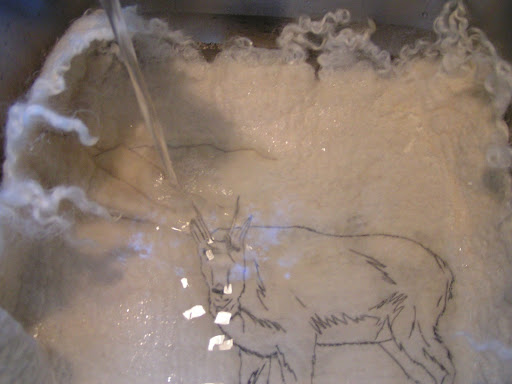
Then I cut off all the extra water soluble fabric.

You’ll need small scissors for the tighter areas. You can skip this step and just dissolve all the fabric but depending on the brand you use, it can get kind of sticky and not dissolve easily.

Here is is after I’ve cut off most of the water soluble fabric.

Follow the directions on your water soluble fabric to dissolve it. Some use hot water and others can use cold. I just put mine in the sink and soaked it a bit. The pen lines and the fabric dissolved away.

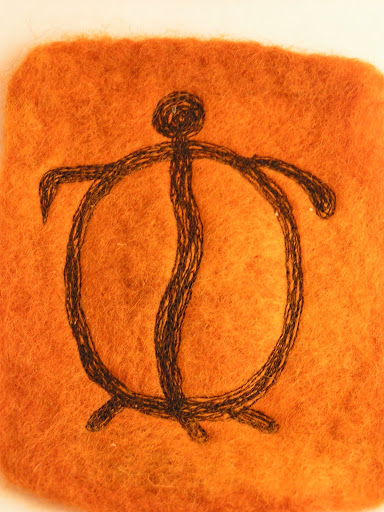
And here’s the finished product. You can click on the photo to see it better.

Here’s a close up of the stitching. If this doesn’t make sense, please let me know and I’ll try to explain it better. It’s a really fun project, give it a try!