I’ve been trying to get back on track since I’ve gotten home. I am still trying to do at least 5 minutes of creative work every day but I’m having a hard time somehow. I have lots of things I want to get done but sometimes the list feels a bit overwhelming. So I’m just doing a little bit at a time and hopefully, I’ll get back into the groove soon.
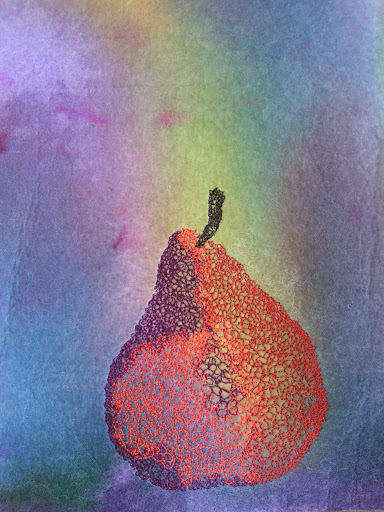
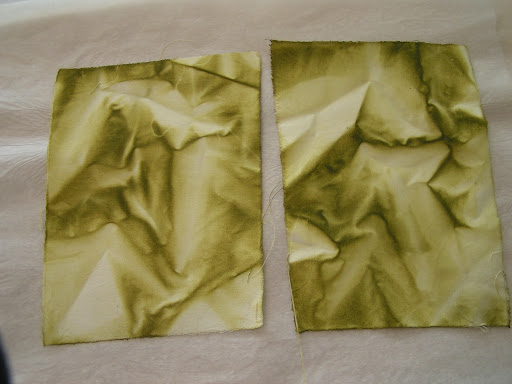
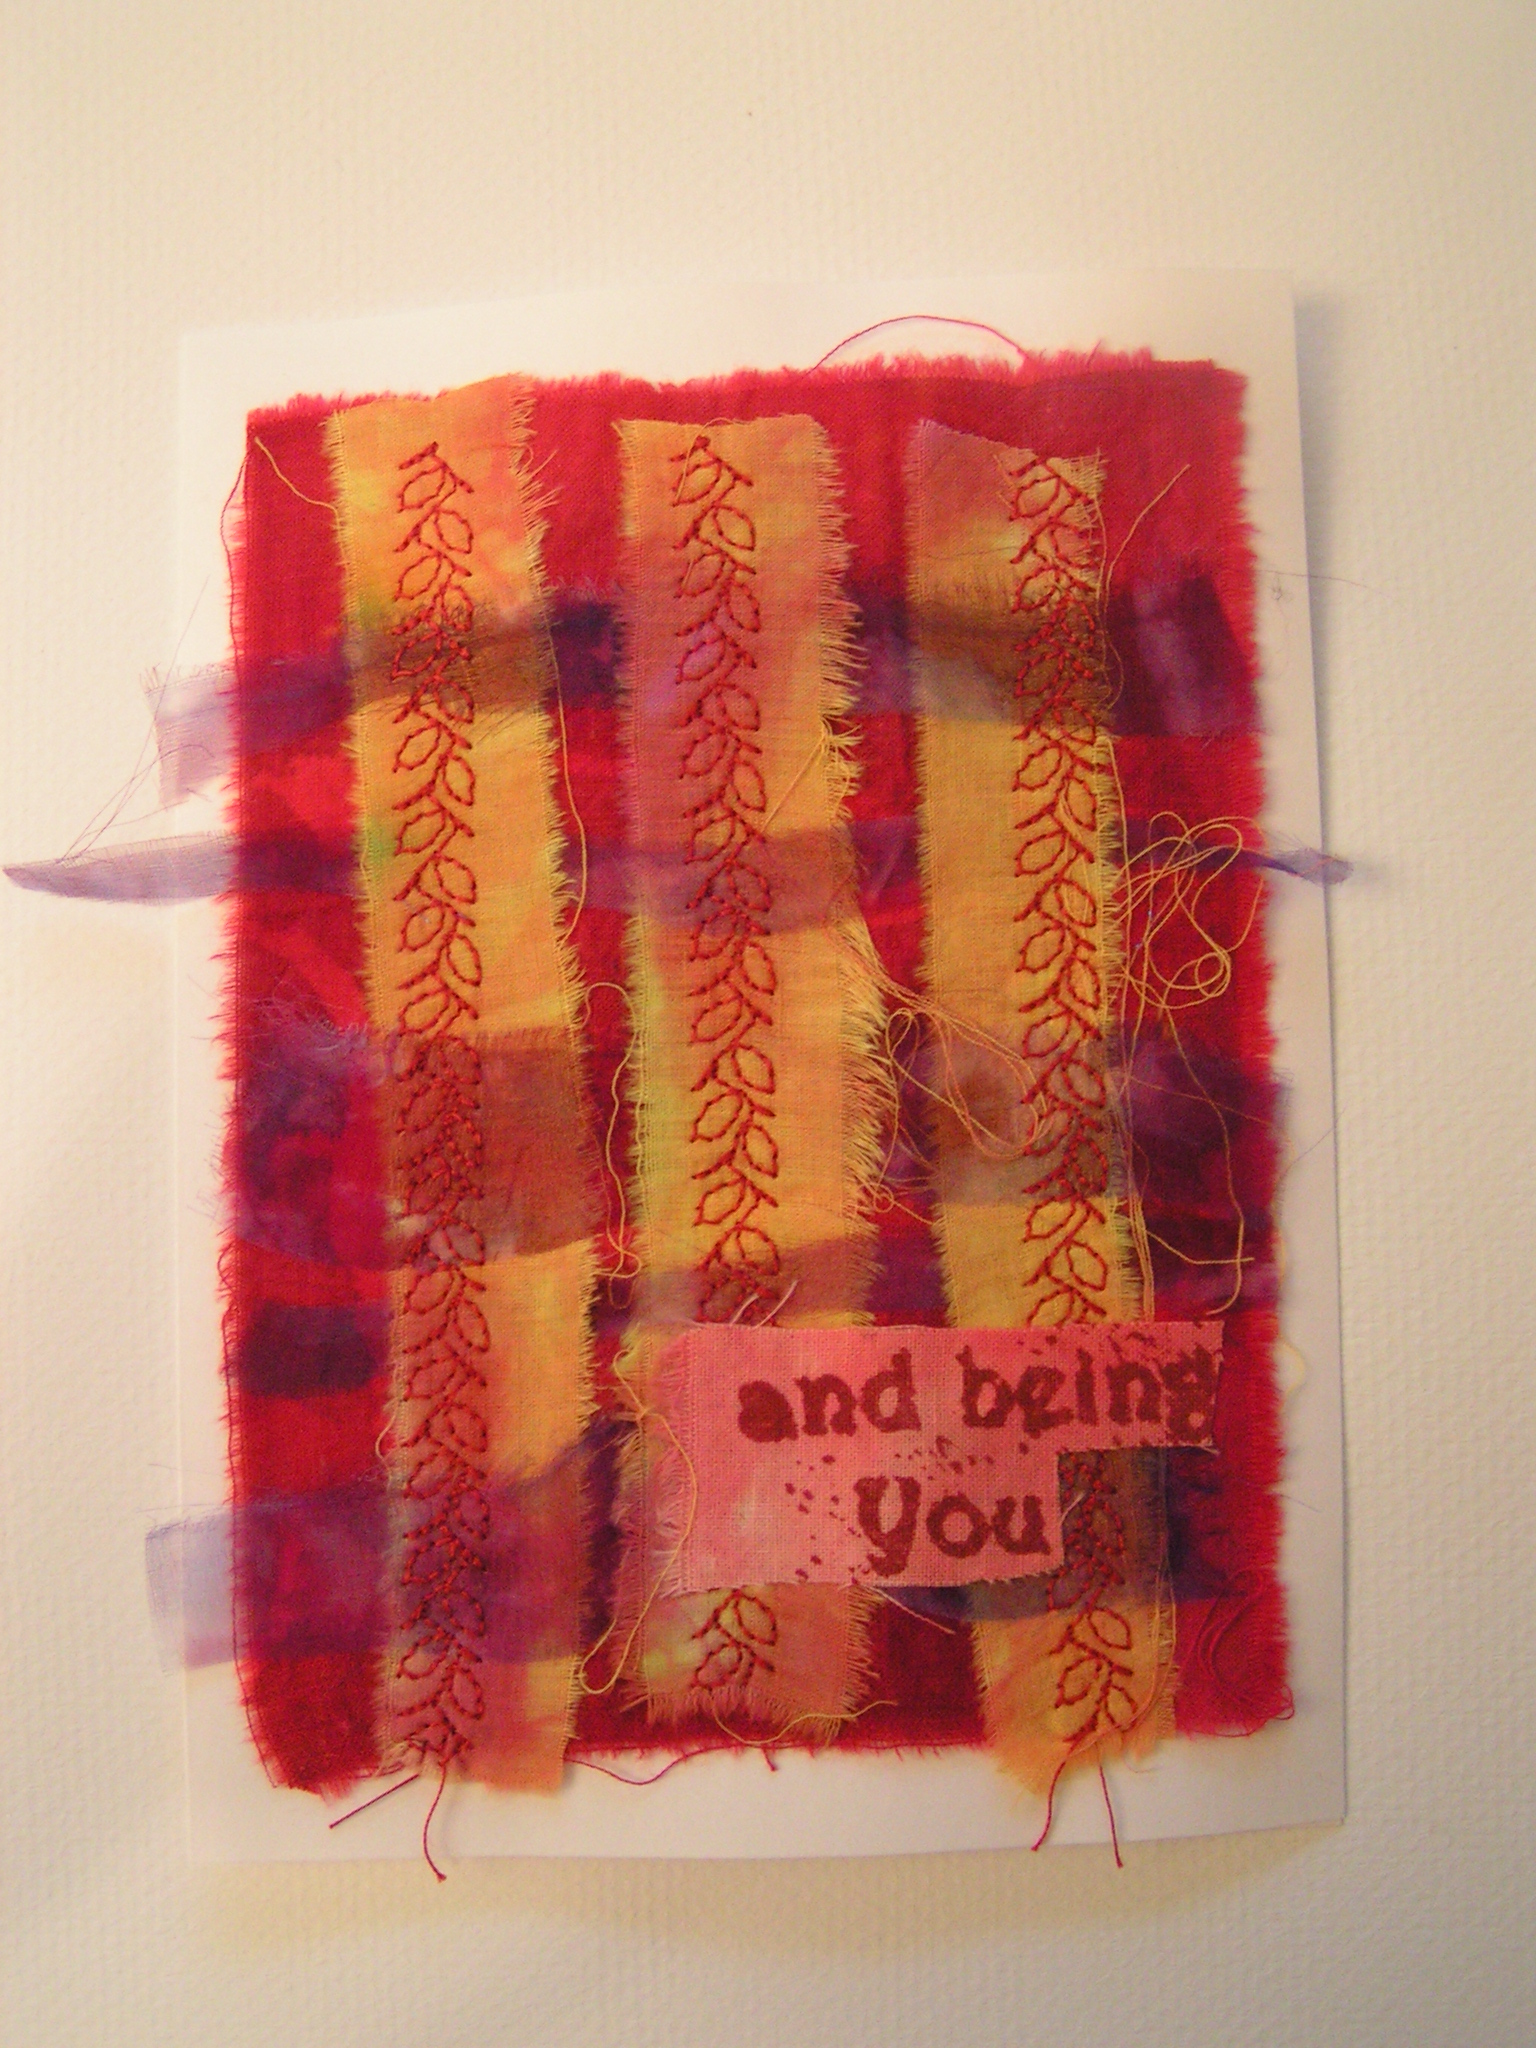 I finished one of the greeting cards that I laid out last Friday with my art group. I decided to add a background fabric and then just used one of the programmed stitches on my machine to stitch it down. I used fusible to attach the words and to attach the fabric to the card.
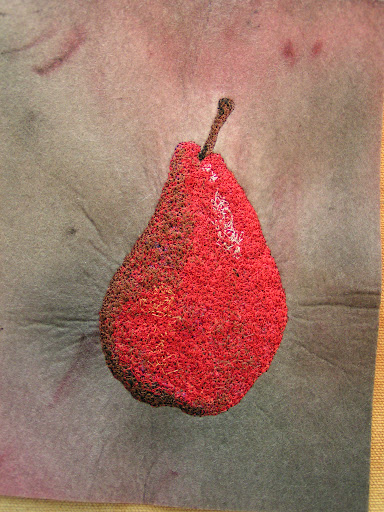
 Here’s the card ready to be written in and sent off to someone. I really like using hand-made greeting cards. They don’t take very long and people are always impressed. It’s nice to give a little bit of your time and thought to a card instead of just buying it from one of the box stores.
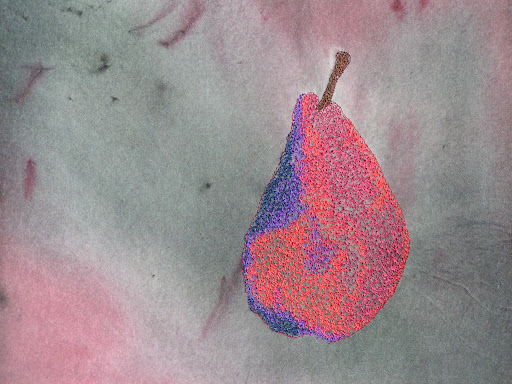
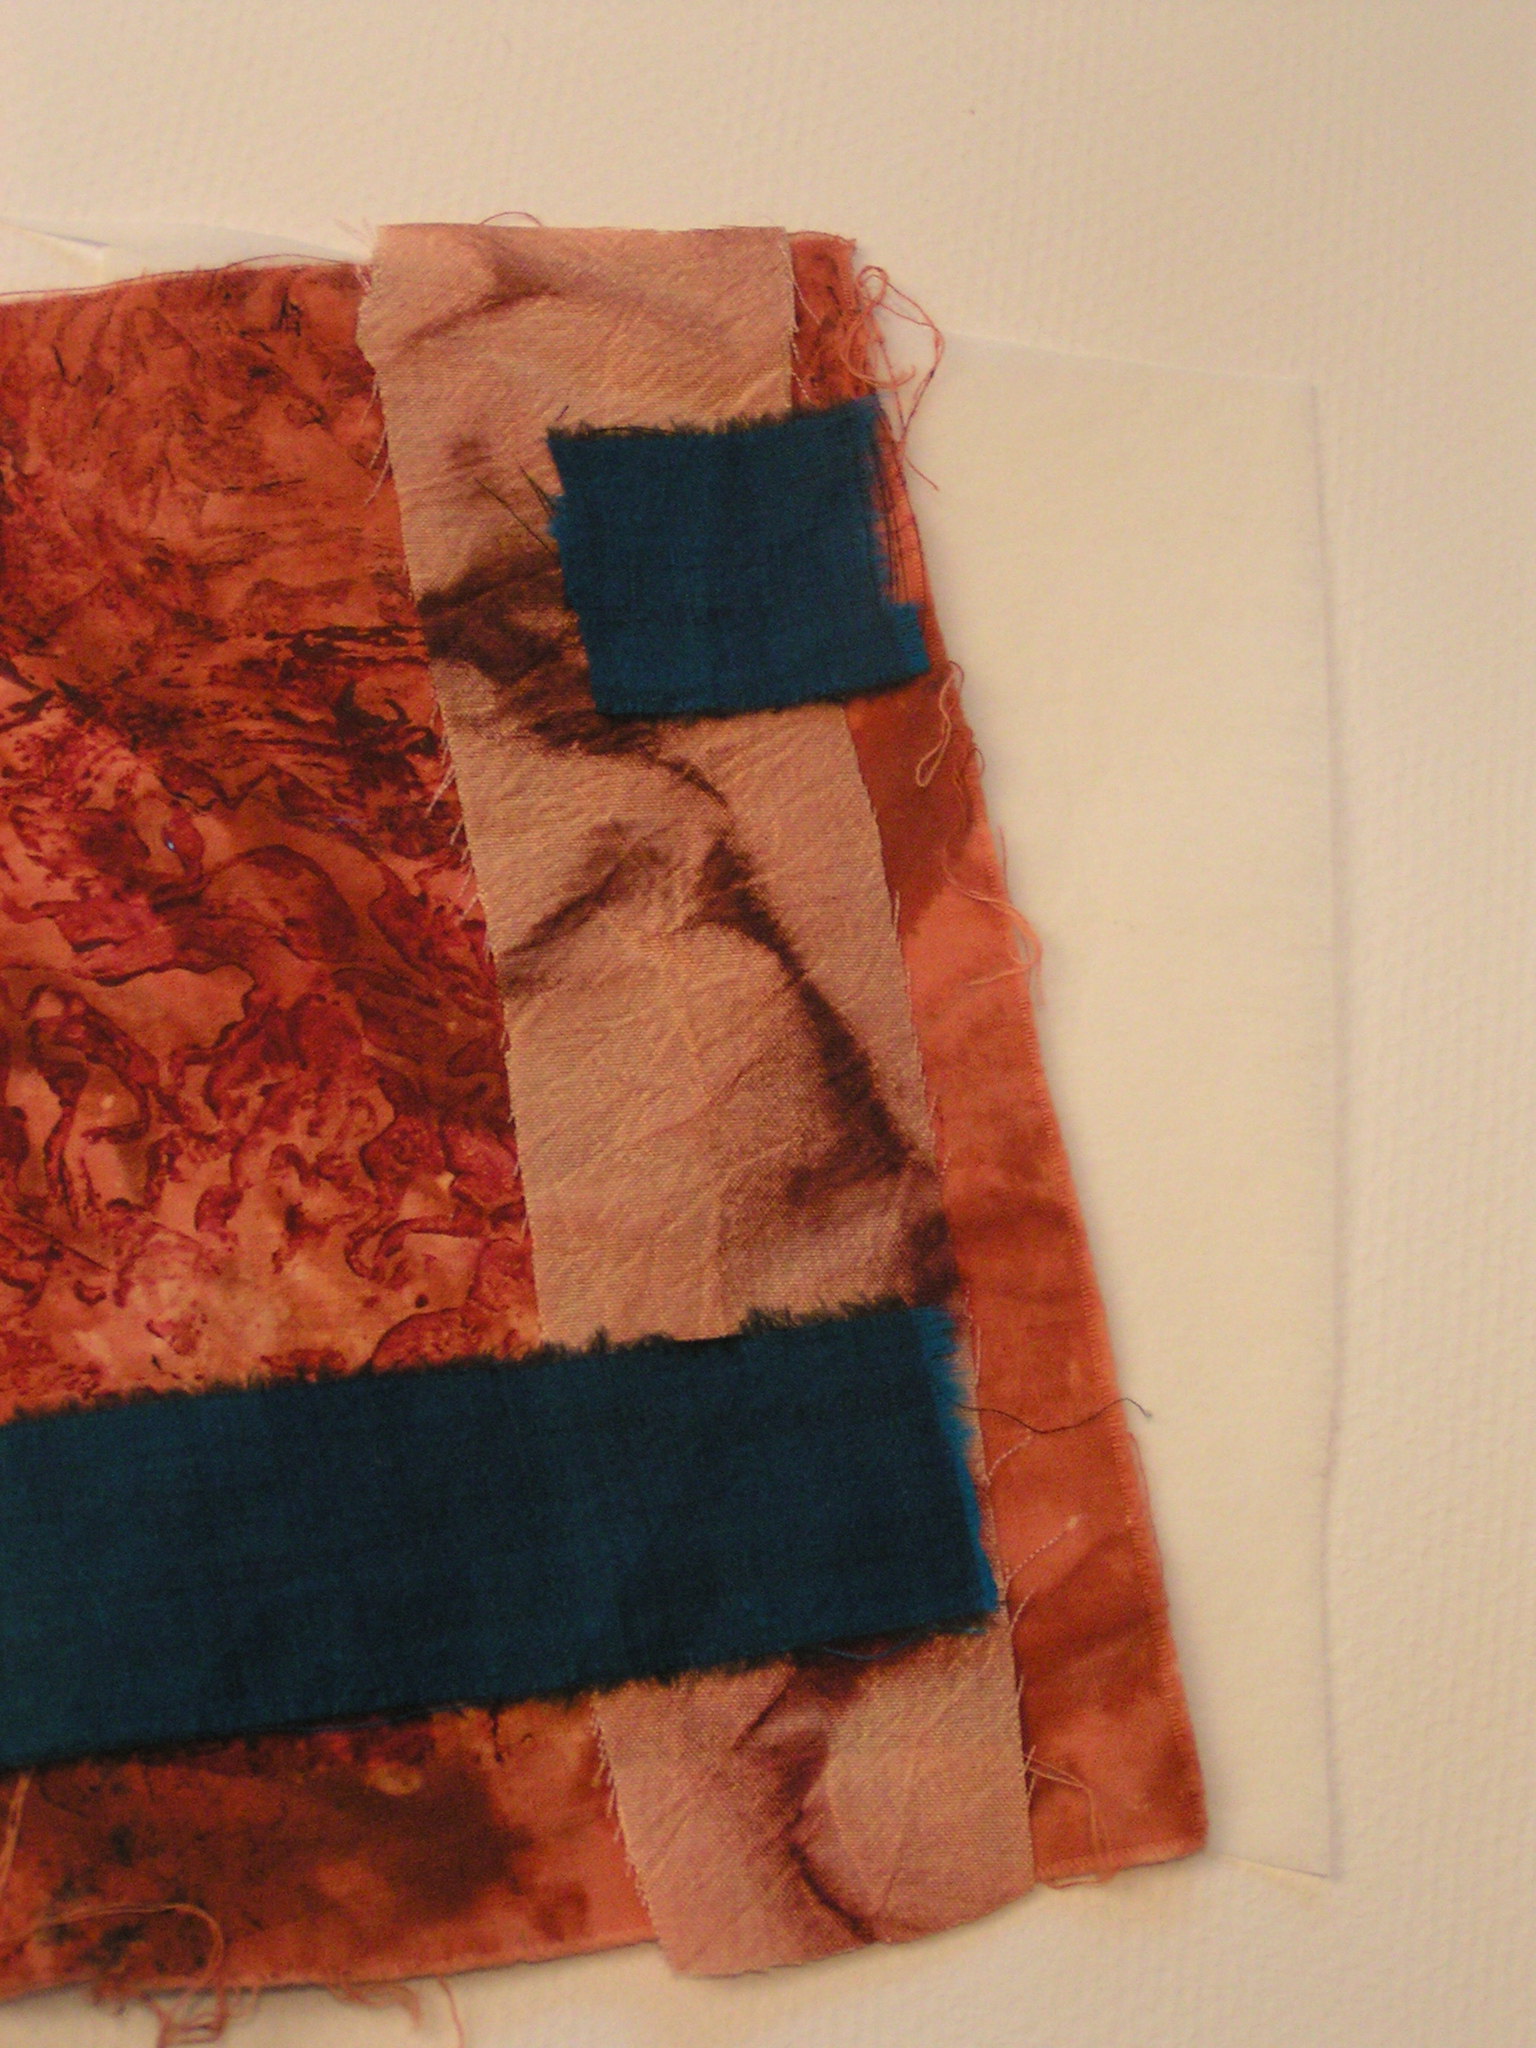 Here are the ingredients for the next one. The white piece to the right is stitch and tear interfacing. It gives enough of a backing to prevent the stitching from buckling the fabric. If you do a lot of free motion stitching, you might need two layers of interfacing. I’m thinking about doing free motion stitching on this card. Perhaps following some of the organic lines.
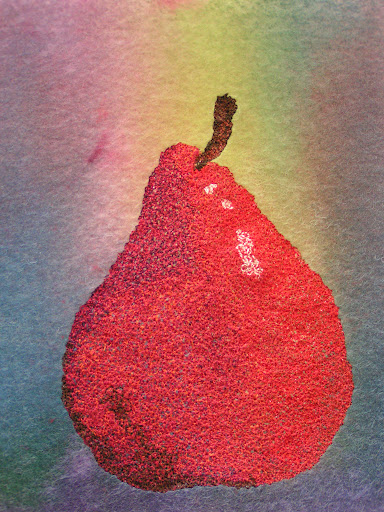
 Then I just choose which color thread I want to use and it’s time for stitching. I usually keep these cards fairly simple and practice a bit on making a balanced composition.