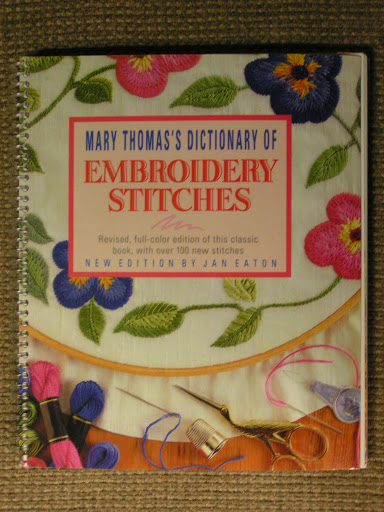
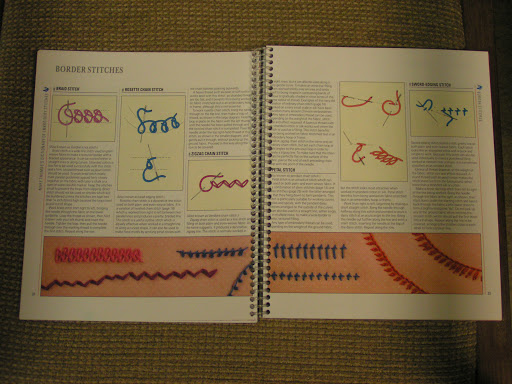
At my last stitch class, my friend Patti generously gave me a new stitch dictionary. She gave one to each of us in the class and had them bound with spiral binding so the book lies flat when you use it. This is perfect for learning a stitch as I have to keep referring back to the book when I’m trying out a new stitch.
Here is the stitch dictionary by Mary Thomas. This book was originally published in 1934 and has been reprinted numerous times.This is a revised full color edition.
Here is the binding that Patti had done. It does almost cut off the edges of some of the pages but you can still see the printing.
Having it lie flat is well worth losing a bit of the margin.
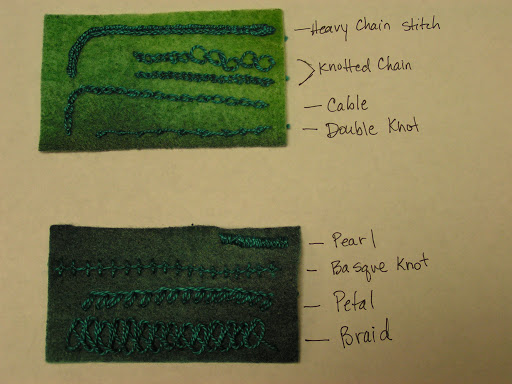
I worked on 8 different stitches today. (You can click on any of the photos to see the stitches more closely.) I wanted to try a few of the stitches that I hadn’t done before and see if any would be useful to me. For a stitch to be useful, it needs to be fairly straight forward and not take an age to work. The first stitch I tried was heavy chain stitch. Once I got going, it was an easy stitch. The most important part was to start with a long enough stitch so that you could thread the loop of the chain back through easily. I got off a little at the start but soon figured it out. It curves easily as well.
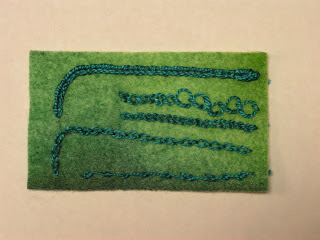
The next stitch I tried was knotted chain and there are two rows of that because the first row I was being silly and didn’t understand how big I was supposed to leave the loop. After I looked back at the stitched sample, I realized that my loops were way too big. Duh… So I did a second row. It wasn’t bad working the stitch once I got that part and it stitches fairly quickly. The next thing I tried was cable stitch. I like the look of this stitch and it was fairly simple. I got a bit messed up on the curving part though. The last stitch on this piece is the double knot stitch. Once I figured out the sequence of the knot, this stitch went quickly. But it doesn’t look much different than coral stitch which I’ve tried before.

Next stitch up was pearl stitch. This took forever to stitch, was hard to keep even and just wasn’t worth it for me. It essentially looks like a narrow satin stitch done vertically. It really isn’t because there is a twist of the thread but not worth the effort for me. I followed that with the Basque Knot stitch. It took a few tries to get the method down, but then it went along fairly quickly. I like the look of this one and think it might be useful. The next one down is called the petal stitch and is a combination of detached chain and stem stitches worked at the same time. This was an easy one, probably because I already know both of those stitches well. But it makes a nice “leafy” looking border. The last one I tried today was the braid stitch. It wasn’t that hard to work once I figured out which way to loop the thread but it isn’t really very functional as the loops will pull loose if snagged. It is also hard to get it even with same size loops/stitches each time. I even marked the felt on this one and it still looks pretty wonky.
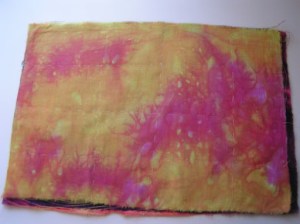
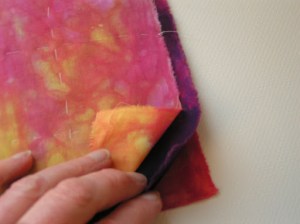
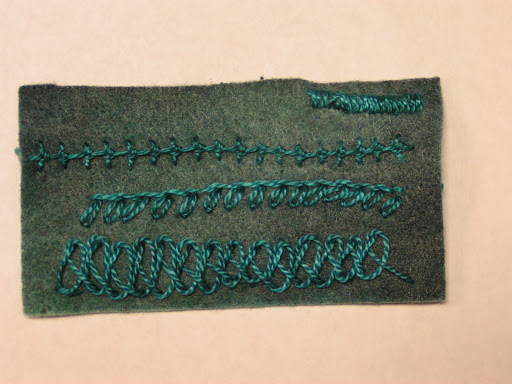
So the stitches I would do again are heavy chain, cable, basque knot and petal stitch. I used #5 hand dyed perle cotton to stitch on painted polyester felt. I just used what I had on hand with me although I should have used a different color to show up better. If you’re thinking about getting the Mary Thomas book, I would recommend it if you know the basics about hand stitching. It is a bit hard to follow the instructions and the pictures/diagrams are not always easy to understand. It would be frustrating for a beginner.