Hmmm… What does umbrella felting conjure in your mind? A new technique using an umbrella? A bunch of beach umbrellas at a felting party? For those of you wondering what I’m making for the Shelter Exhibition, I think this post will give it away.
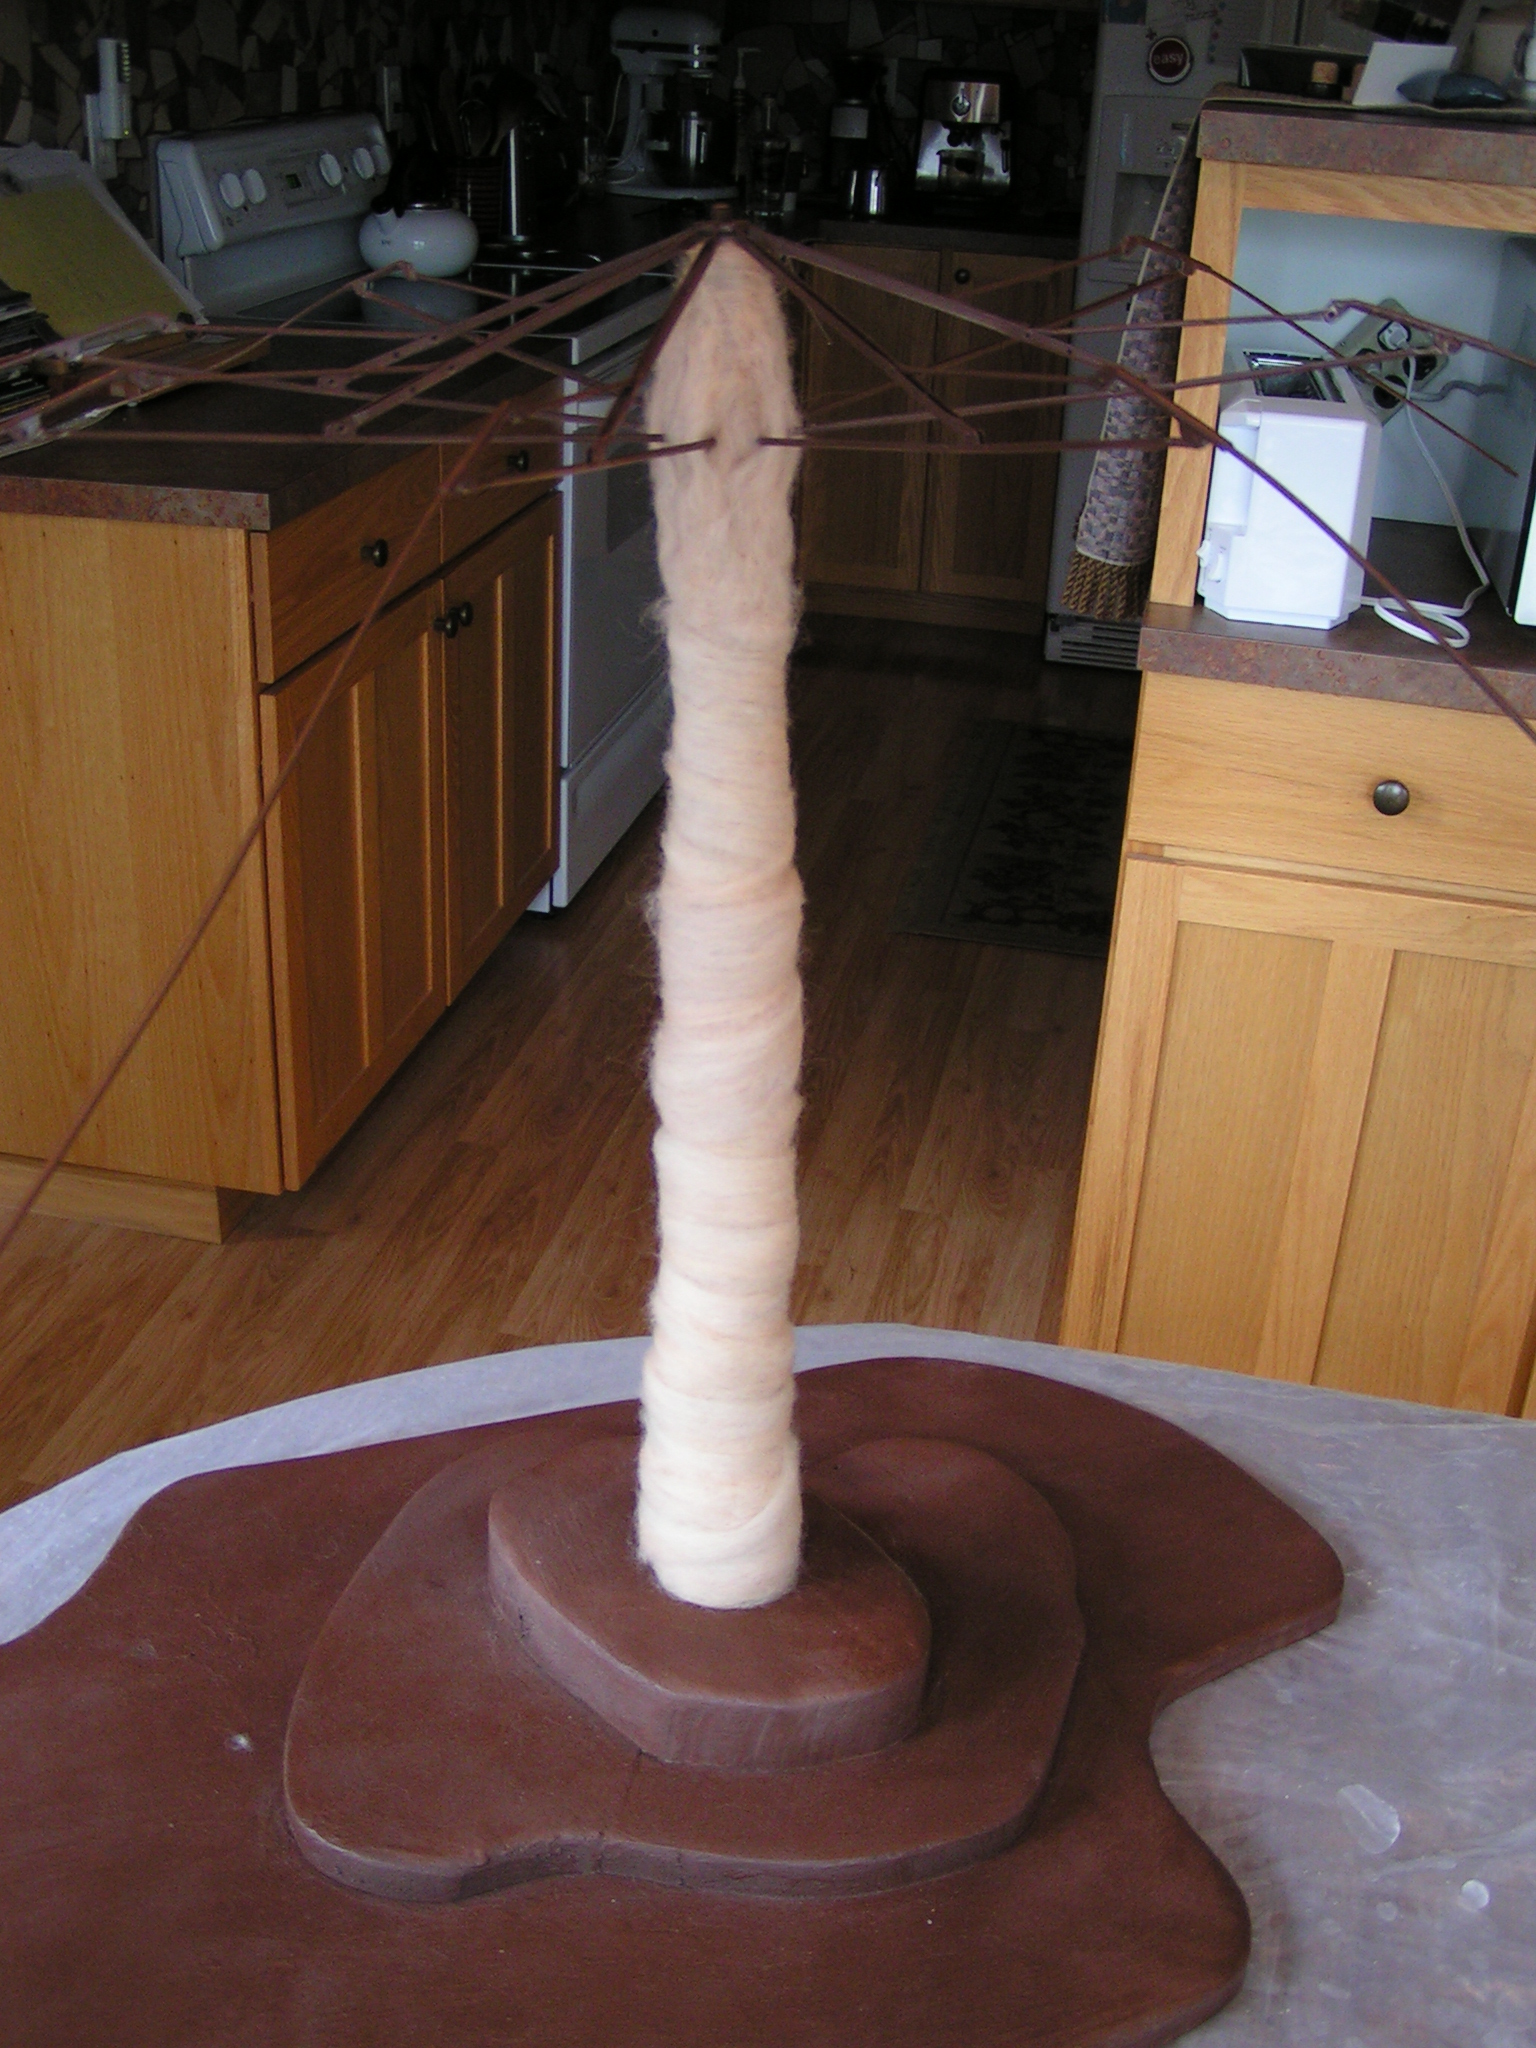
 This is where I started today. I had already removed the fabric from the umbrella and my husband fabricated the stand. He also painted it brown. Have you ever tried to spray paint the ribs of an umbrella? Not the easiest thing to do. So I was ready to start my umbrella felting.
 I started with some tan wool that I rarely use to add a bit of bulk to the trunk. I wrapped it all around the umbrella handle first. I needle felted the wool in a few places so it would hold.
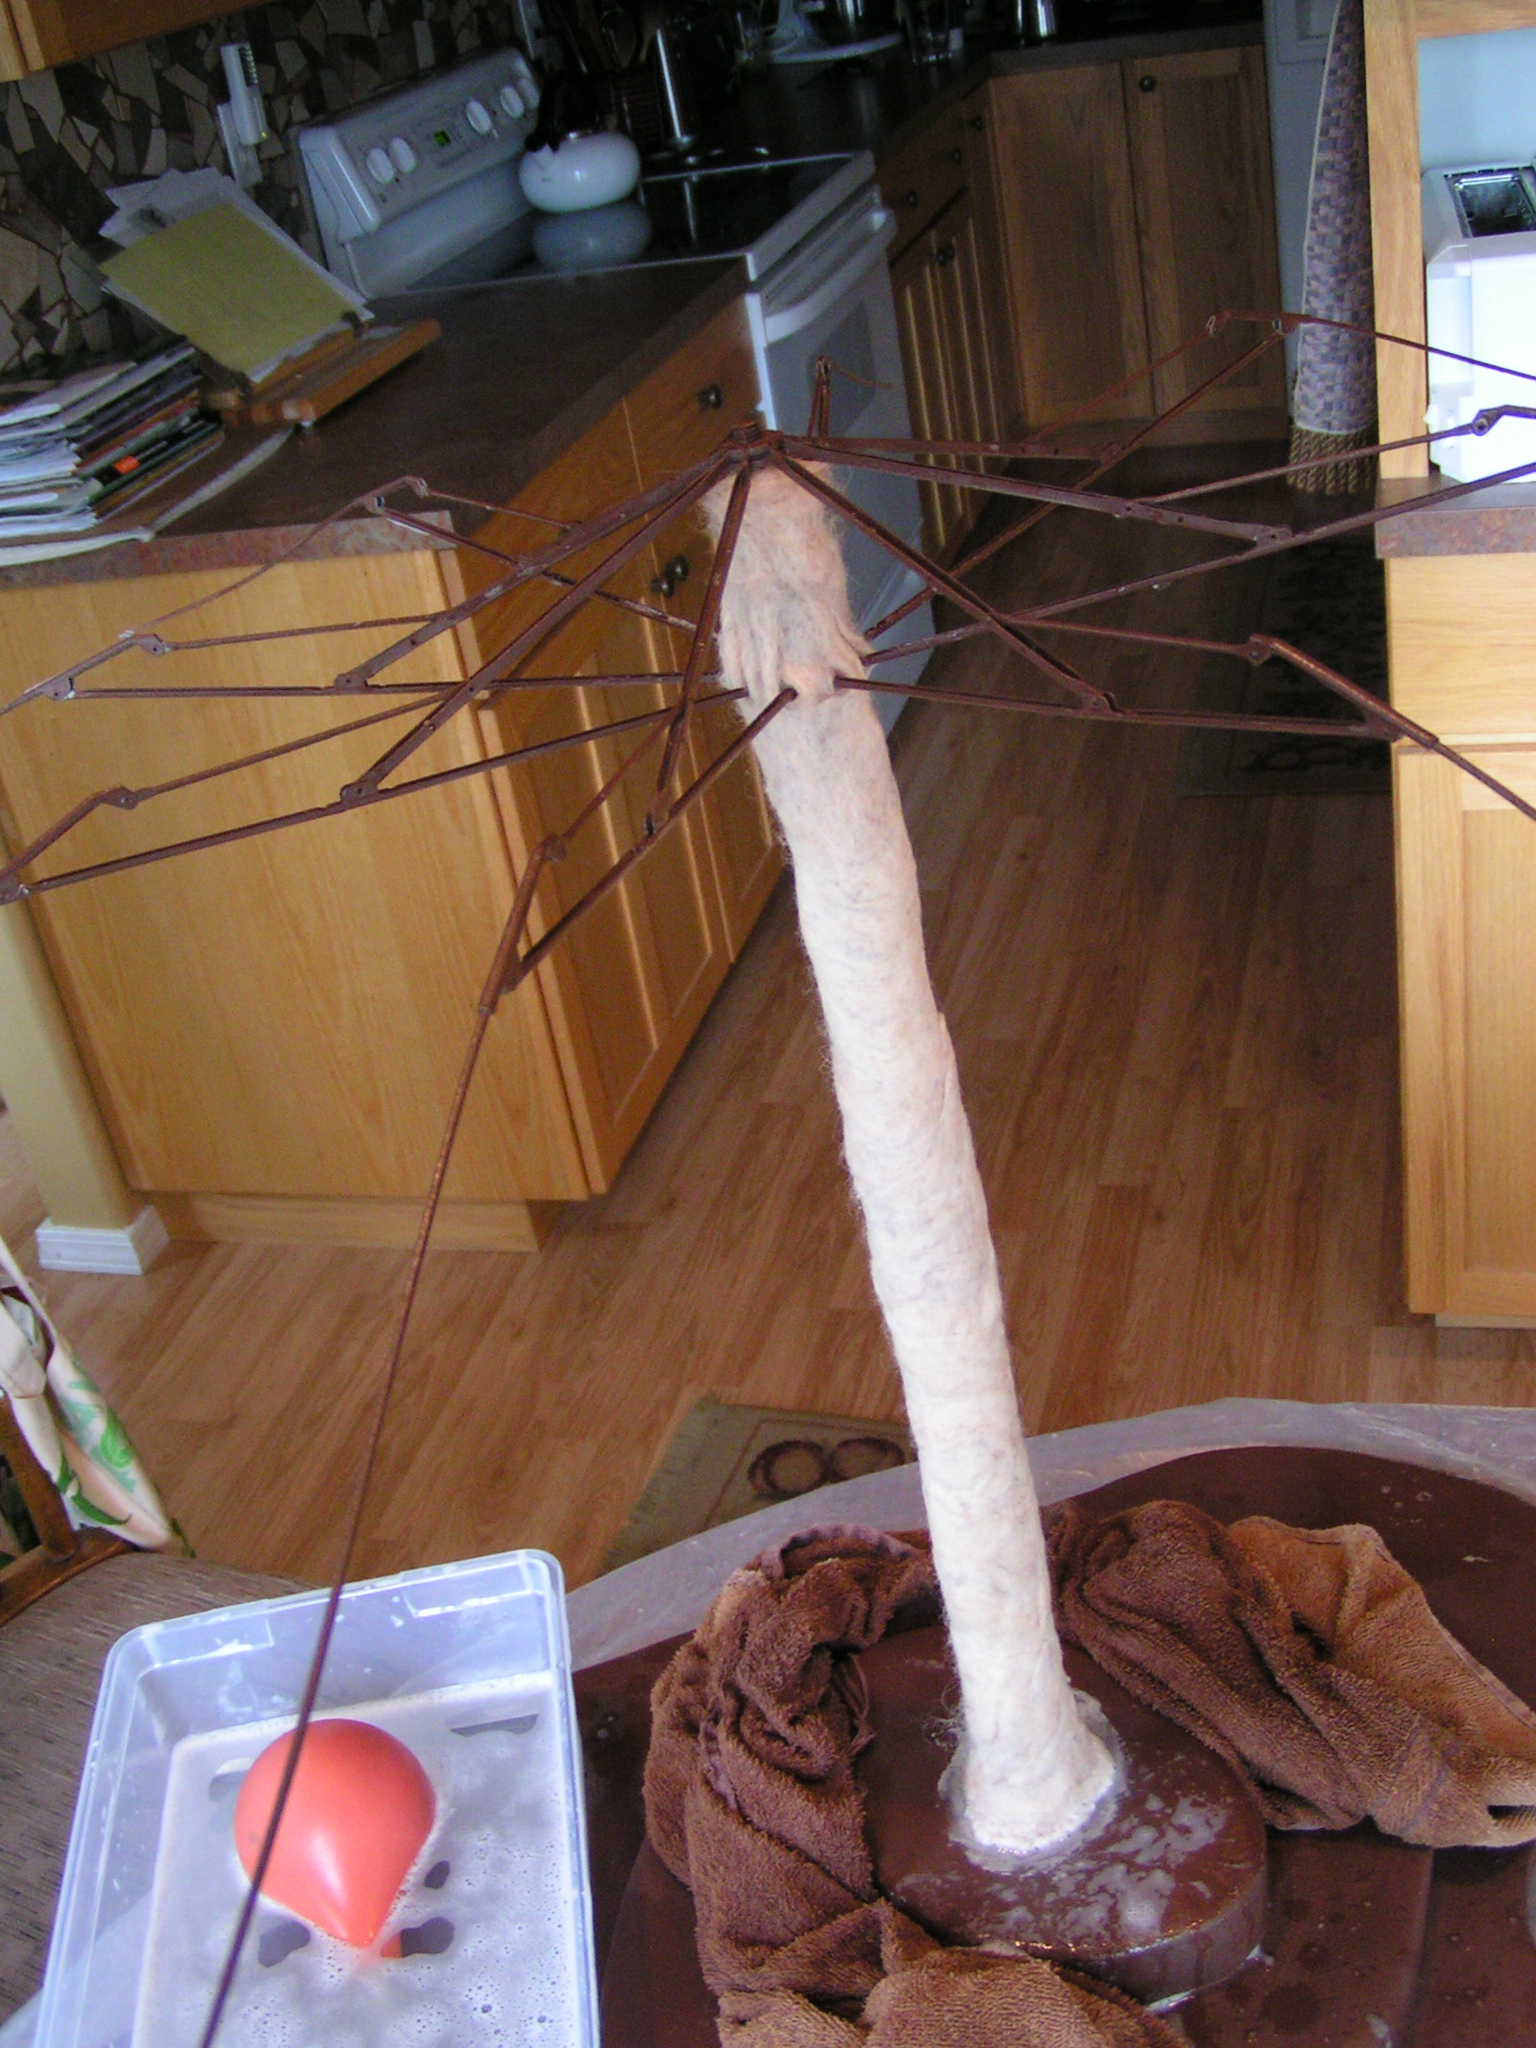
 Then I wet down the wool and started rubbing away. This was a bit messy and water was going all over the place, dripping down my arms and all over the floor. But I persevered.

Next I added some dark brown Romney locks in hopes of adding texture to the final layer. As it turns out, I could have skipped this step as it didn’t really show through the final layer of wool at all.

Then I added a batt of mixed Corriedale and Moorit wool, wet it down and rubbed away. The color is perfect but I really had hoped you would see the darker wool coming through in spots. I will be adding more texture to the felt but that will happen later.
 Here it is after the trunk was finished. You can see that it shrunk quite a bit. There is about a 2″ gap now at the bottom. I’ll fix that when I add the roots and what ever is going to go on the base. I haven’t quite decided on that yet.
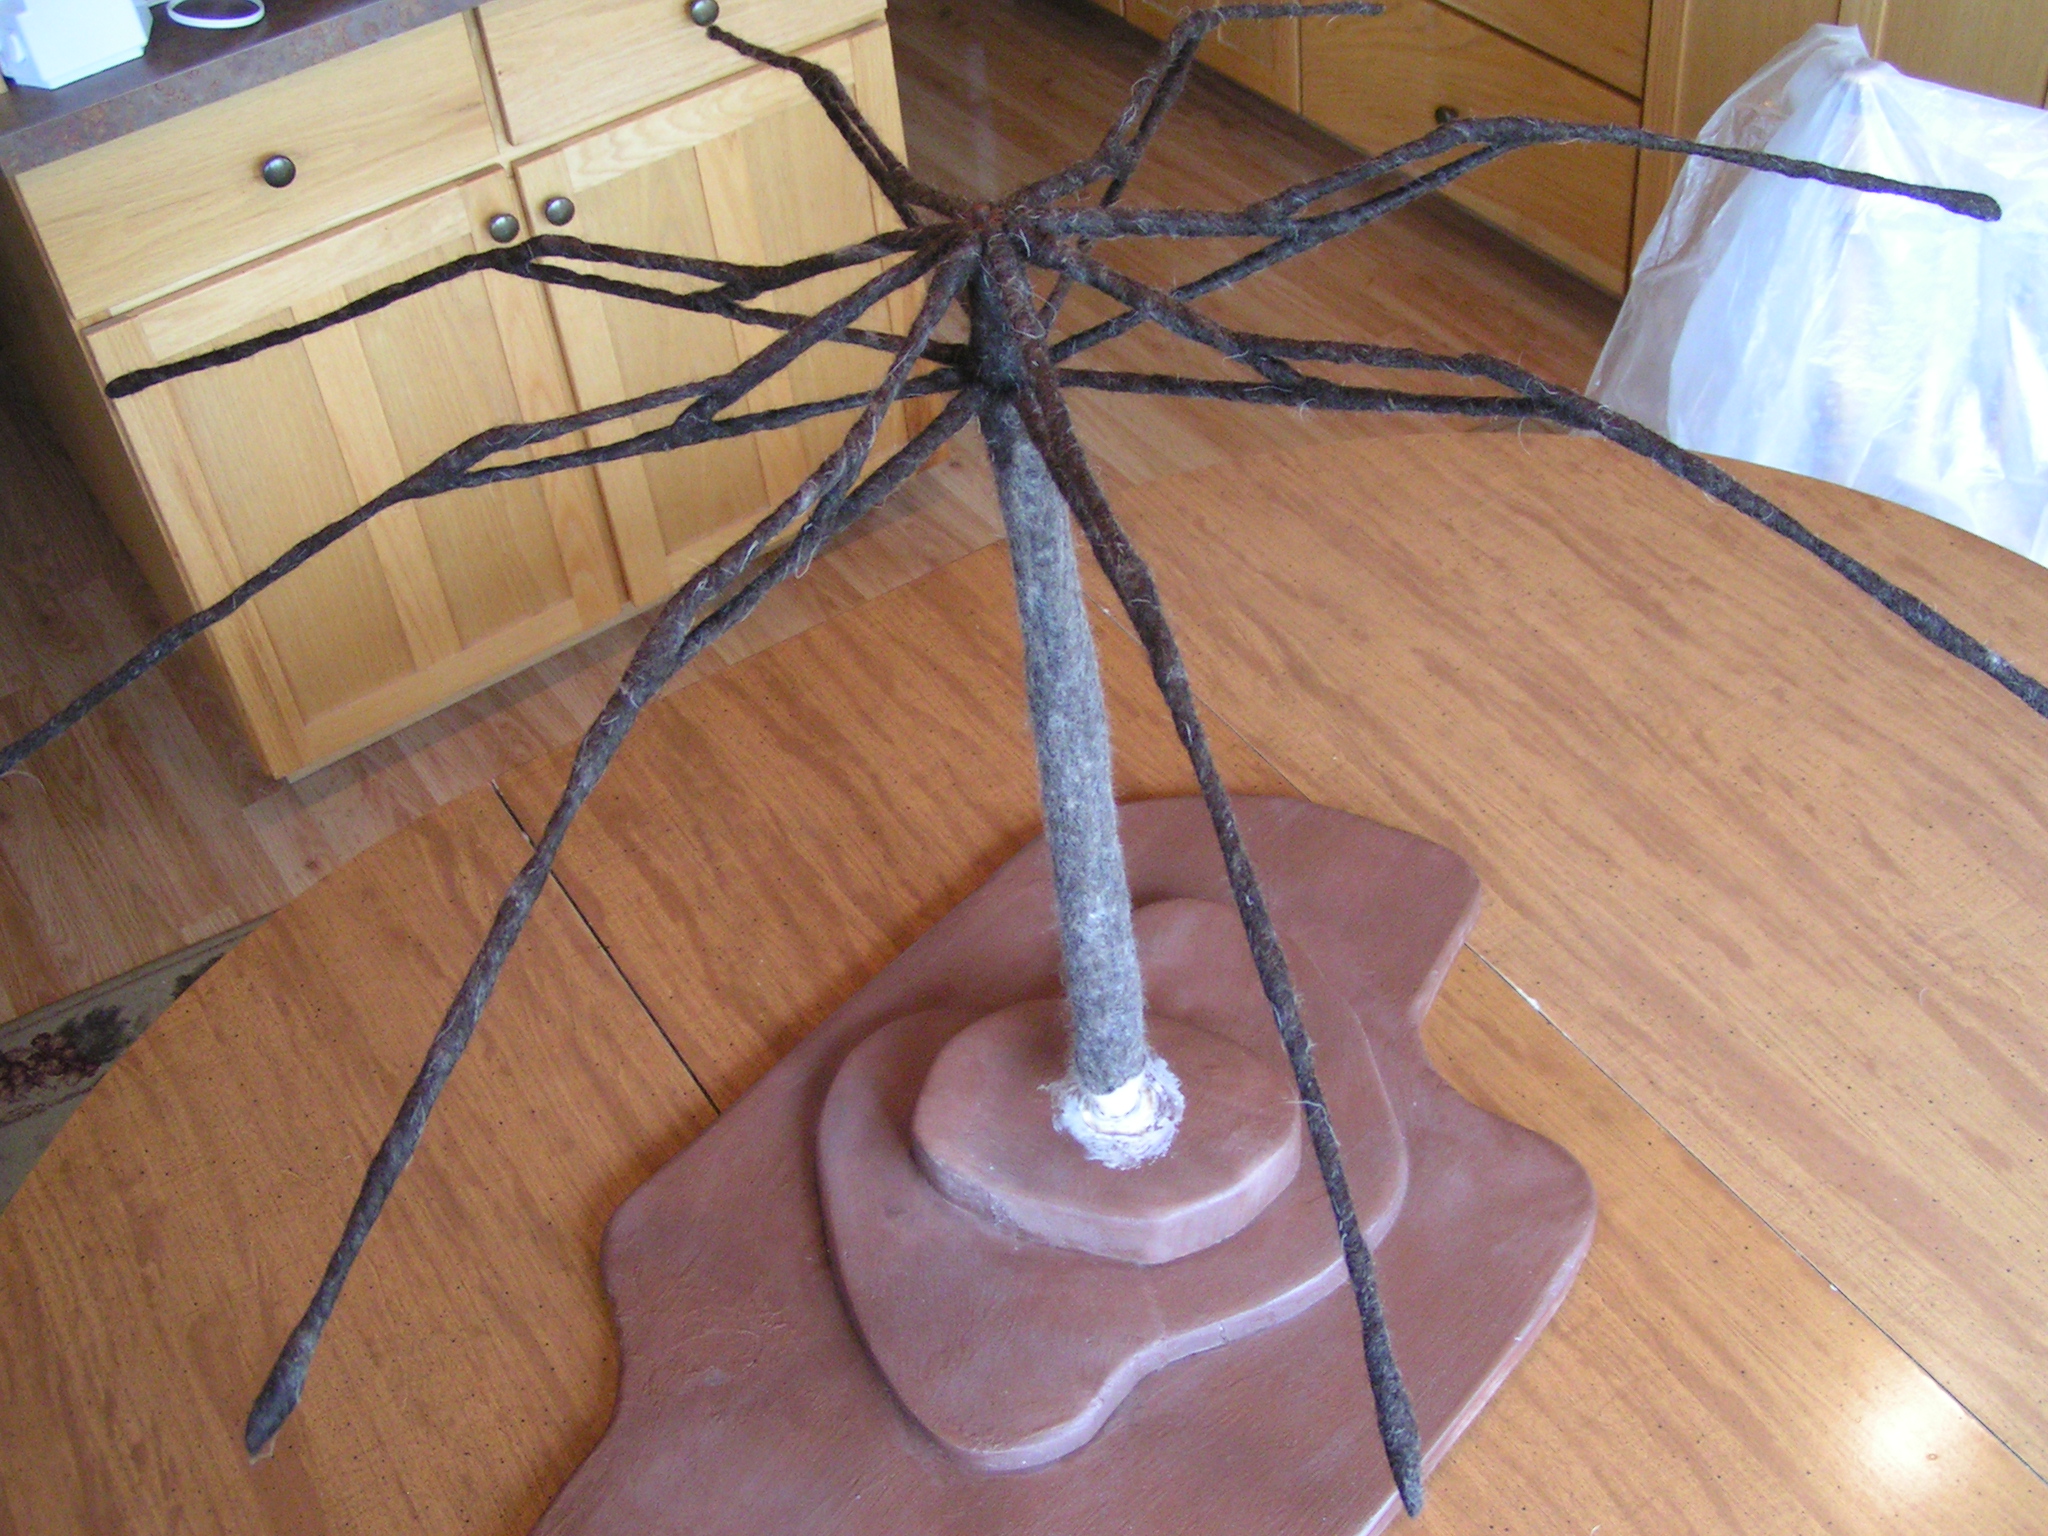
 Next I started wrapping brown wool around the ribs of the umbrella. Again, I used the felting needle to hold things in place as needed. The first one I did was kind of painful but then I got the hang of the wrapping and covering all those angles at the top.
 My husband came home at this point and said “Oh that looks like a spider.” So then I had this idea of taking the top part of the umbrella off of the handle and making umbrella spiders. Wouldn’t that be cool? But no, I am working on “Shelter” not spiders. So I started felting the wool around the ribs. I did the first one on the table but holding my arms up in the air that way was very tiring. So I put the whole thing on the floor and that worked great with me sitting in a chair and rubbing all those “limbs”.
 And here is the felted umbrella tree. I thought it would take a really long time to finish the limbs of the tree but it went fairly quickly. They aren’t fulled completely because I didn’t want the wool to shrink so much that the ends would poke out. It’s not meant to be functional so it didn’t need to be shrunk down all the way.
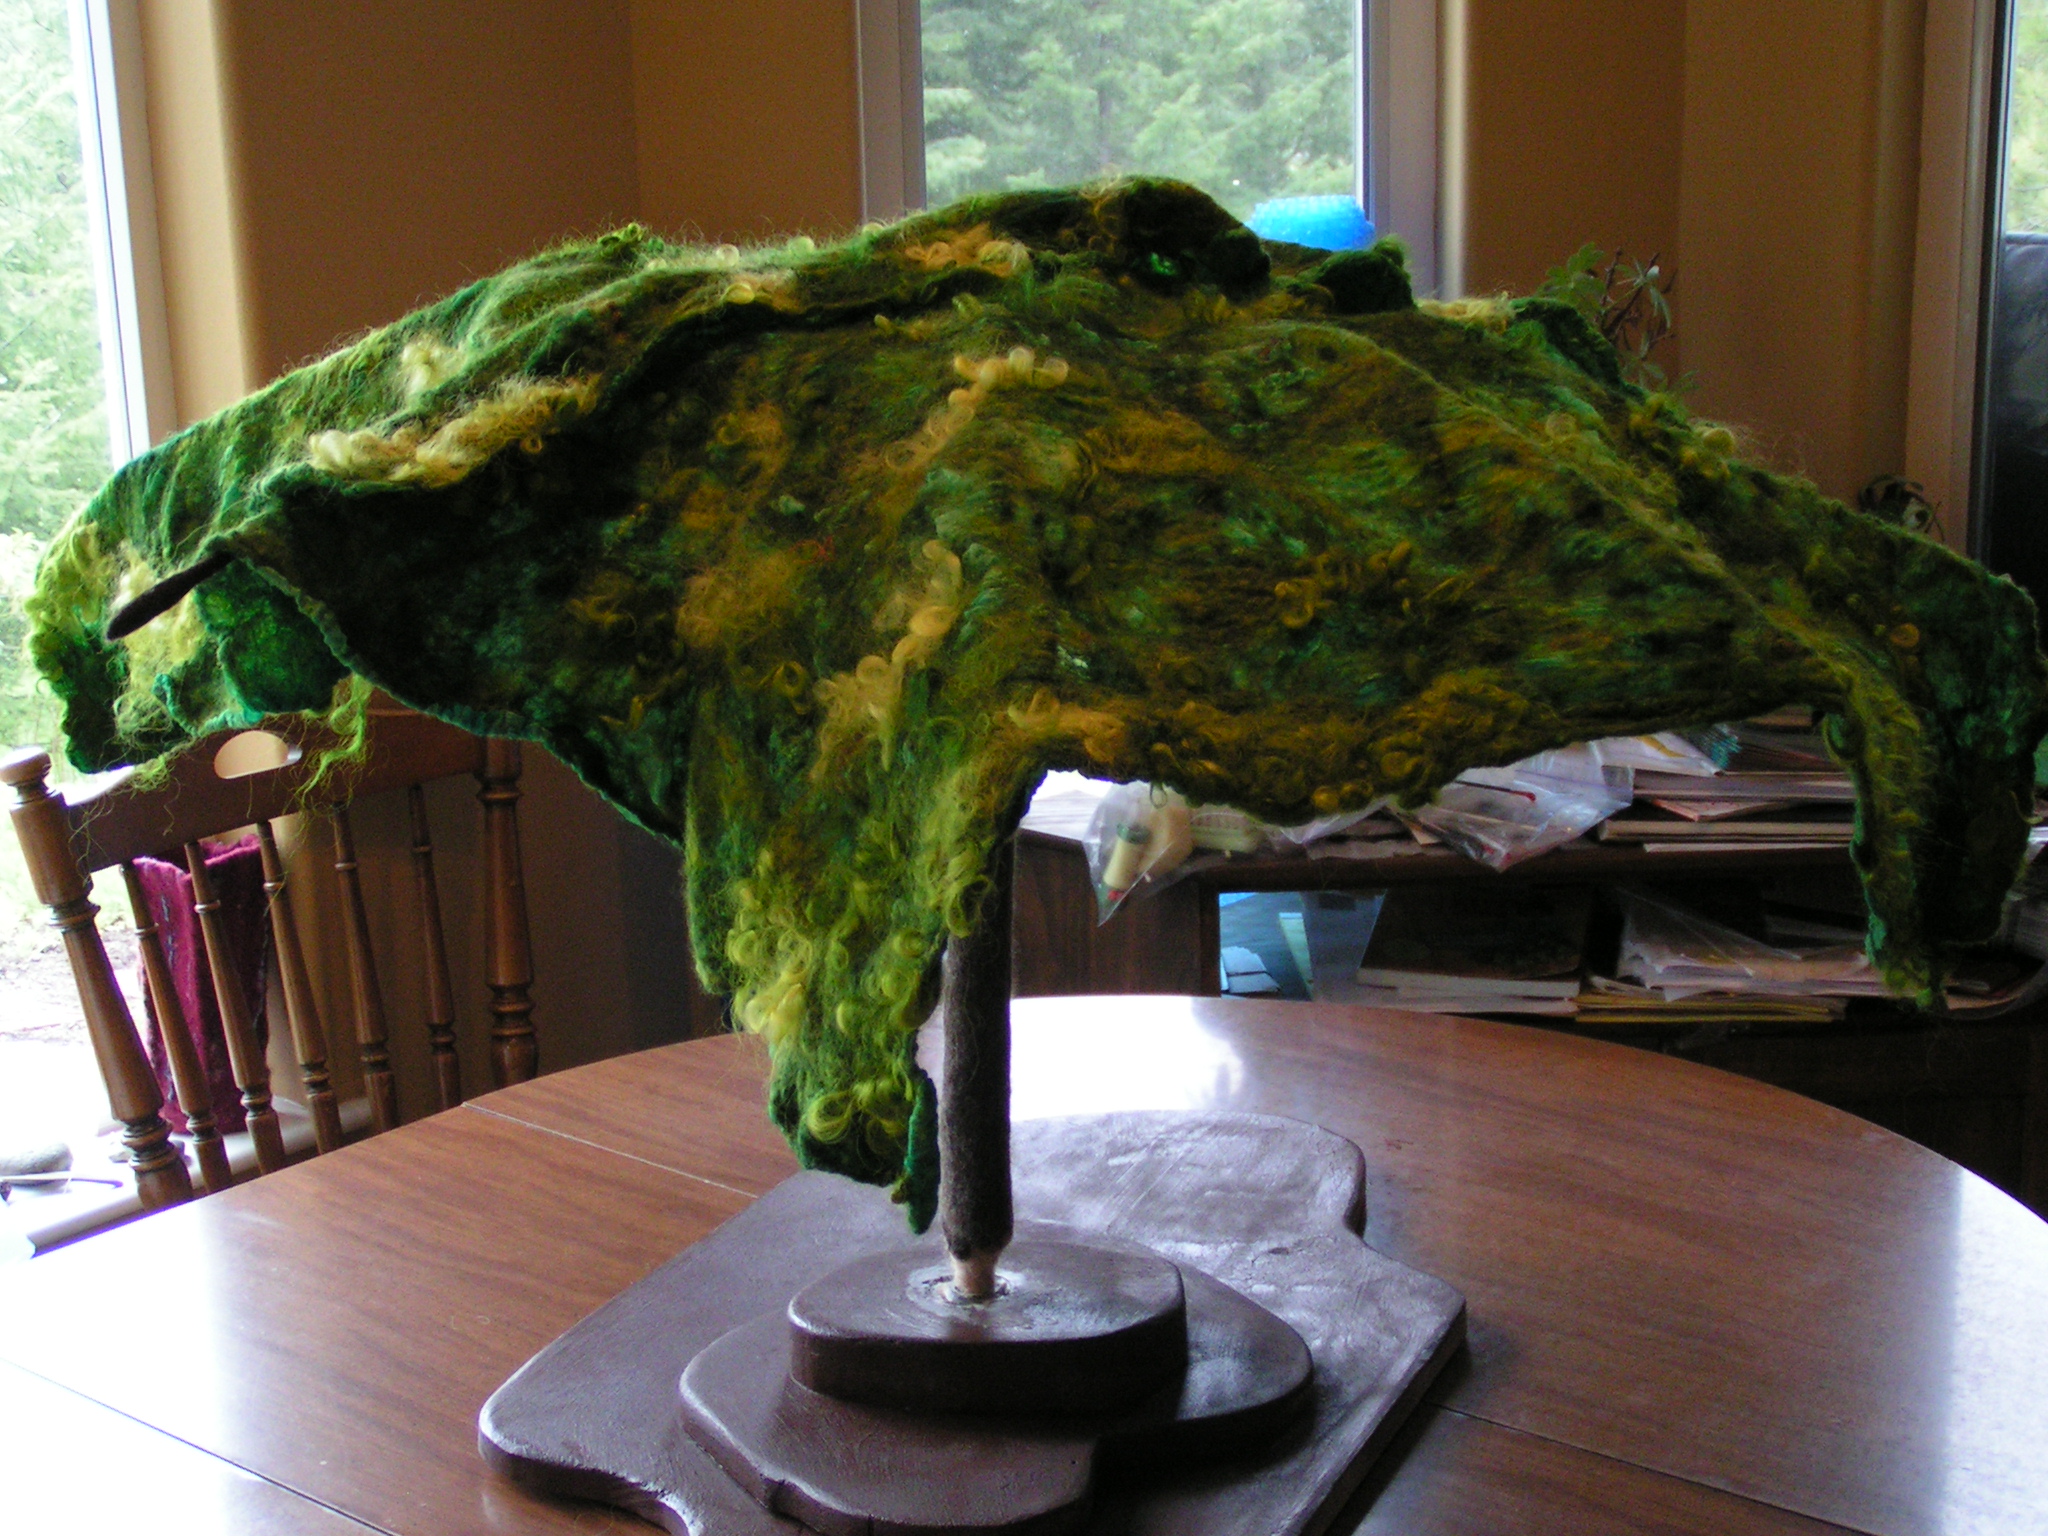
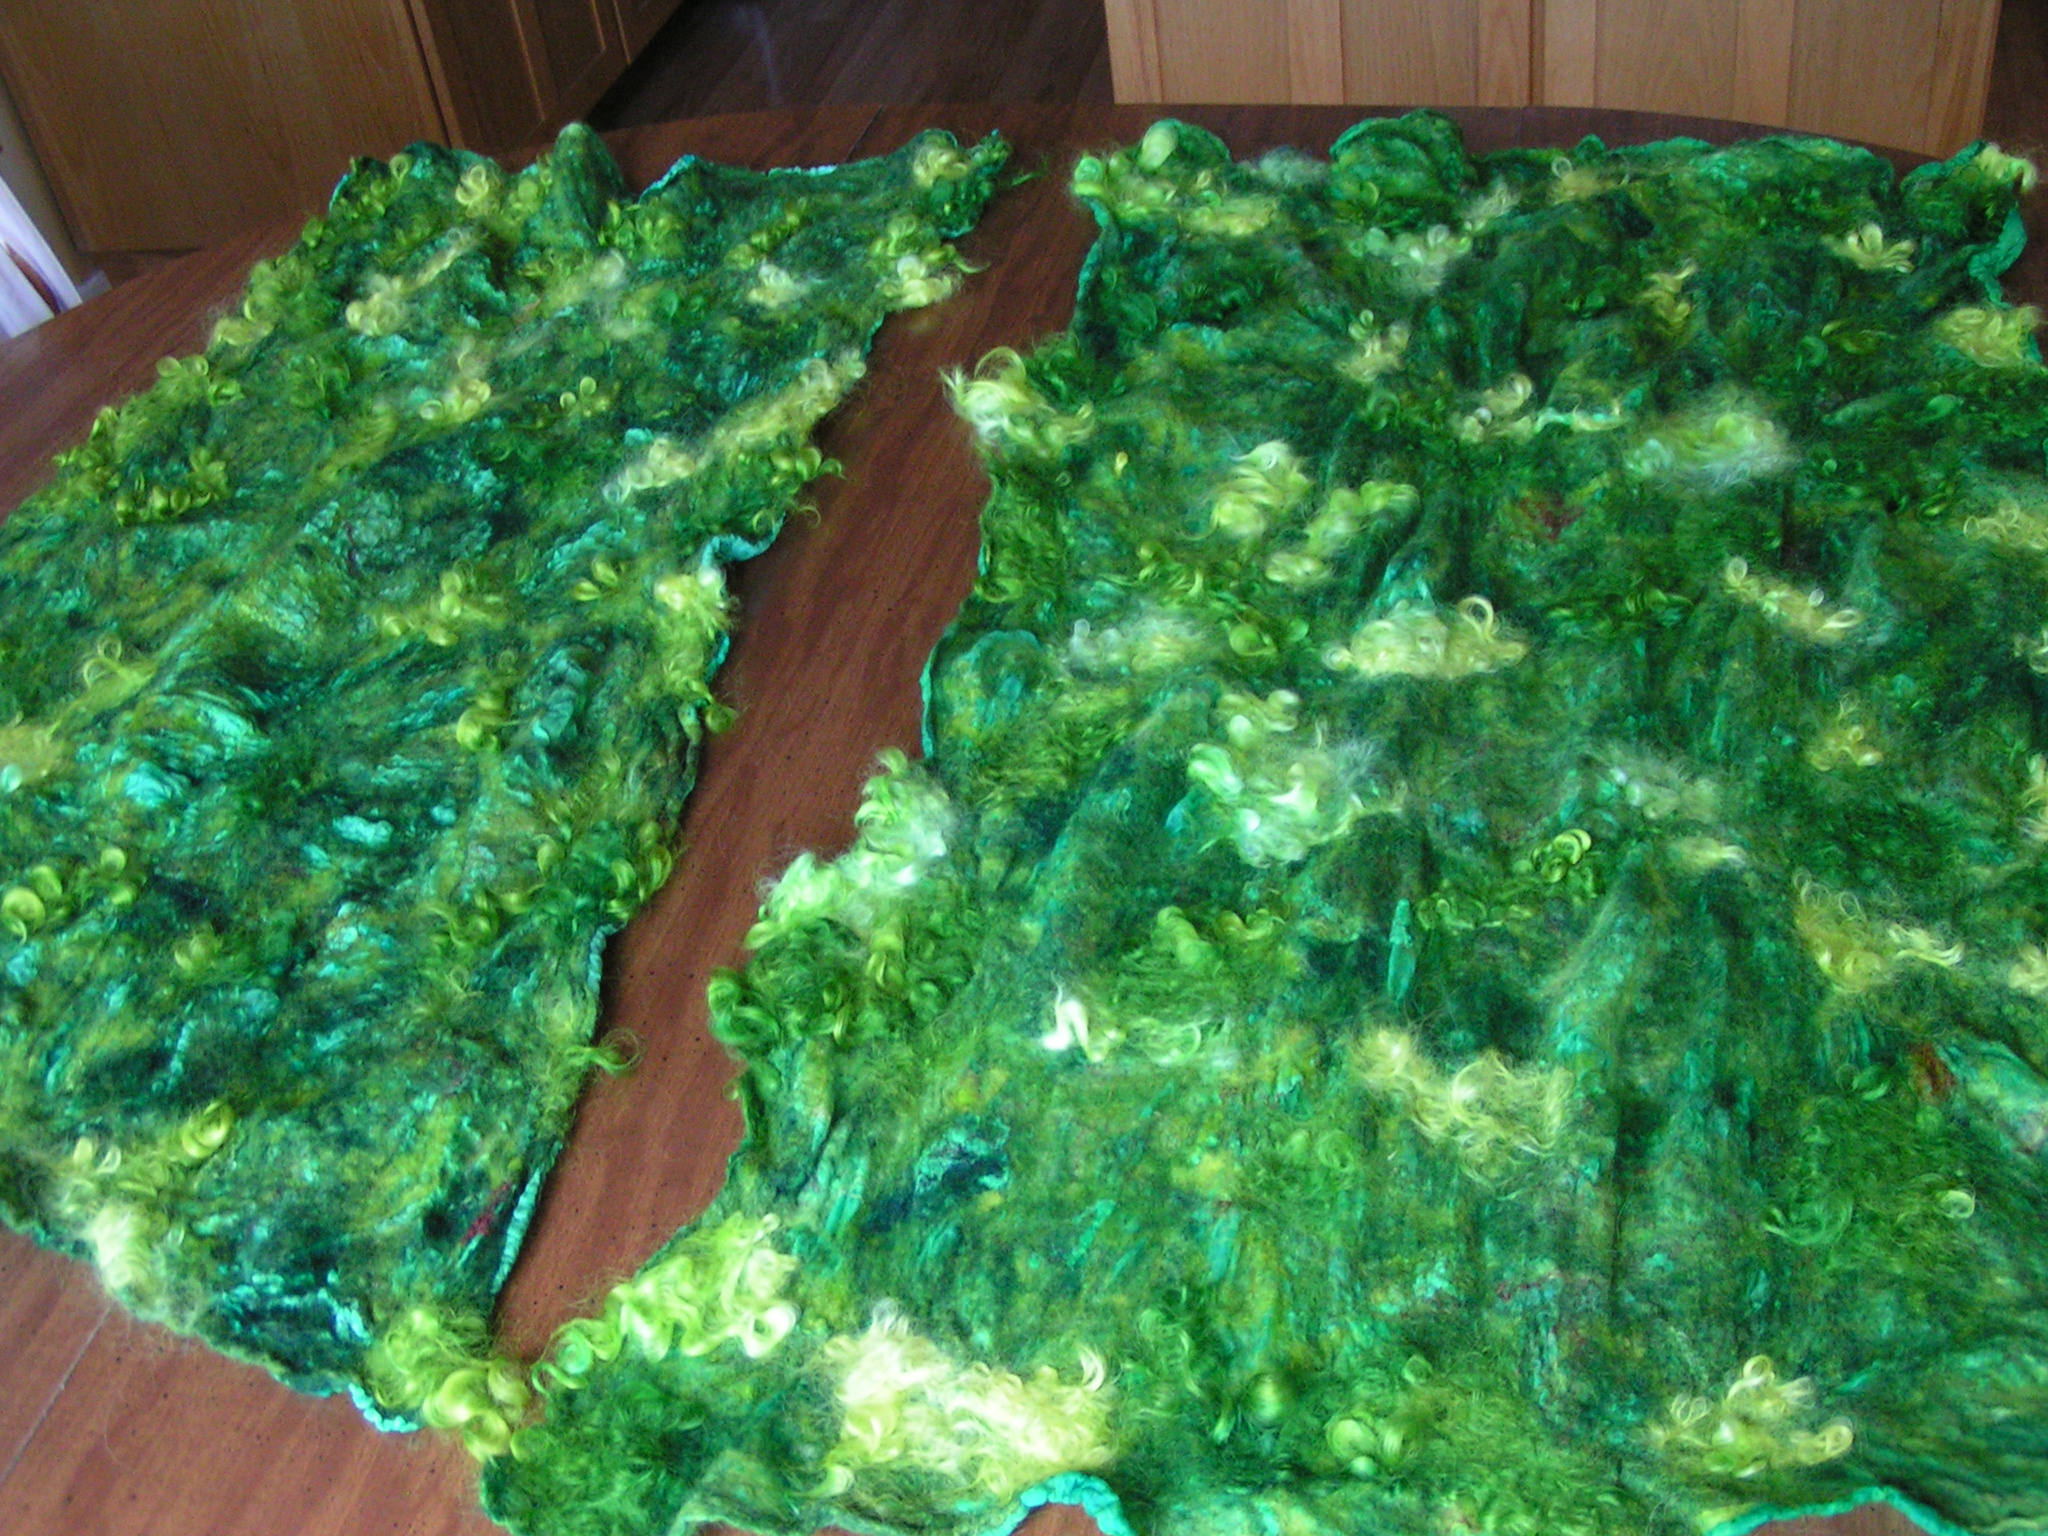
 So for those of you that were wondering how the green nuno felt would be used, I bet you’ve already guessed. In the photo above, I just have the green pieces draped over the umbrella frame. I will be cutting these up and sewing them back together to fit over the umbrella. This is just to give you an idea of how it will look.
 And I love this view from the inside, under the shelter of the umbrella tree. Lots more work to do yet but I’m happy with it so far. If you’re interested in entering a piece for the exhibition, take a look at the Call for Entries on the Tangled website.